|
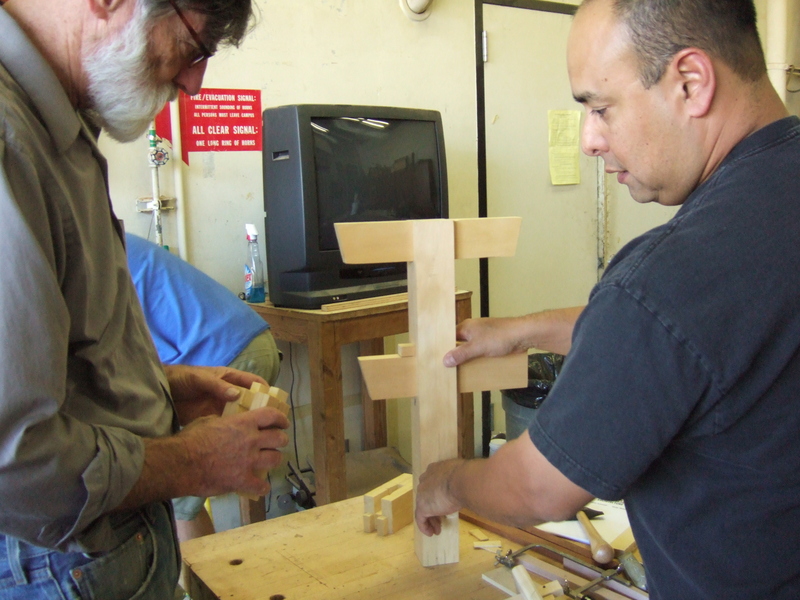
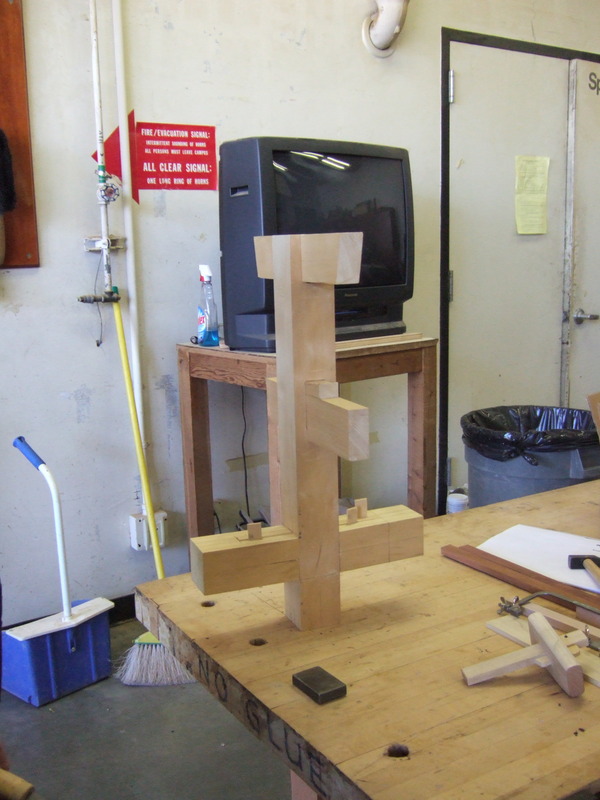
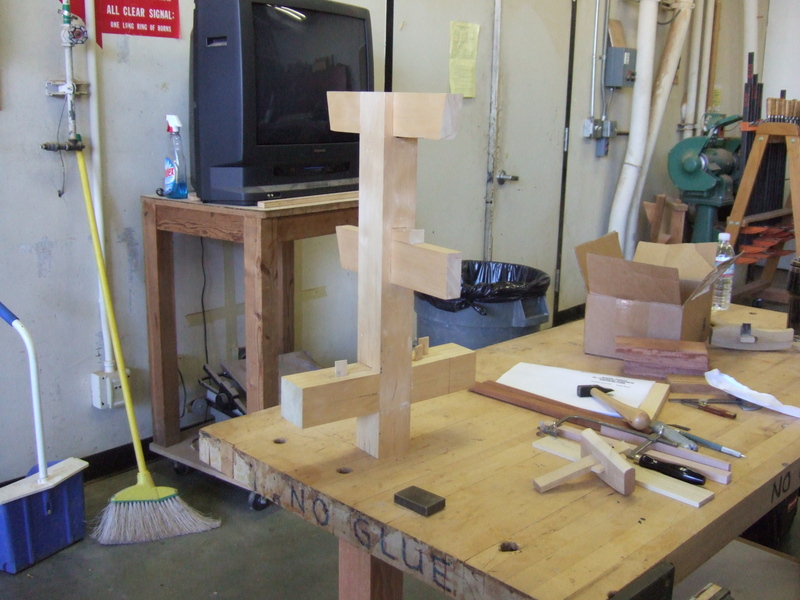
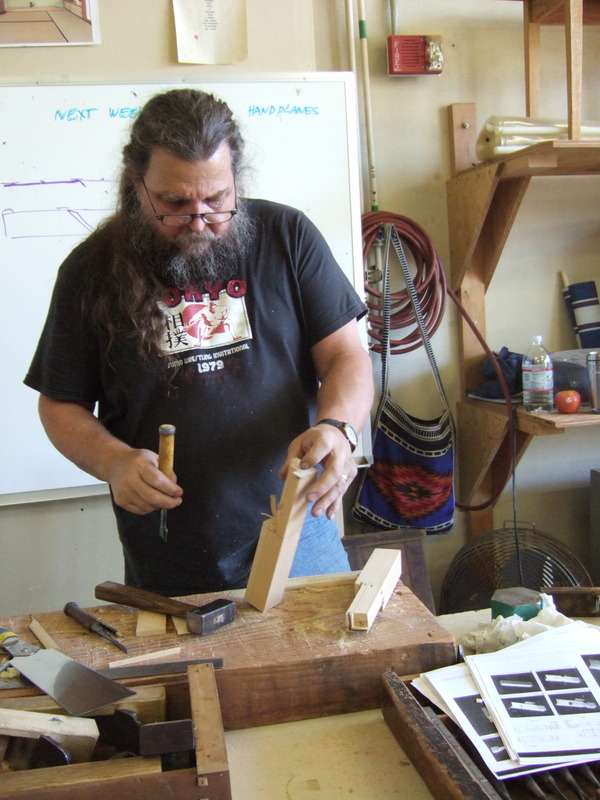
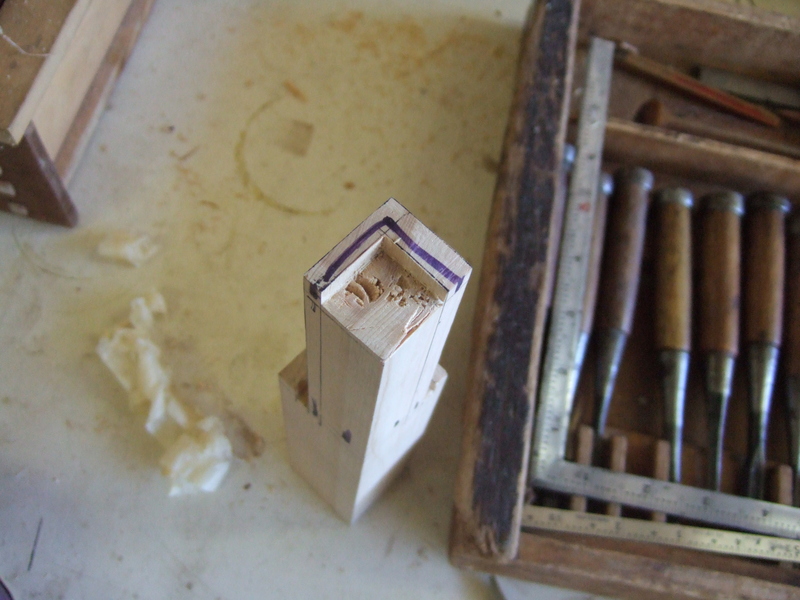
1 - Manny describing the joinery used for his Christmas tree. |
|
2 |
|
3 |
|
4 |
|
5 |
|
6 |
|
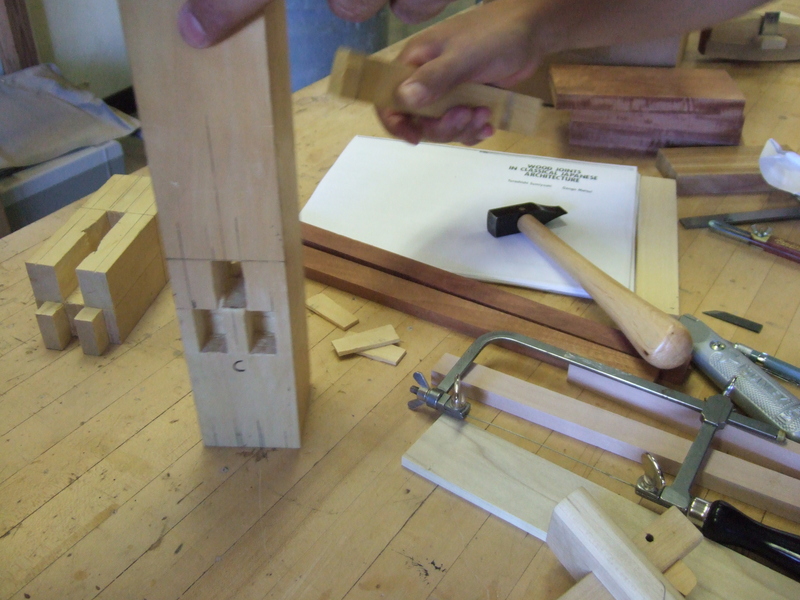
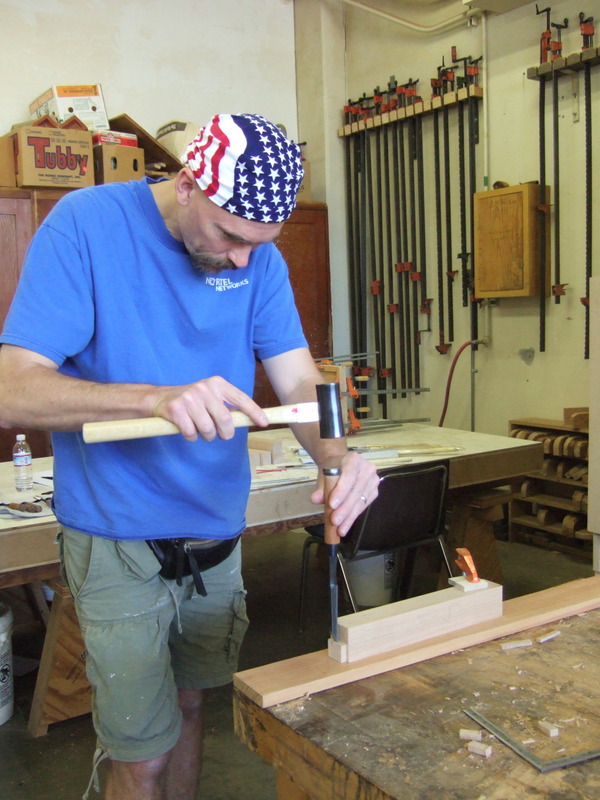
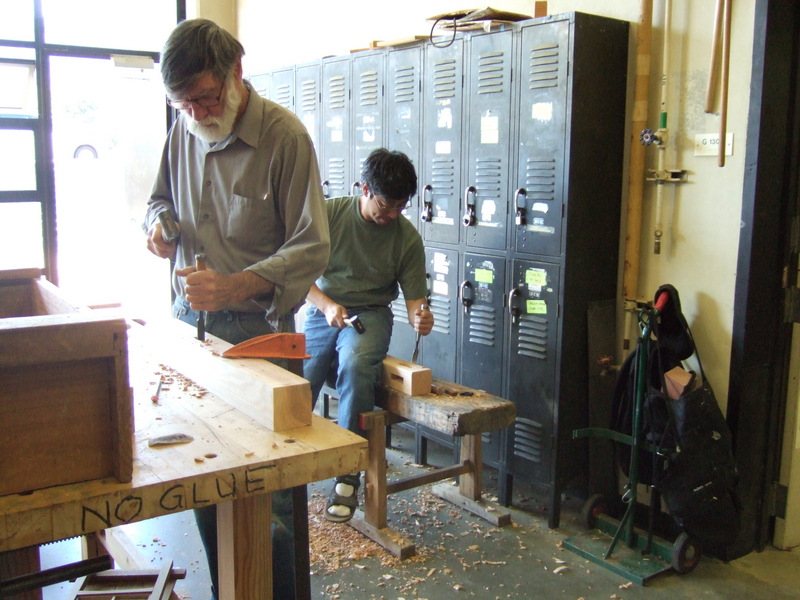
7 - Herb cutting a joint. |
|
8 |
|
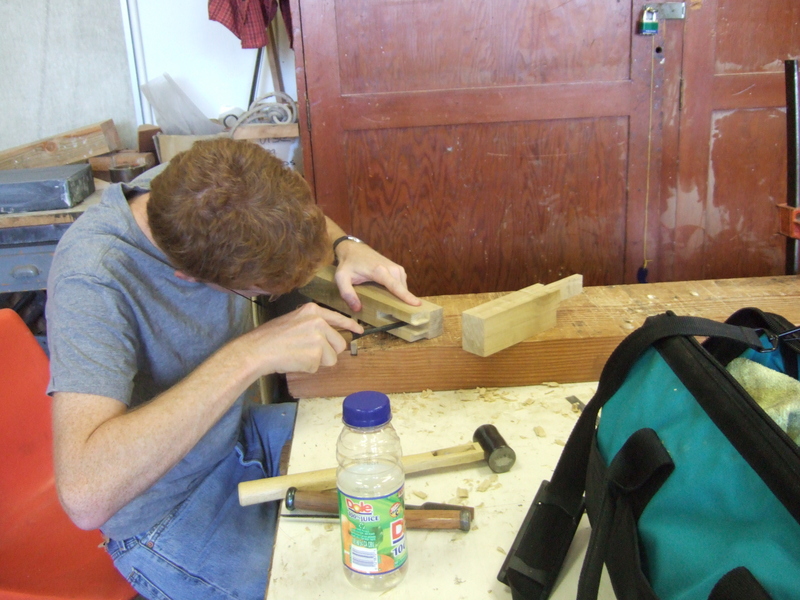
9 - Phil and John making joints. |
|
10 |
|
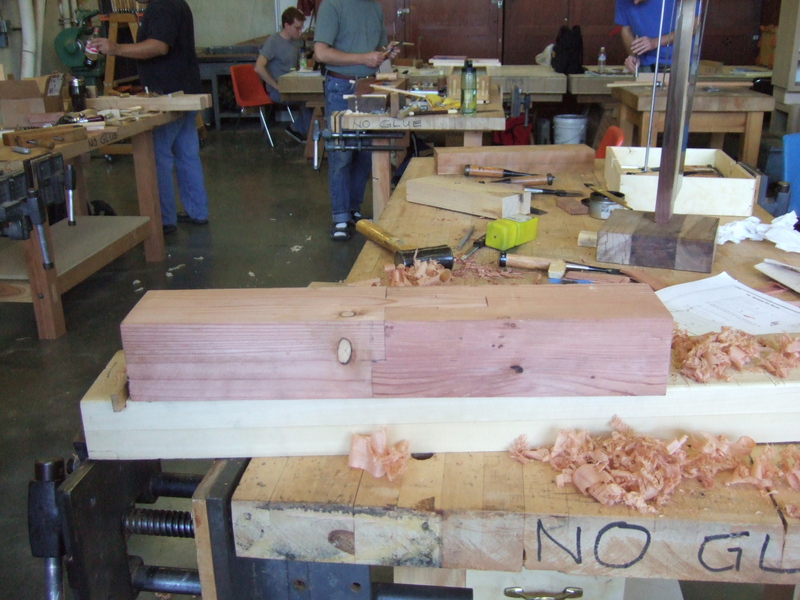
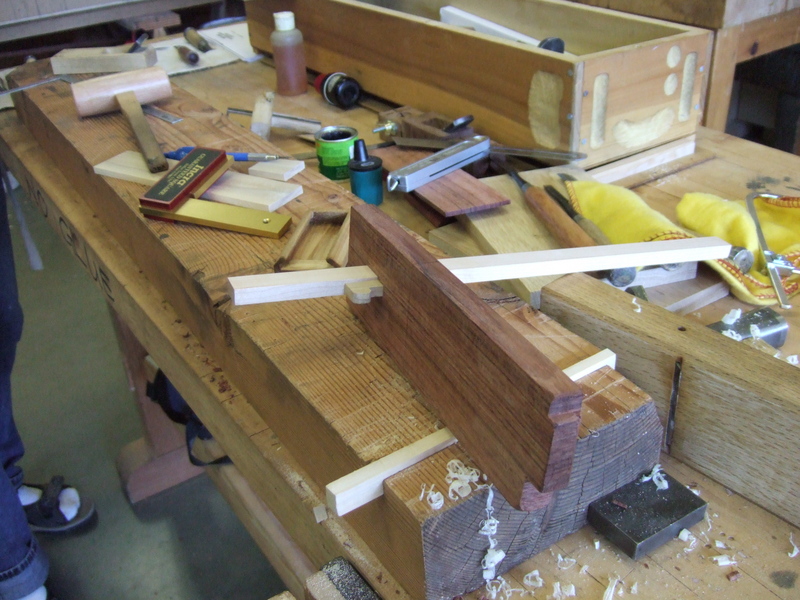
11 - Lee's stepped gooseneck splicing joint (koshikake kamatsugi). |
|
12 |
|
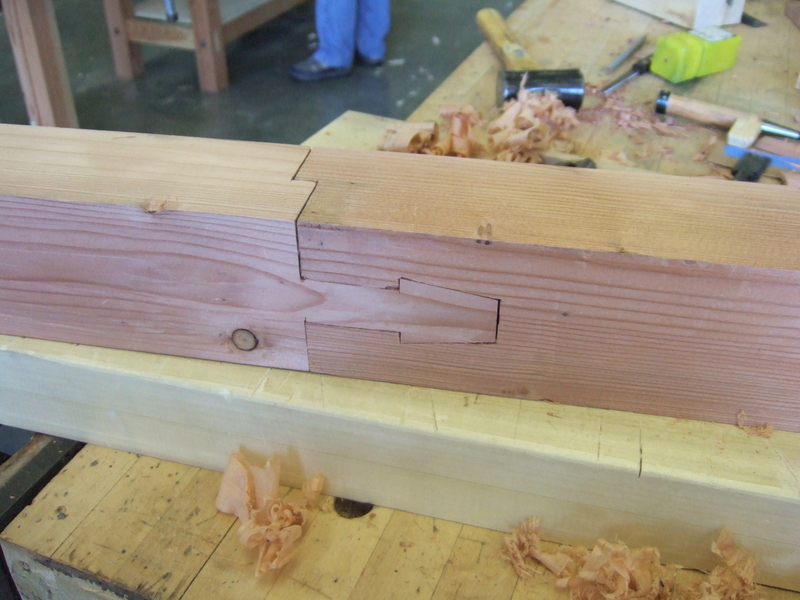
13 - Jay cutting a splicing joint with blind key (hako-dai-mochi tsugi - thanks to Chris Hall for pointing this out). This joint can be found in the book "Wood Joints in Classical Japanese Architecture" by Torashichi Sumiyoshi and Gengo Matsui. Unfortunately, this book is no longer in print and is extremely difficult to find even used copies. The Japanese edition can still be found on amazon.jp, ISBN# 4-306-03234-5. For the completed joint, see class photos on 2006/10/28. |
|
14 |
|
15 |
|
16 |
|
17 |
|
18 |
|
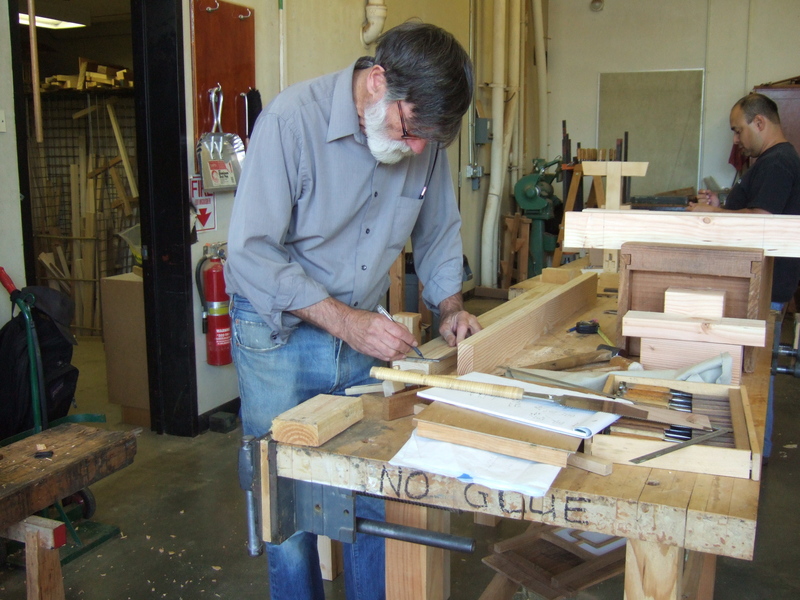
19 - Jim working on the layout for a new class workbench. We built similar workbenches earlier this year (see Building Workbenches). |
|
20 - Jim and Herman chopping mortises. |
|
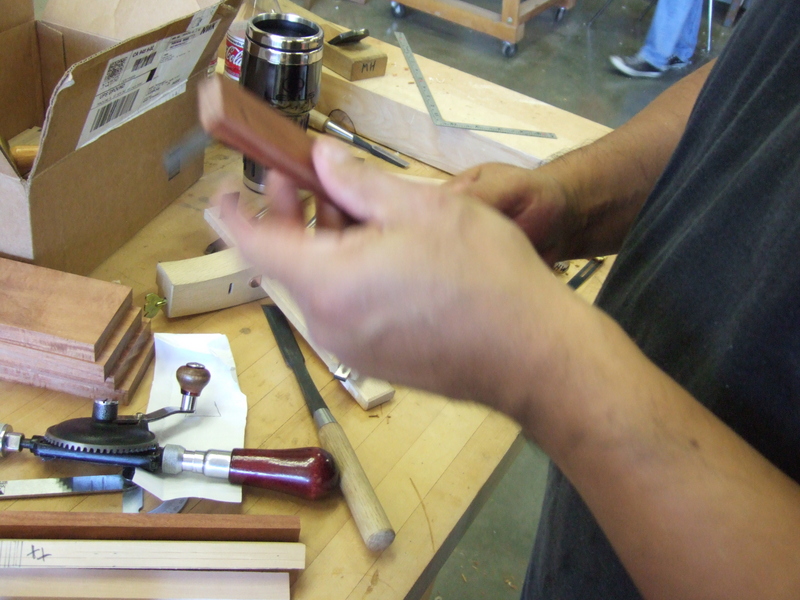
21 - Manny showing Bob how to make a marking gauge. Manny had learned how to make Japanese-style marking gauge from John Fox a while back. Ideally, the gauge face and beam should be made of a hard wood to provide longer wear and stiffness. The wedge should be made from a soft wood which compresses and locks the beam in place. Here we see Manny doing layout work on the beam where the blade will sit. |
|
22 - Bob's marking gauge - work in progress. |
|
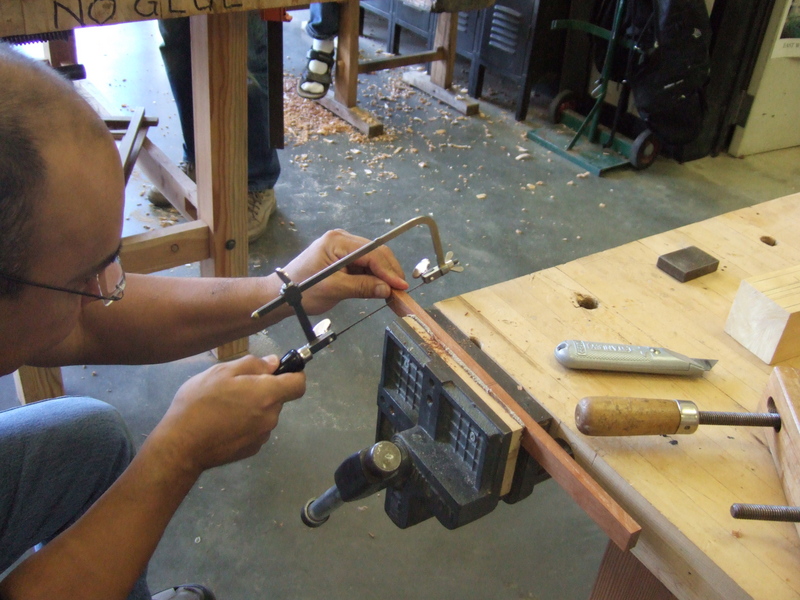
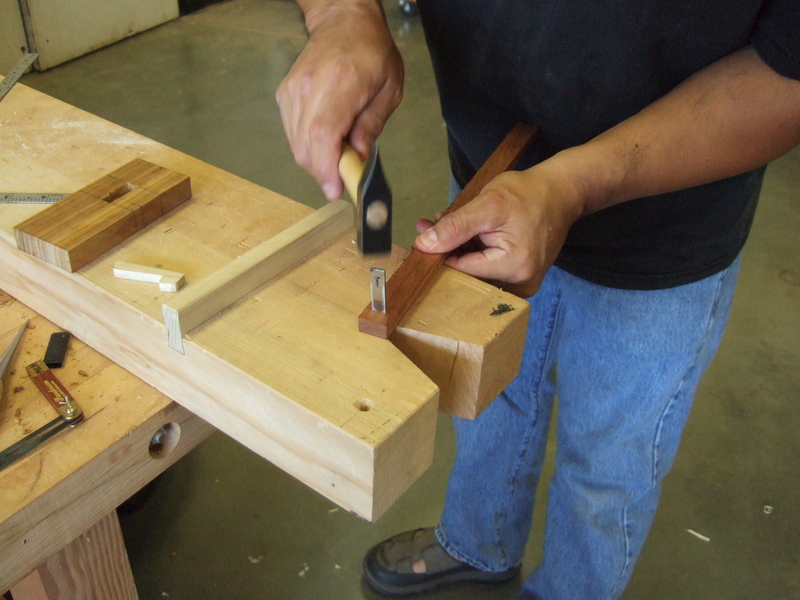
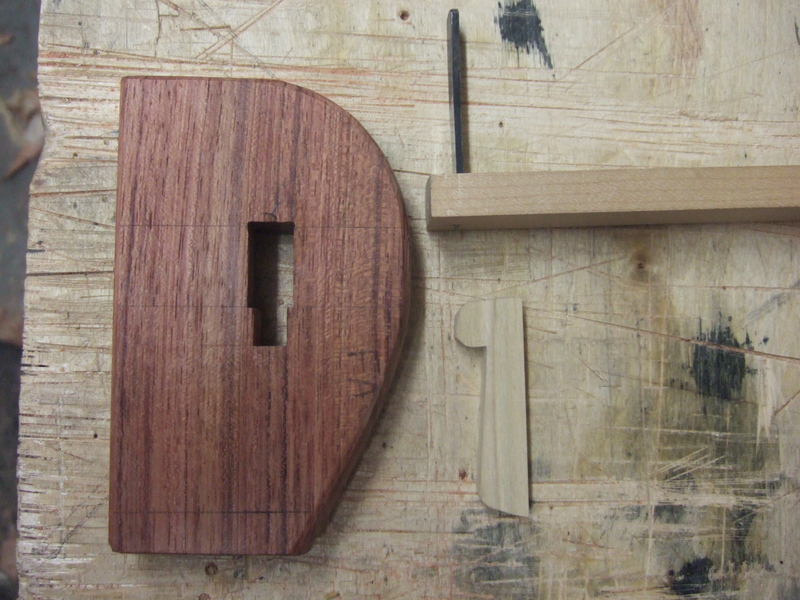
23 - Manny cutting the slot for the blade. |
|
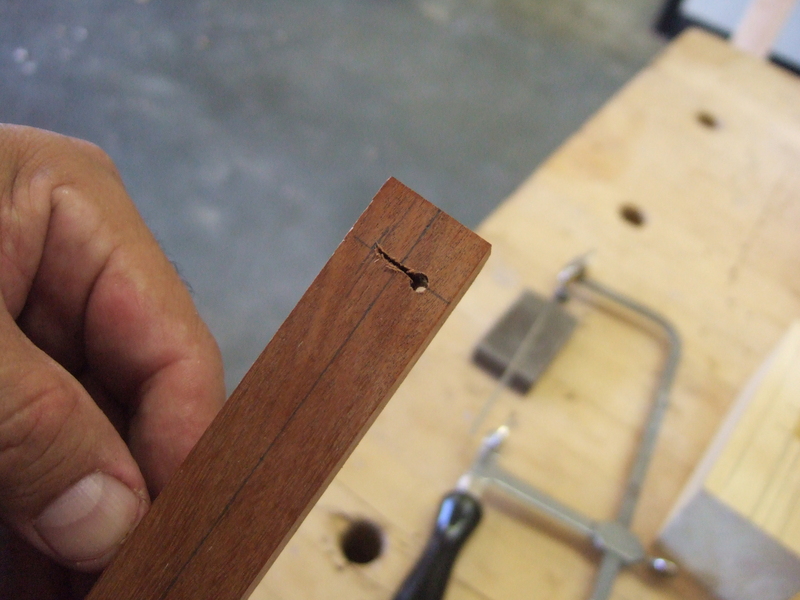
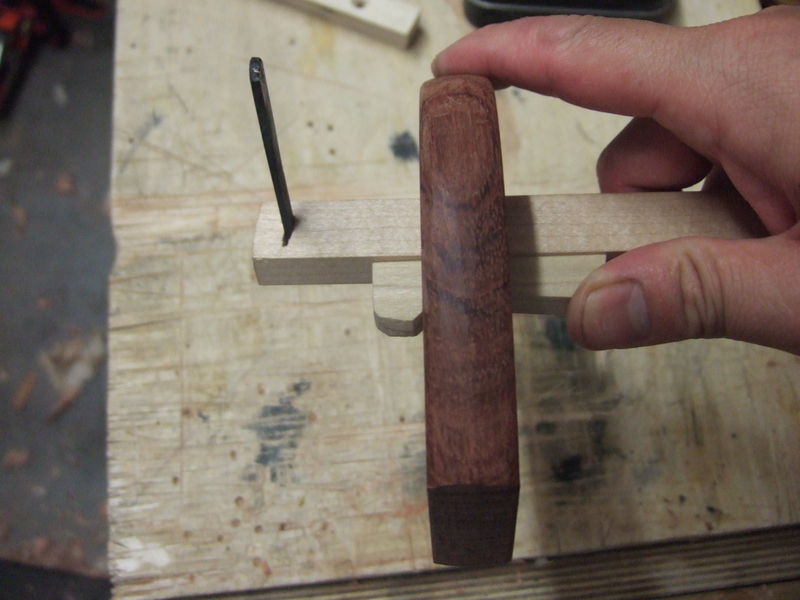
24 - Top view of the beam. A hole was first drilled through the beam. The slot needs to be wide enough for the blade. |
|
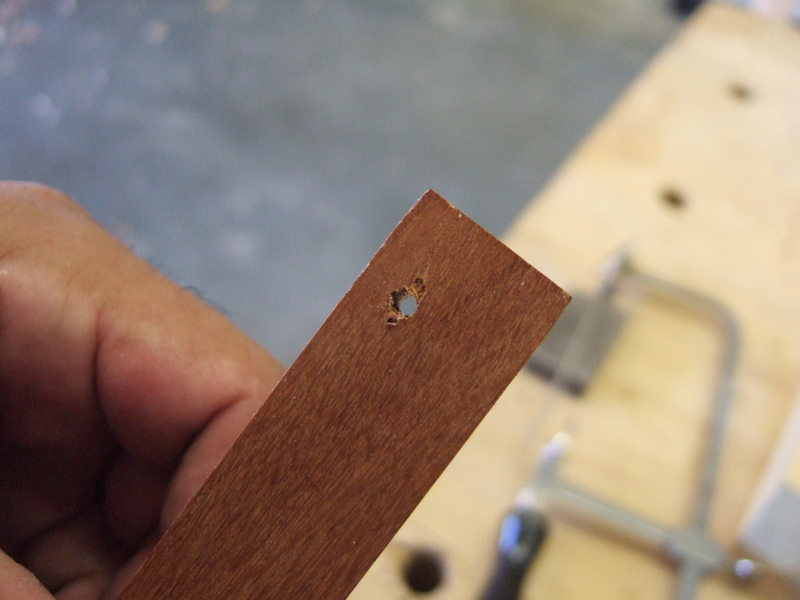
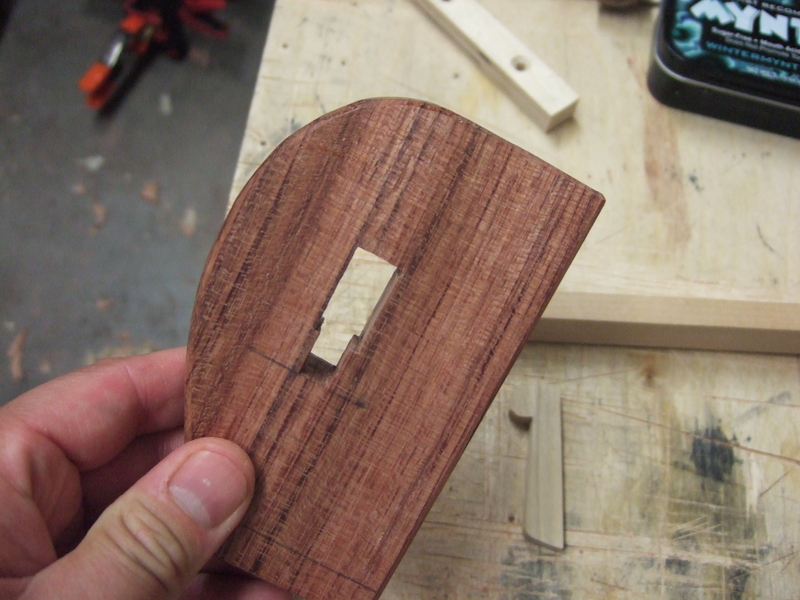
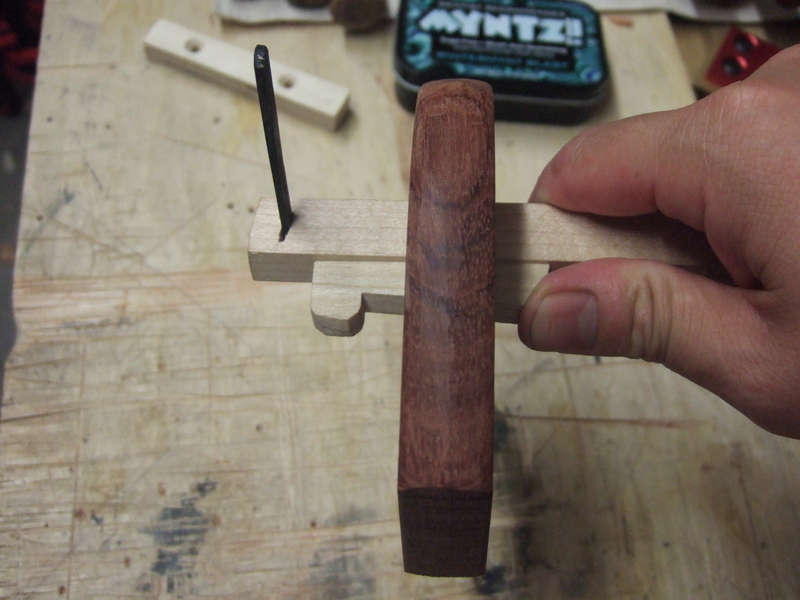
25 - Bottom view of the beam. Note that the slot seen in the top view does not extend to the bottom. This is purposedly designed to provide the wedging action when the blade is seated. |
|
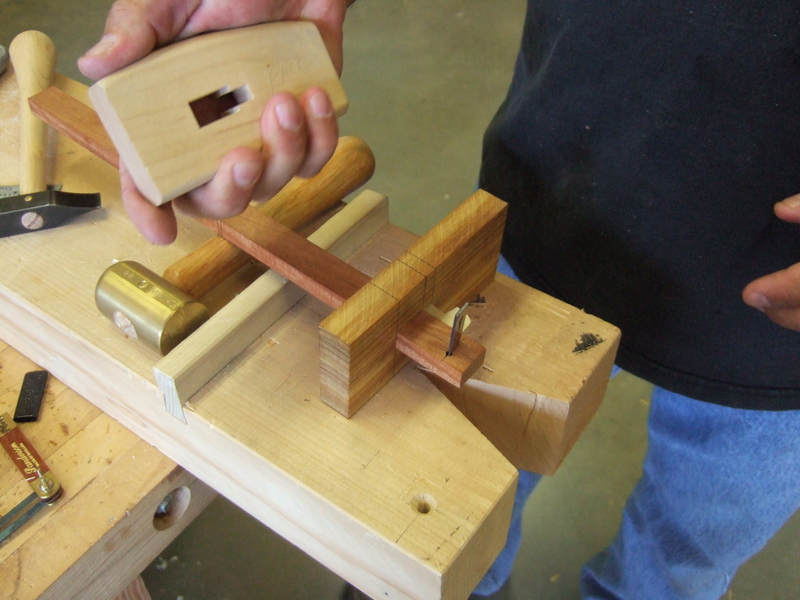
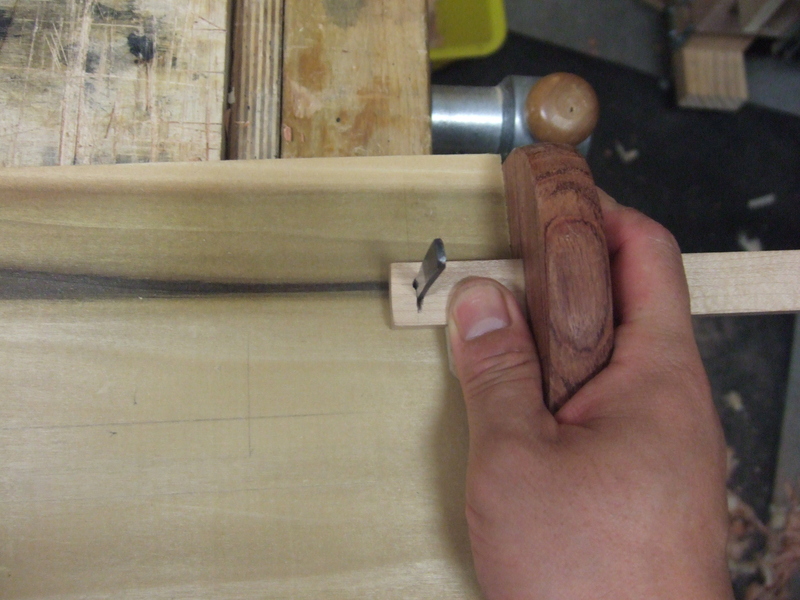
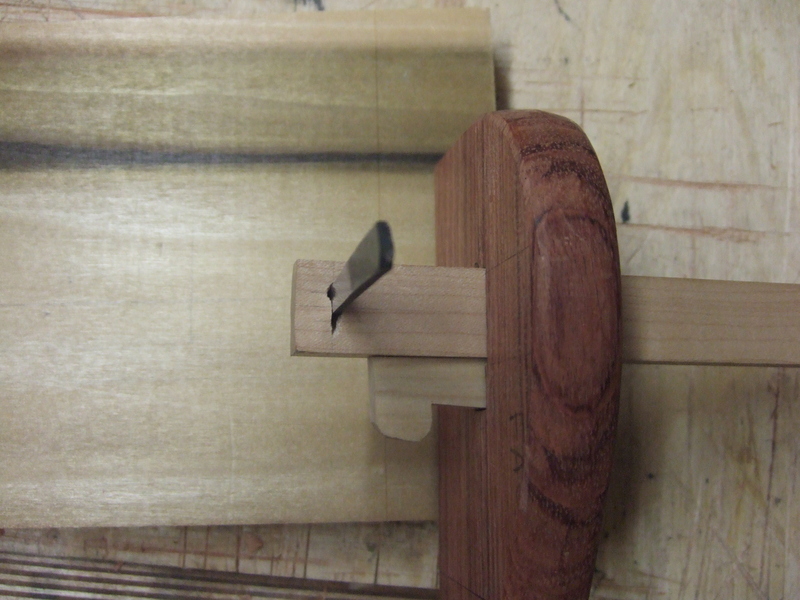
26 - Blade is fitted into the beam. The slot may need to be opened up a bit for the blade to fit. |
|
27 |
|
28 |
|
29 |
|
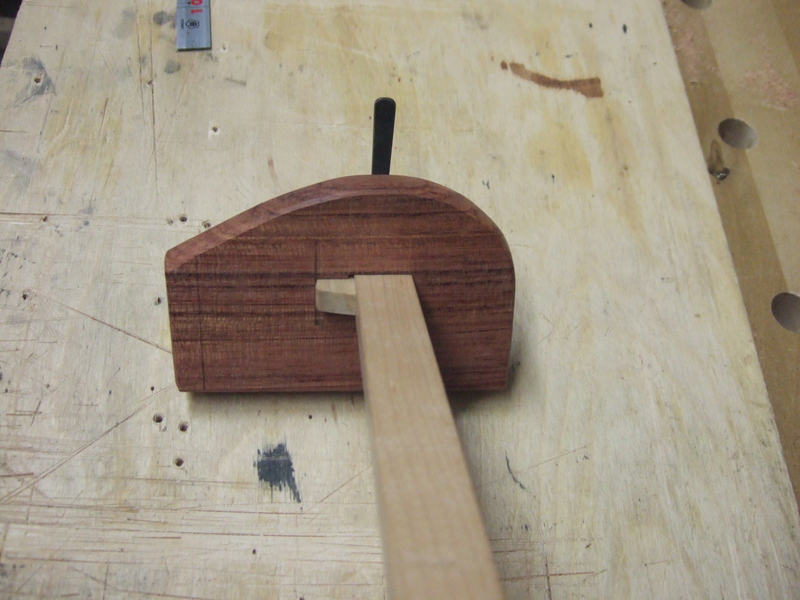
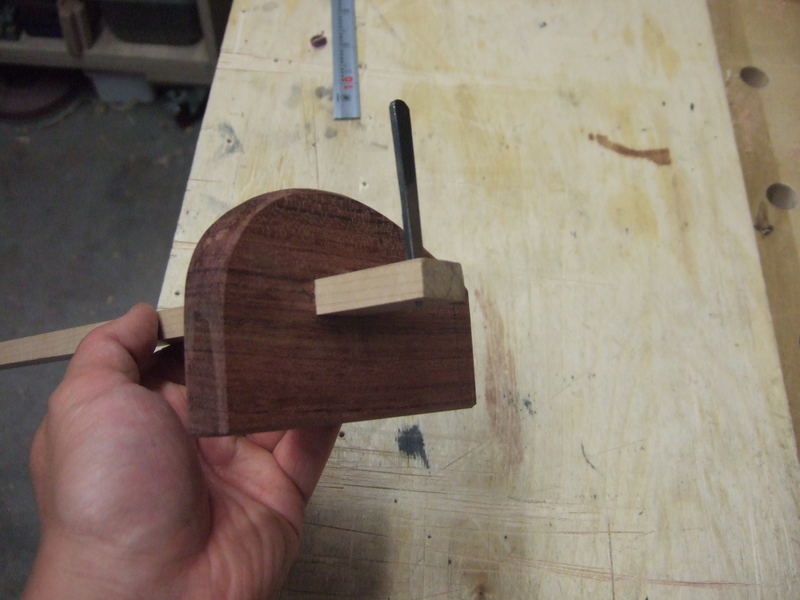
30 - Manny's completed marking gauge. |
|
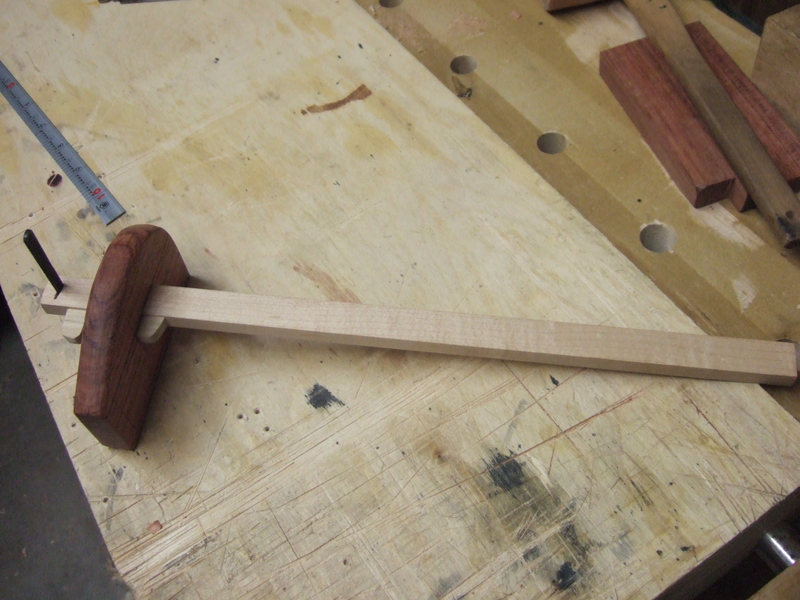
31 - Bob's completed marking gauge (bubinga face, maple beam). The long beam is to serve as a panel gauge as well. The small laminated blade was purchased from Japan Woodworker for $10. It works extremely well. |
|
32 |
|
33 |
|
34 |
|
35 |
|
36 |
|
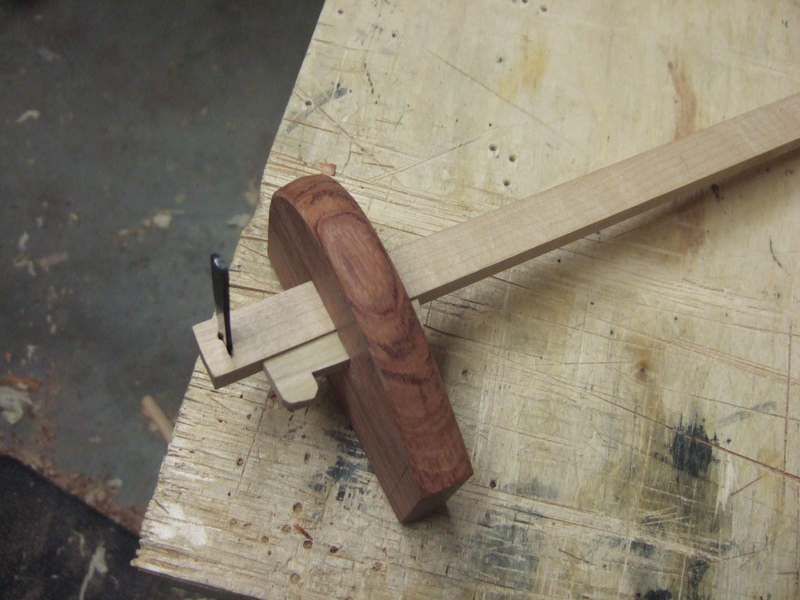
37 - Wedge in the unlocked position for beam adjustment. |
|
38 - Wedge in the locked position. The gauge can now be used for marking. |
|
39 |
|
40 |
|
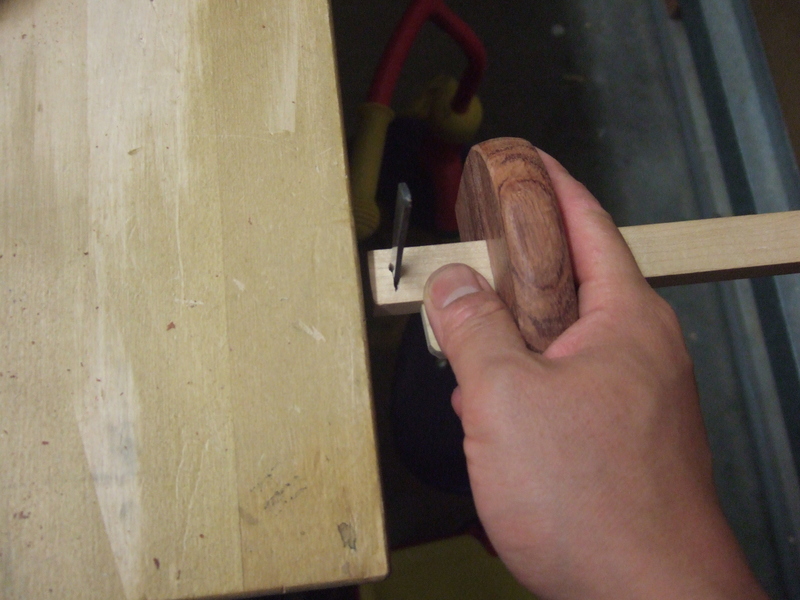
41 - To make micro adjustment to the cutting depth, lightly tap the beam against the workbench. |