![]()
2006/04/01 - The first day of the project. | |
|---|---|
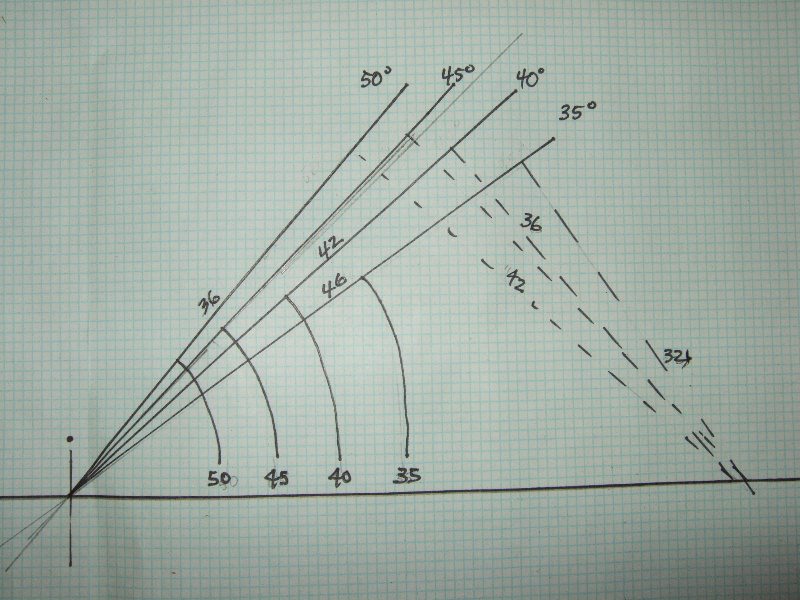
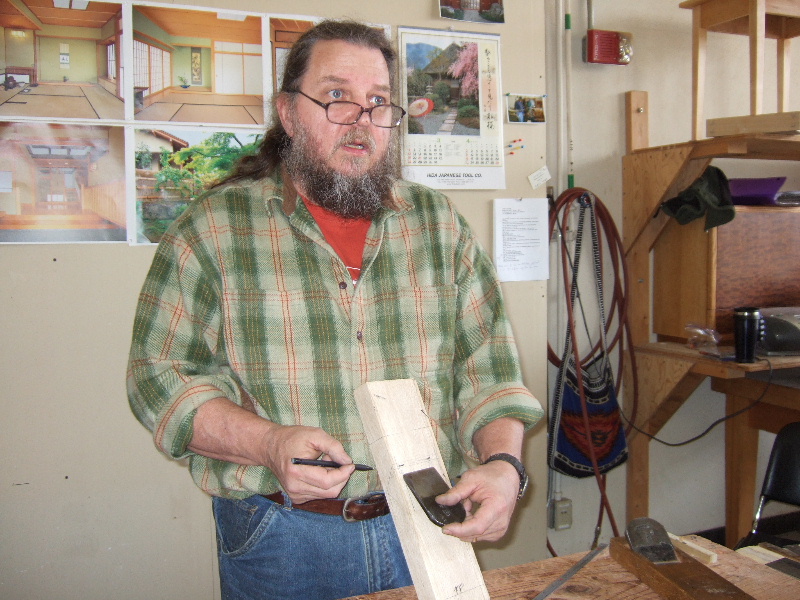
| Jay talks about setting the different plane blade angle. Traditionally, softwoods such as cedar or cypress are used in Japan. To work with such wood, the blade angle can be set at 32-35 degrees. For hardwoods, 45 degree blade angle should work well. For highly figured woods which can tear out when a standard blade angle is used, a blade angle greater than 45 degrees will work better. | |
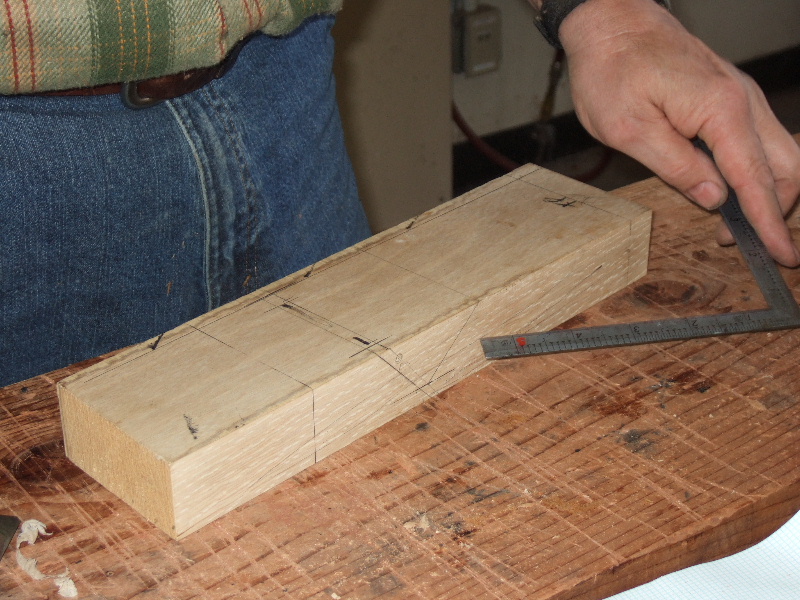
| A quick way to set the angle using the shaku square. E.g., to set a 50 degree angle, position your shaku squto 36 bu on one side and 42 bu on the other side. | |
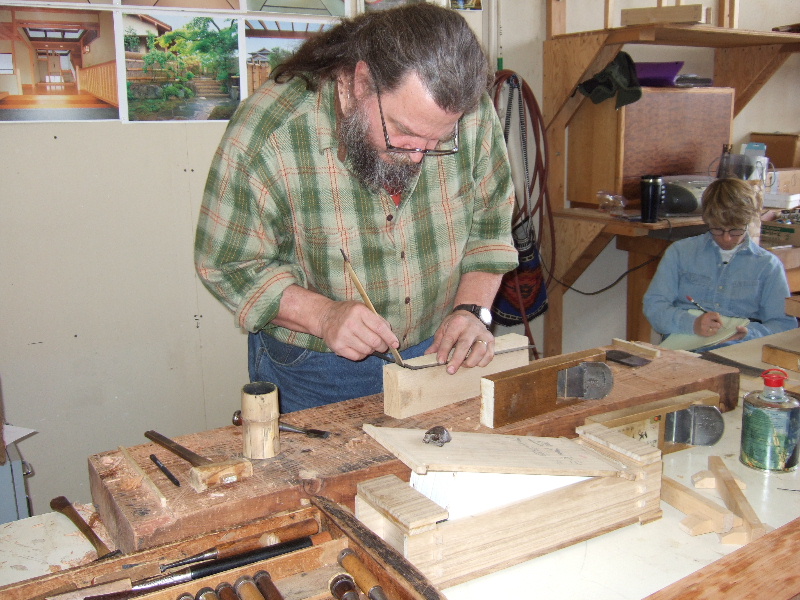
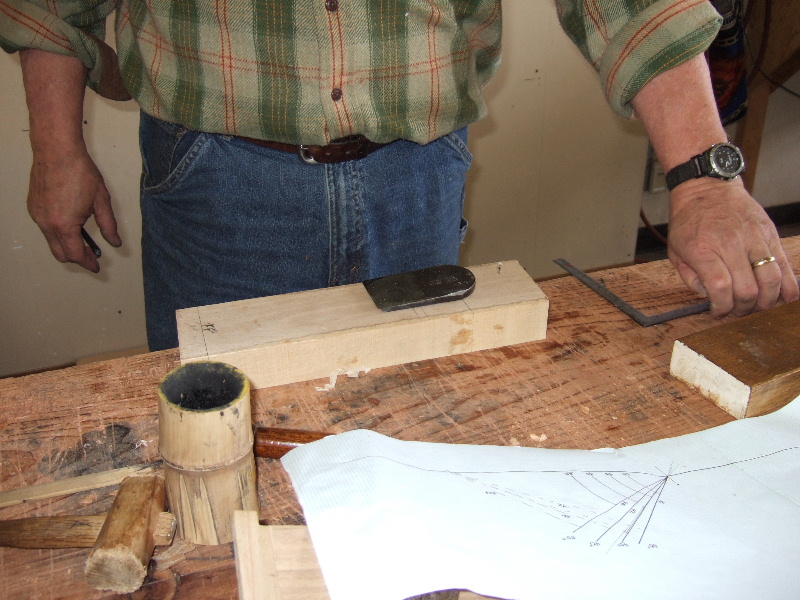
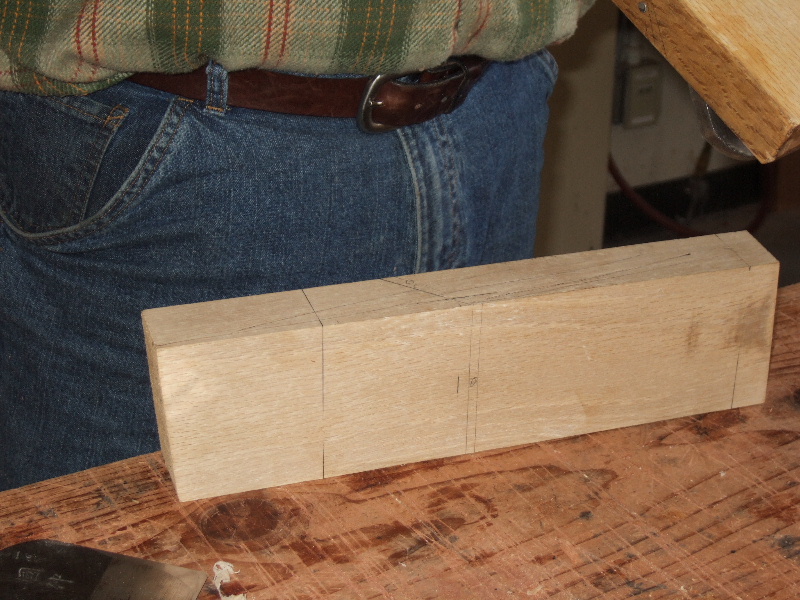
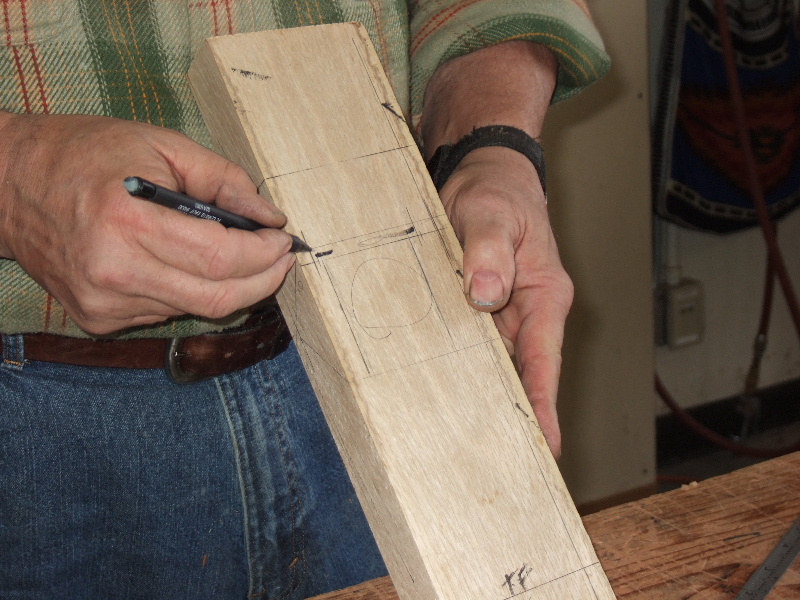
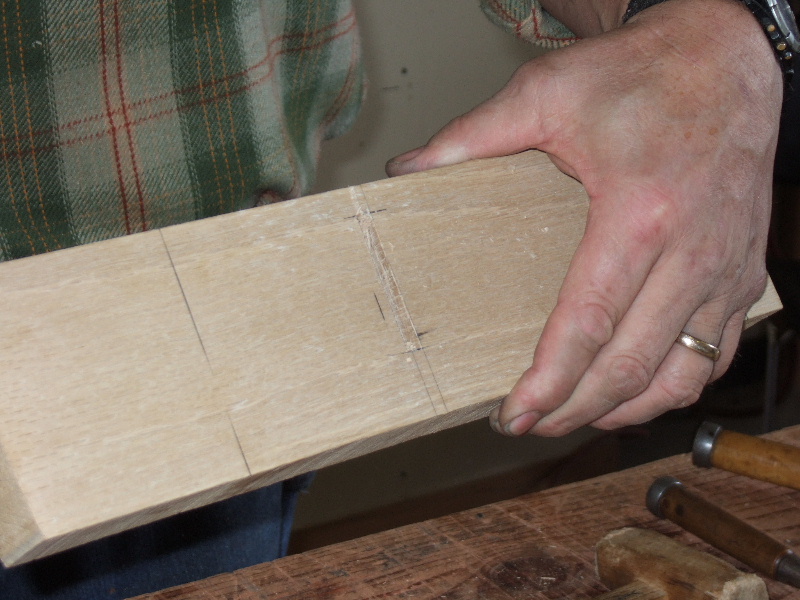
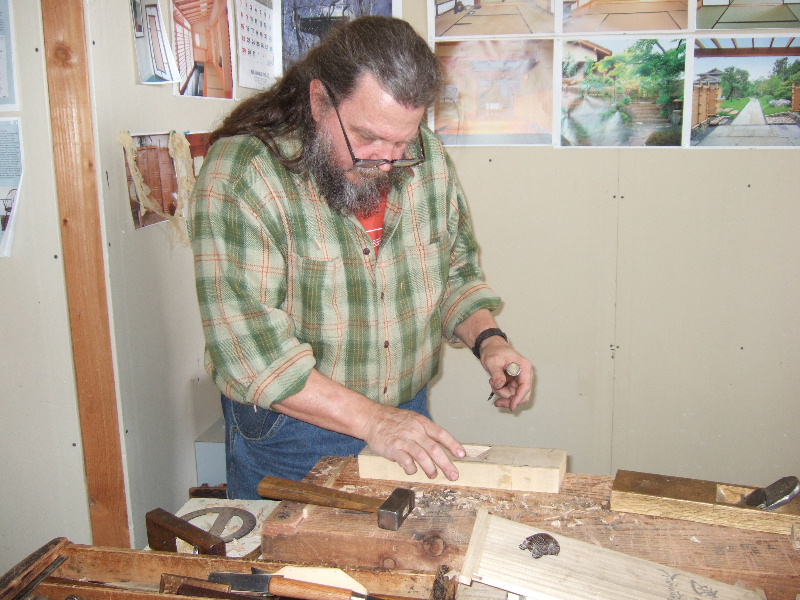
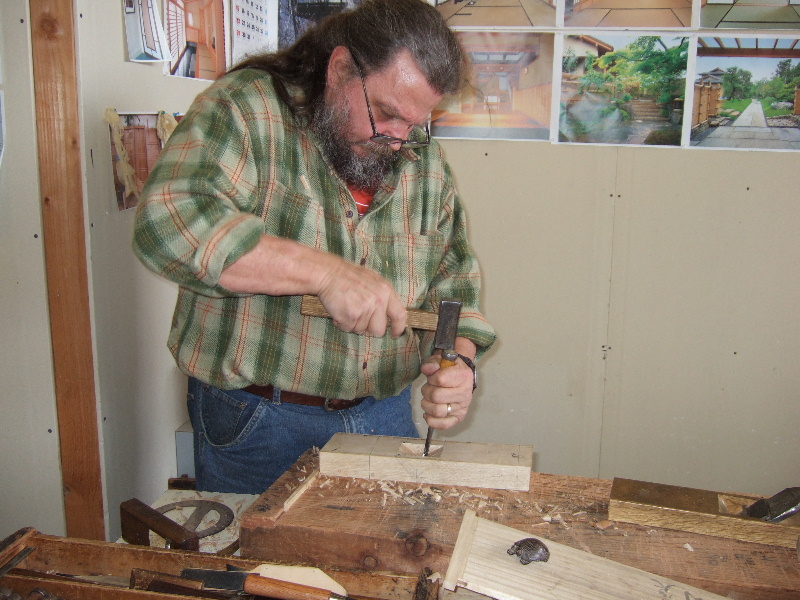
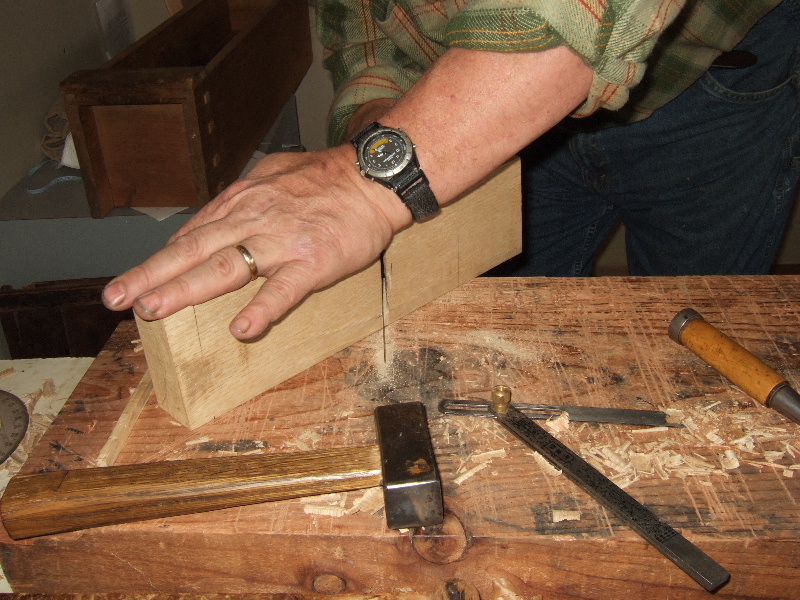
| Jay doing layout. He's going to make a short dai for a 55mm blade which will be set at 50 degree. | |
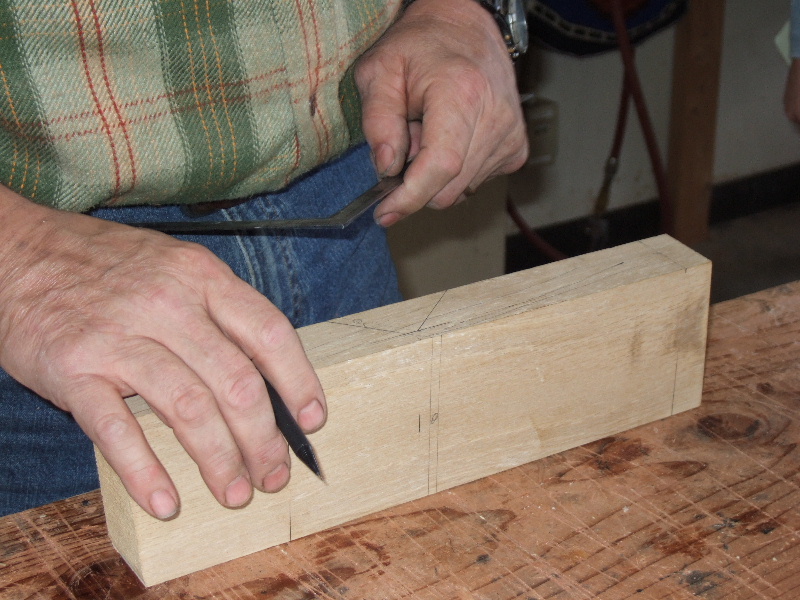
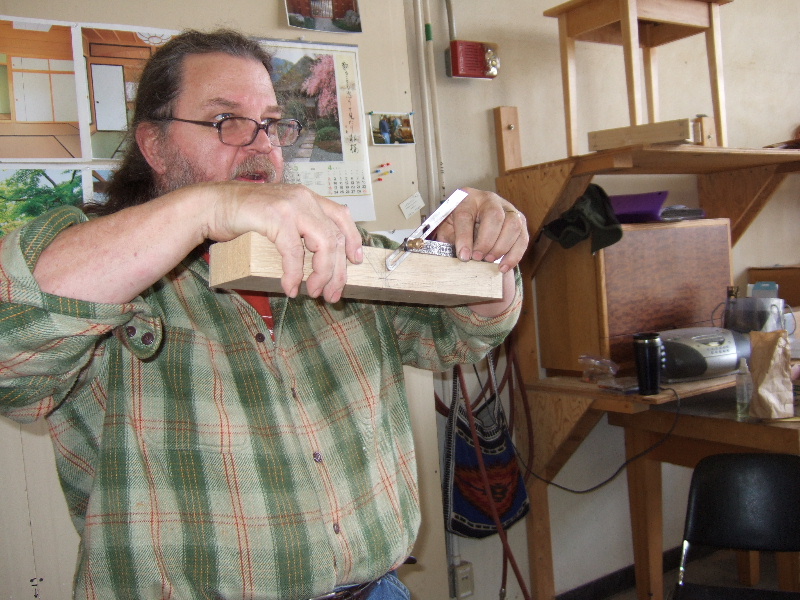
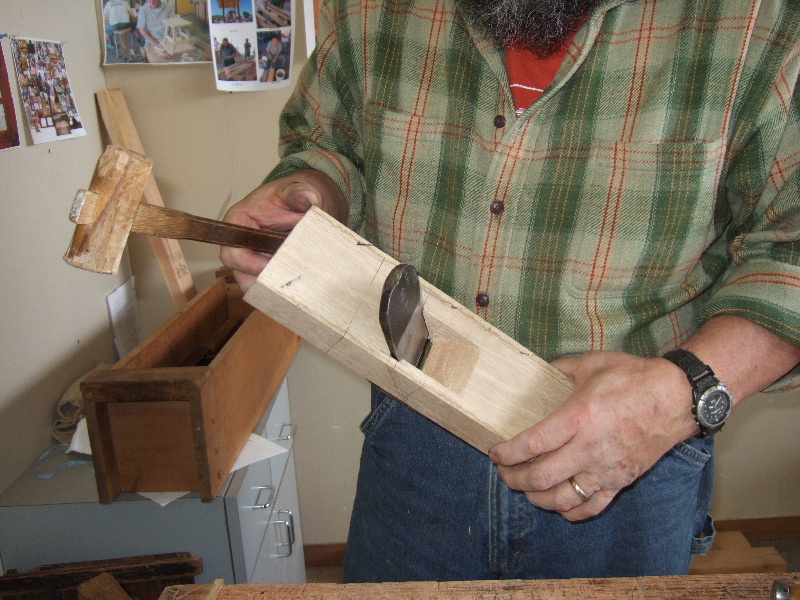
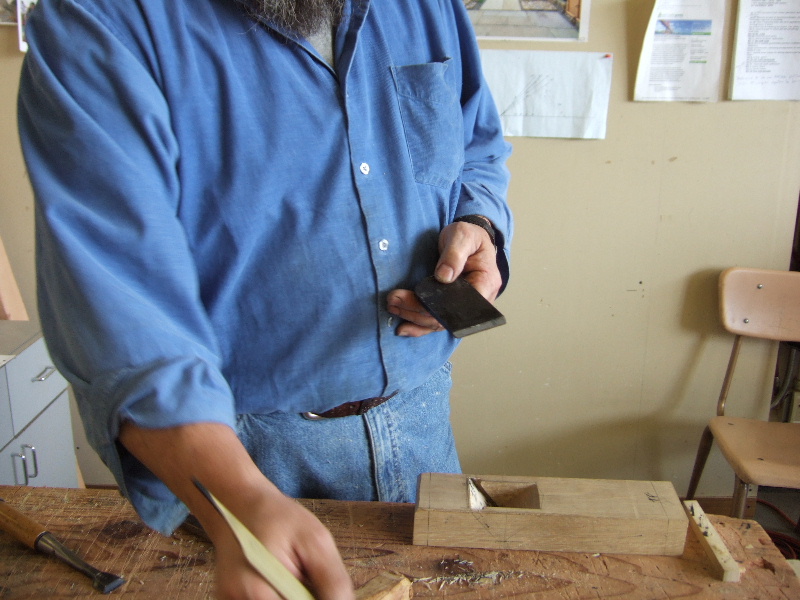
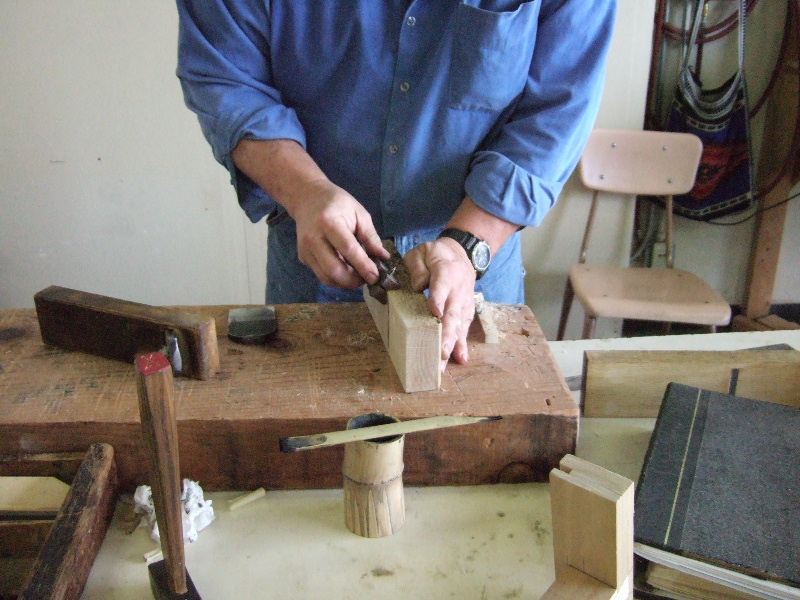
| 50 degree is the angle for the front of the blade. Here, Jay is matching the blade to the angle in preparation to mark the taper of the blade. | |
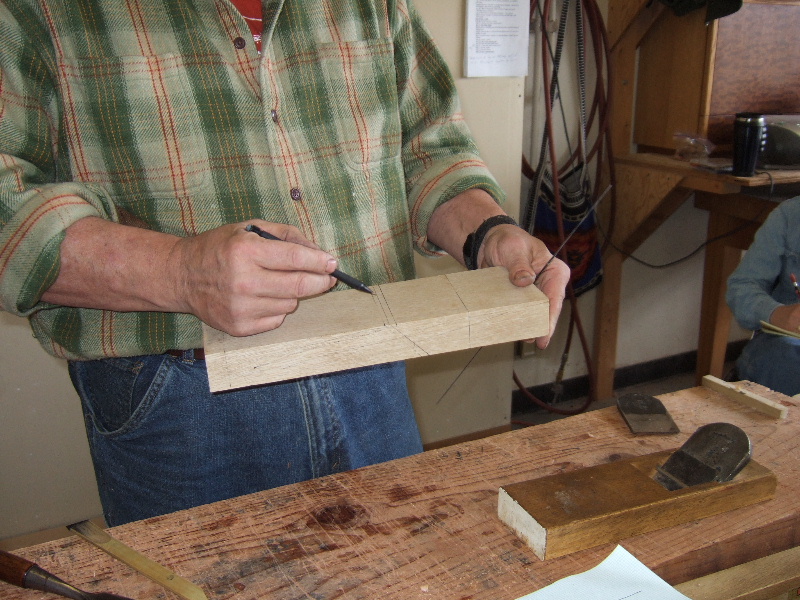
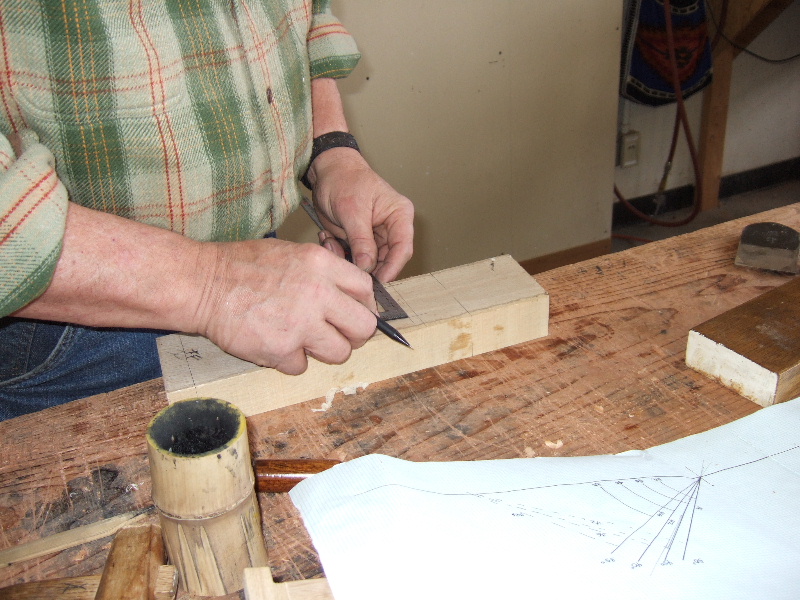
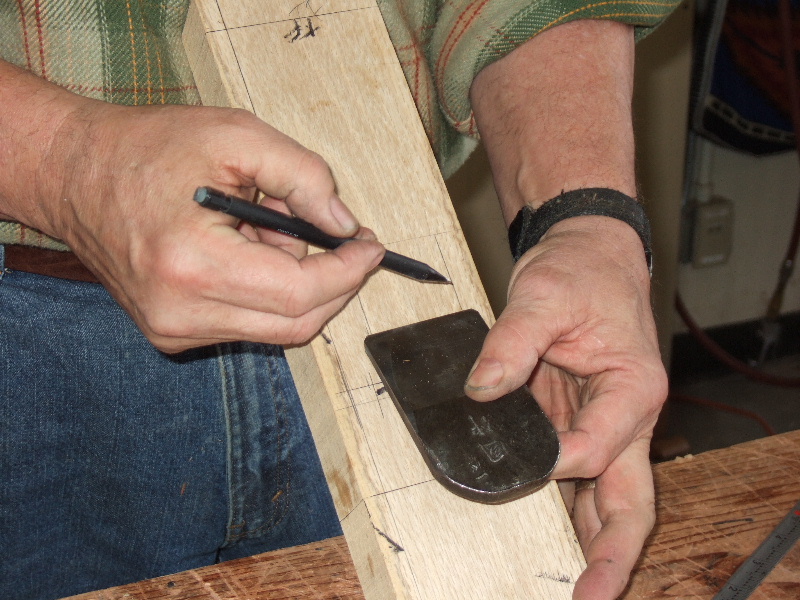
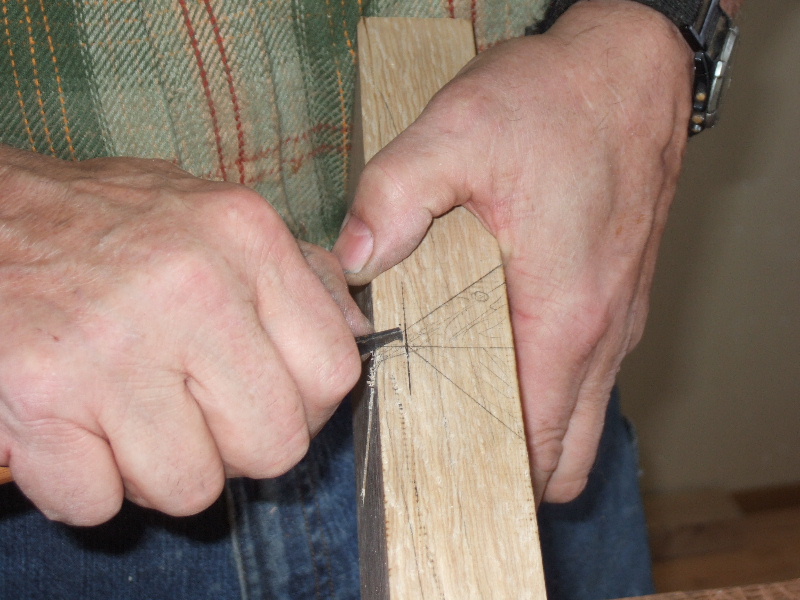
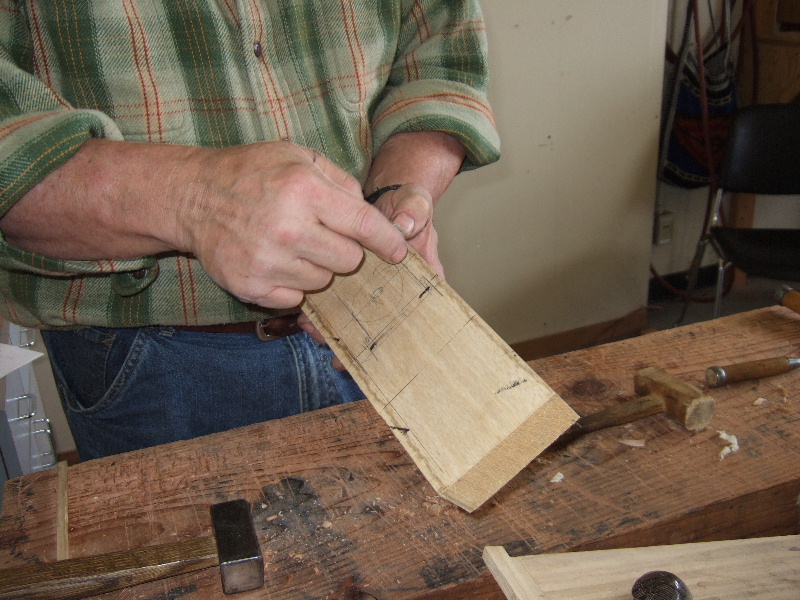
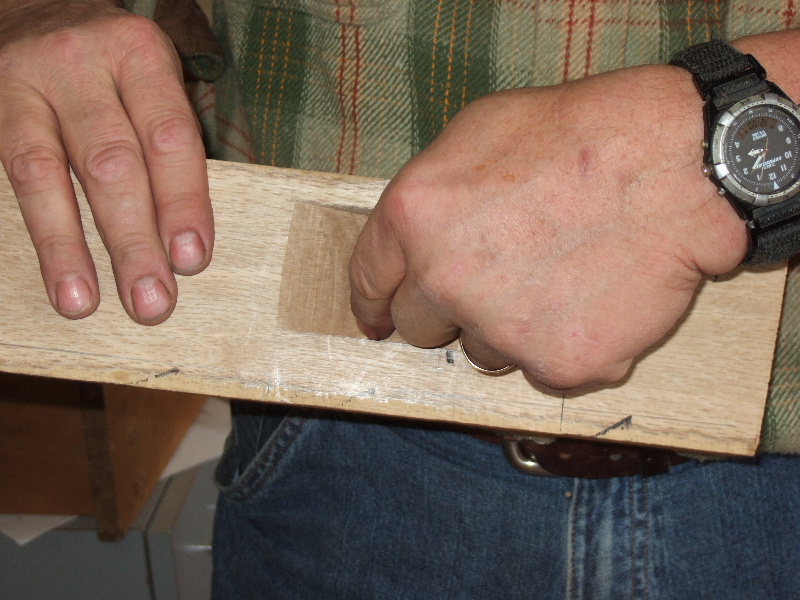
| Jay transfers the line from the tapered blade. Note that the blade is positioned about 3 bu's higher than the bottom of the block to ensure that the blade will fit tightly in the opening. TF stands for Top/Front. | |
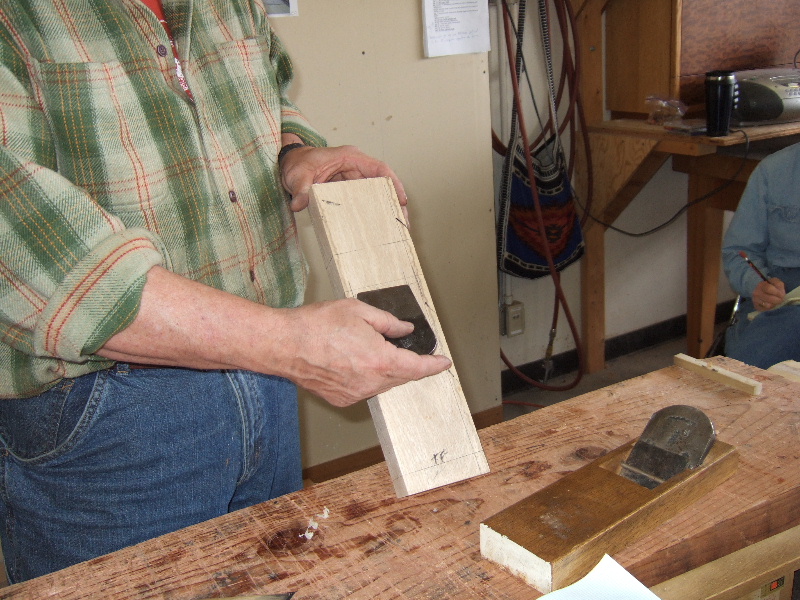
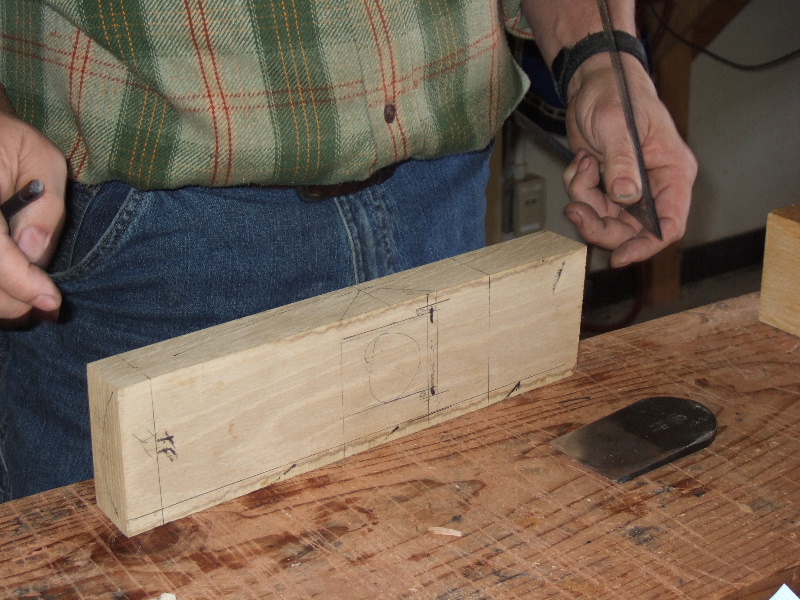
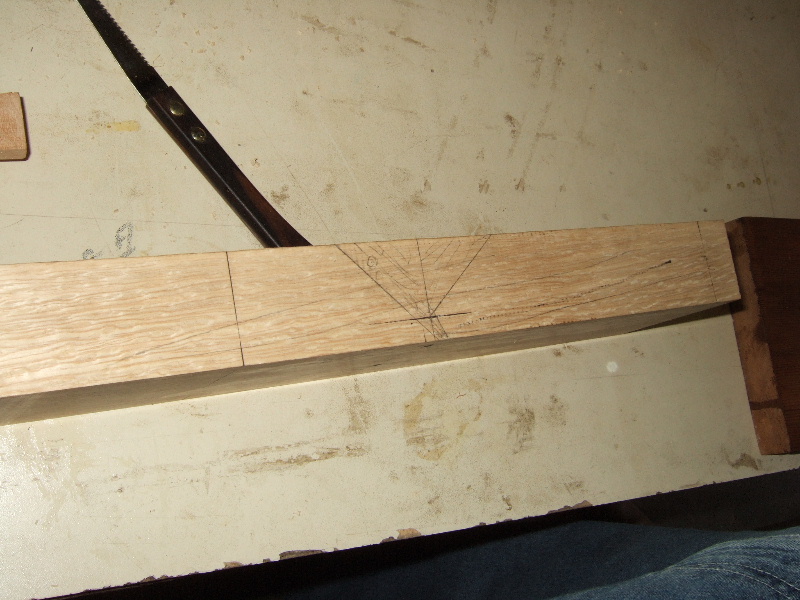
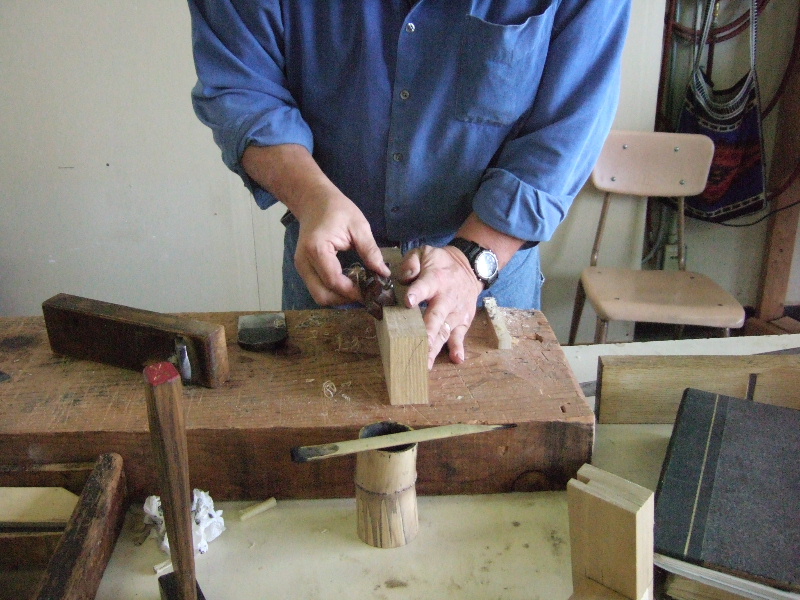
| Transfer the tapered line to the bottom of the block to set the width of the throat. | |
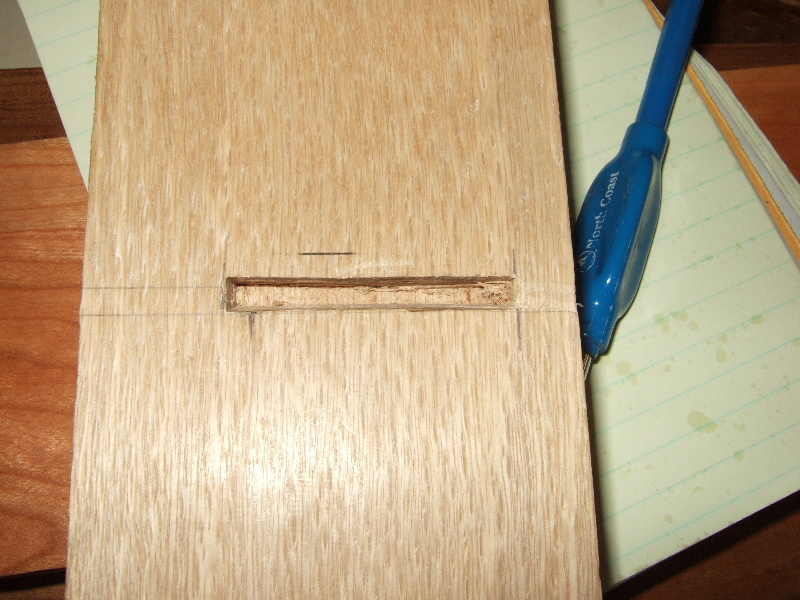
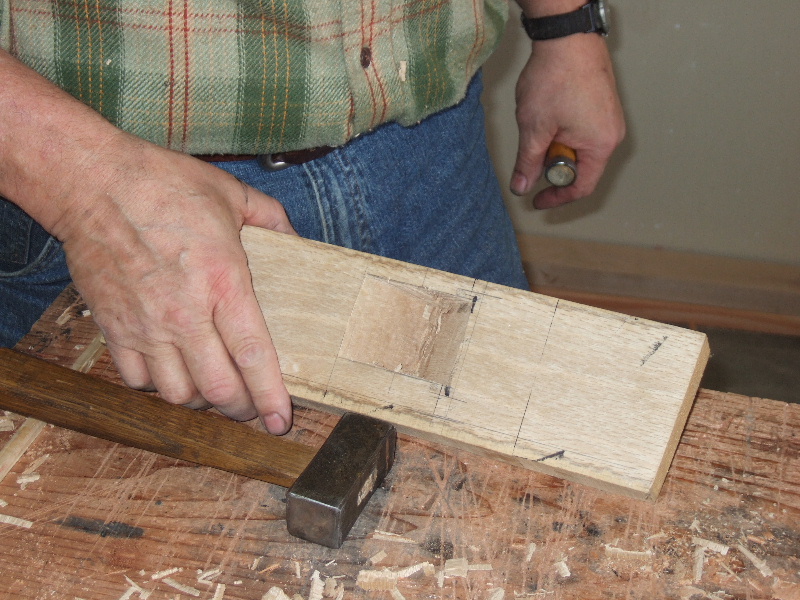
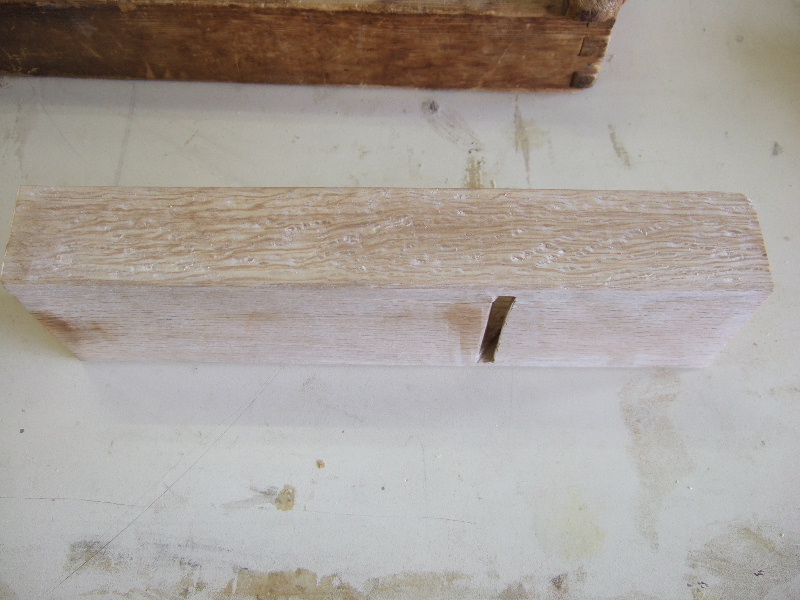
| Bottom of block view. Not the throat opening. | |
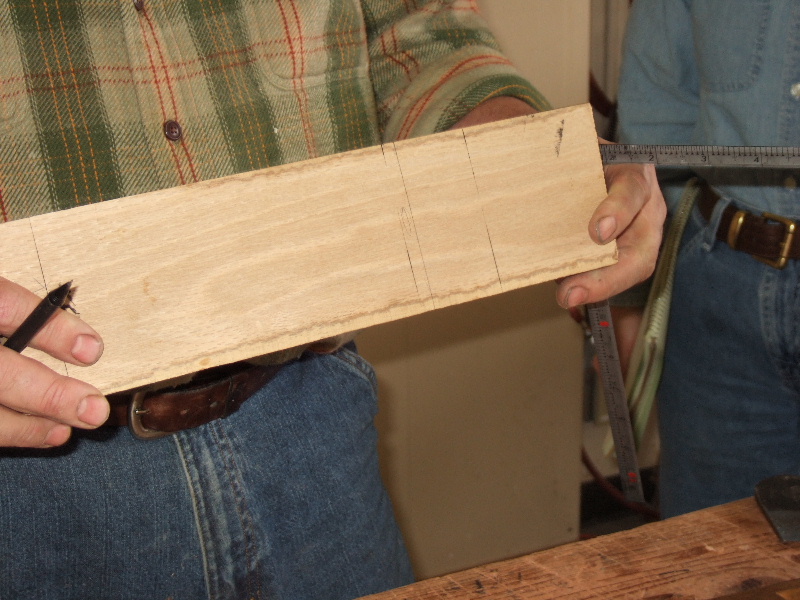
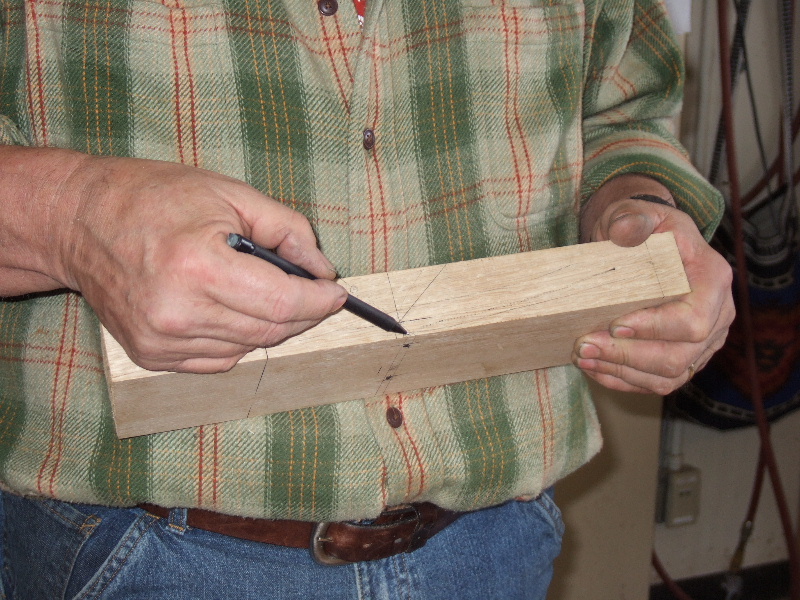
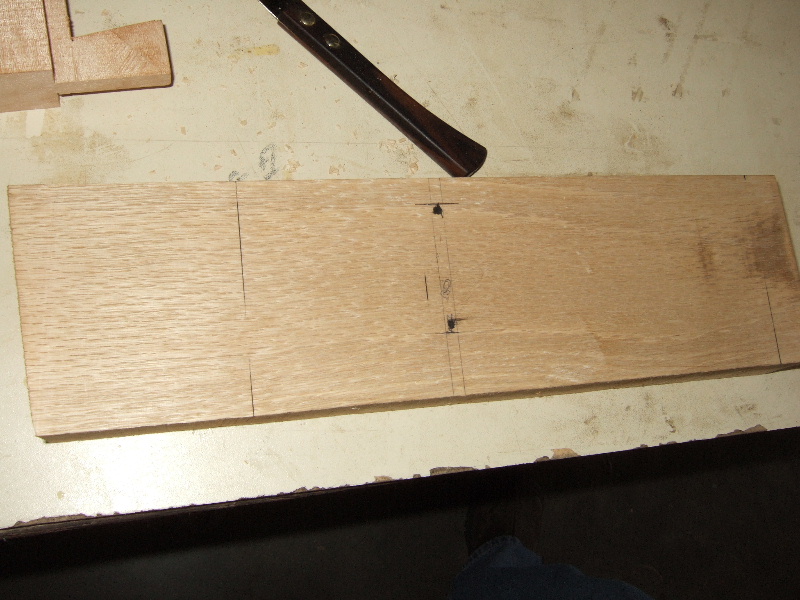
| Measure the width of the blade. Spare a minimum of 4 bu's on each side. | |
| Bottom and side view. | |
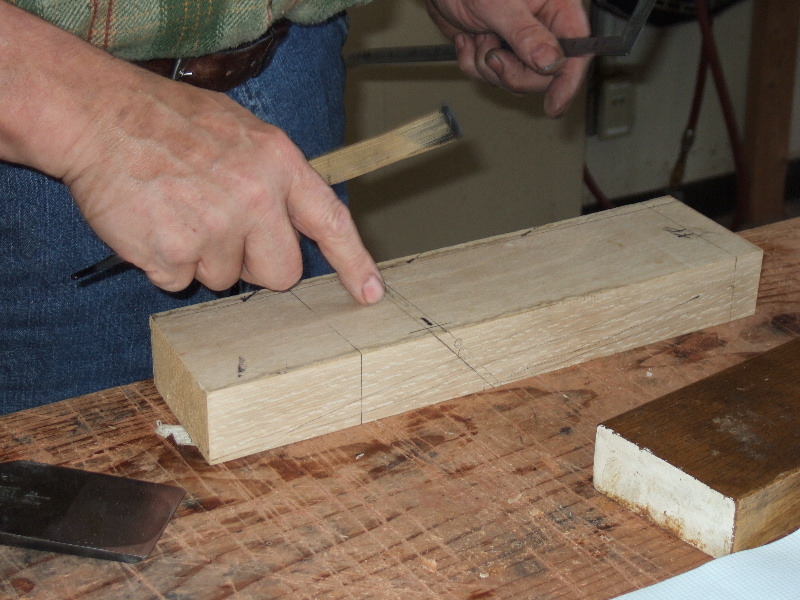
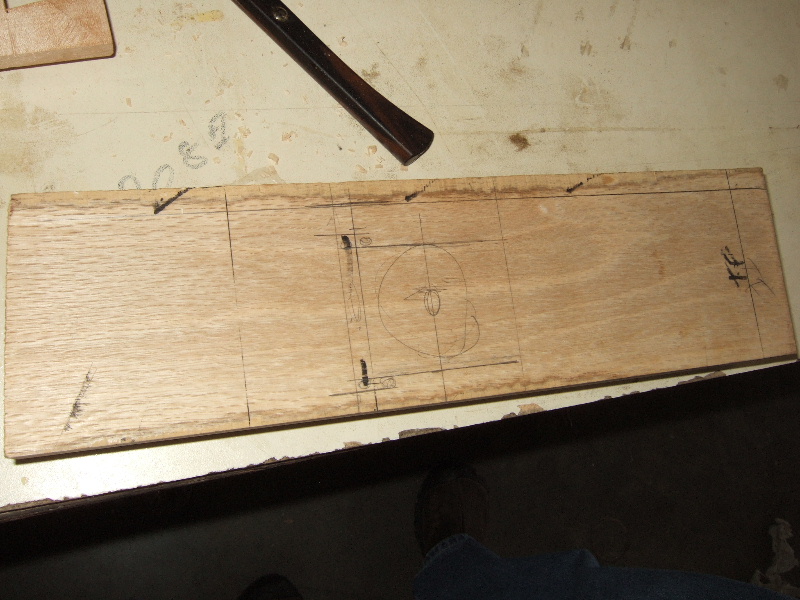
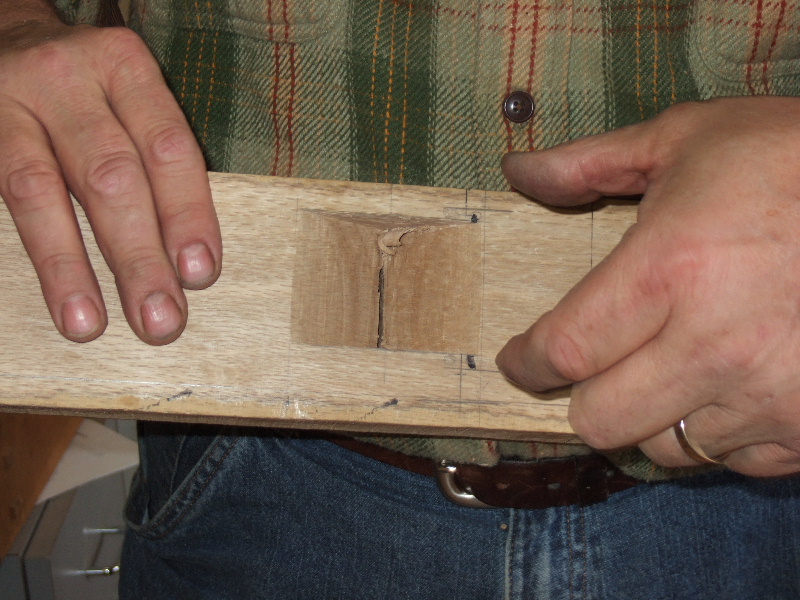
| Lay out the line to set the throat opening. | |
| Lay out the width of the cutting edge (minus the "ears"). | |
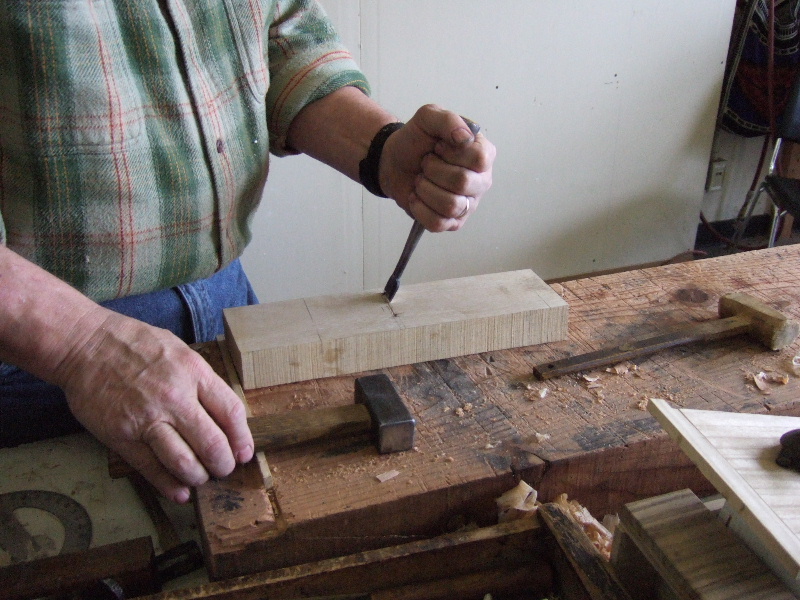
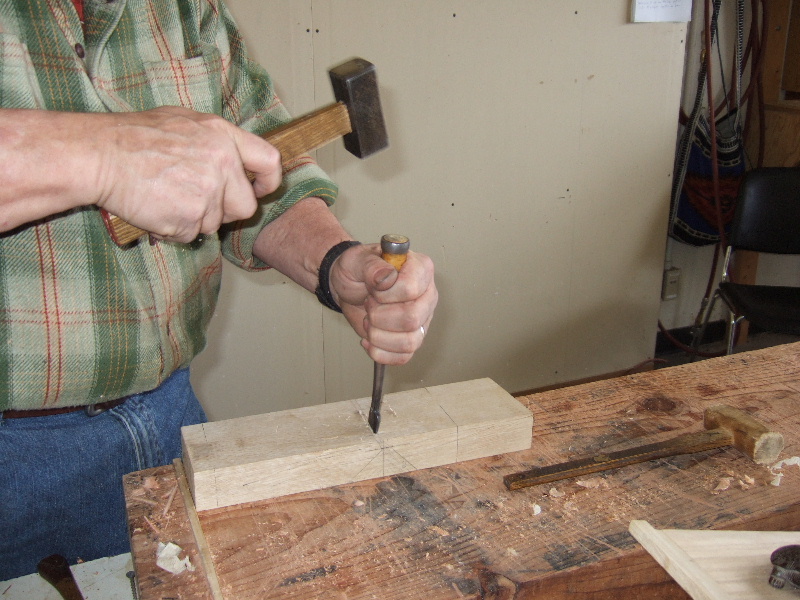
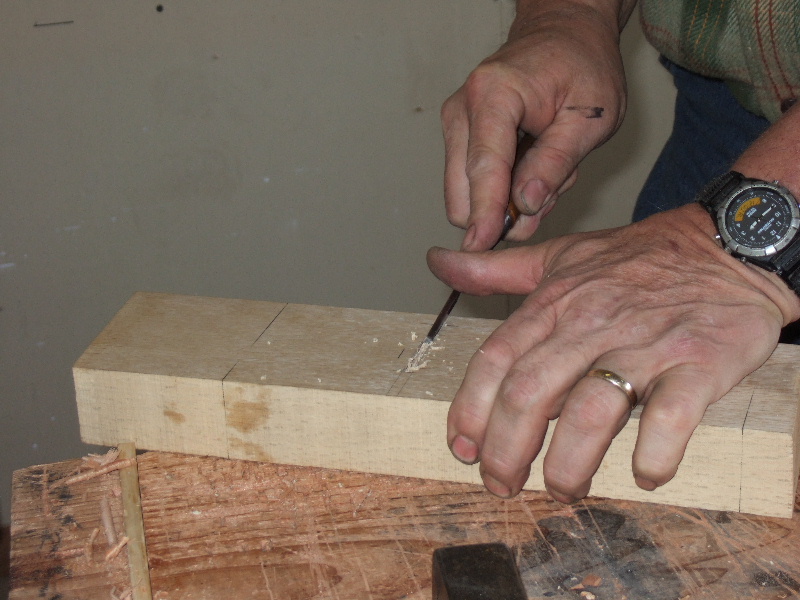
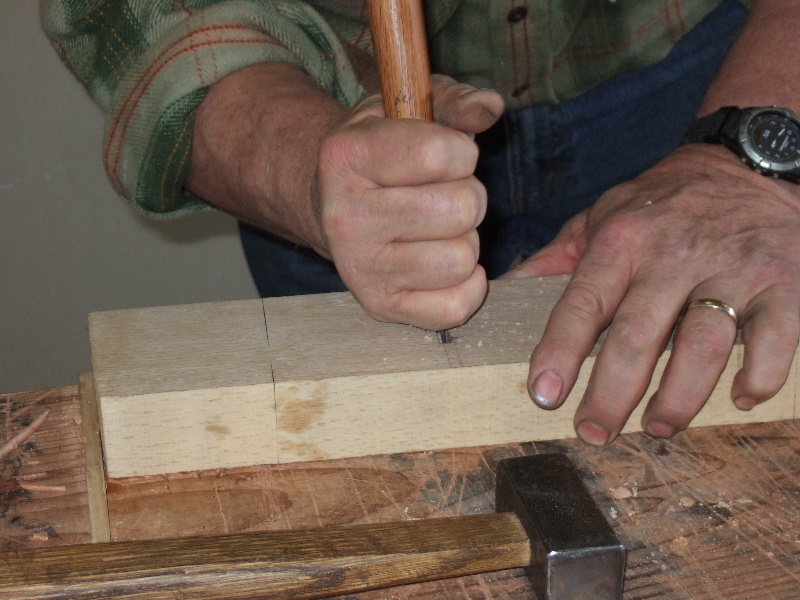
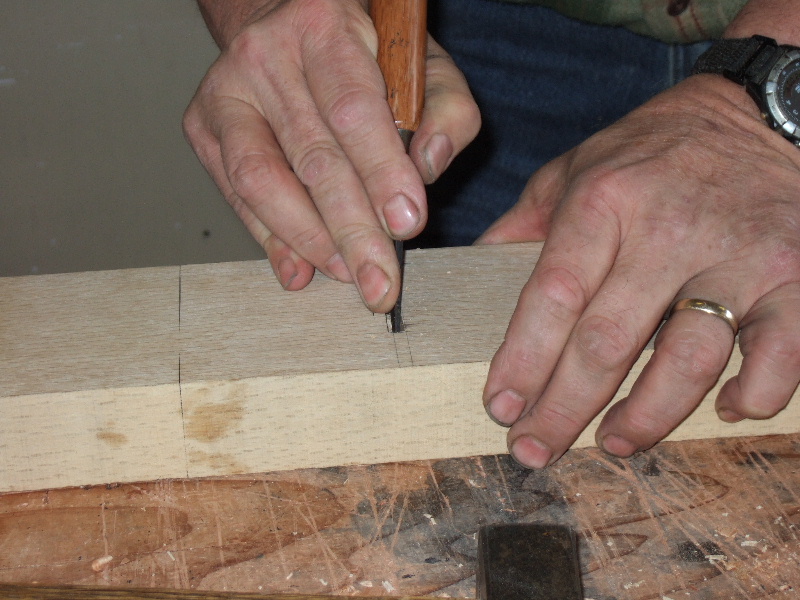
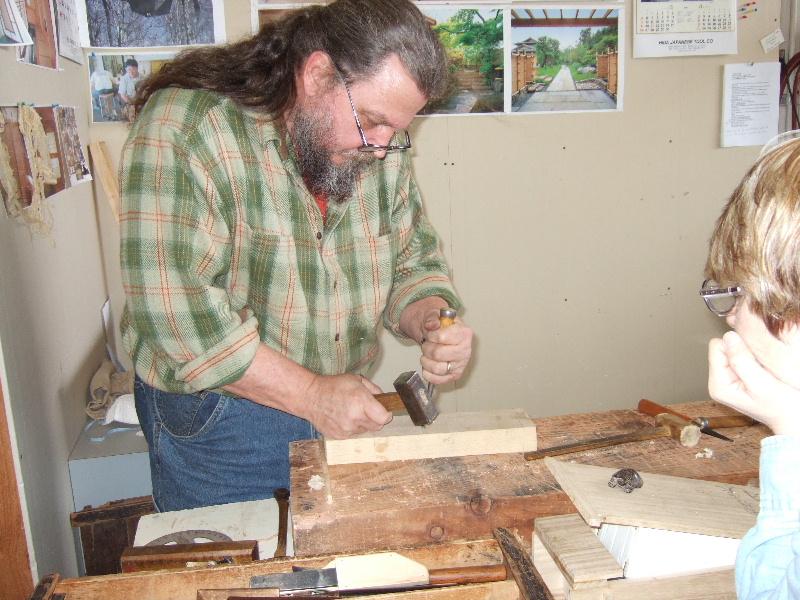
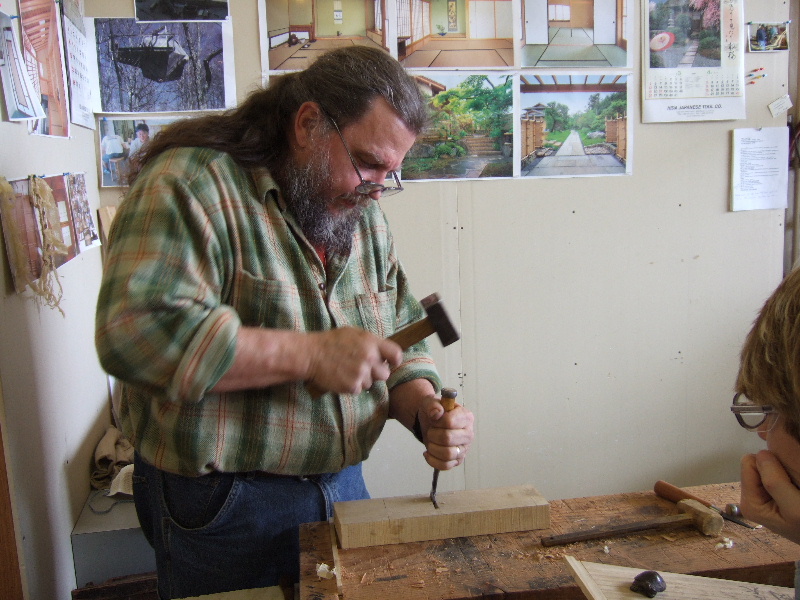
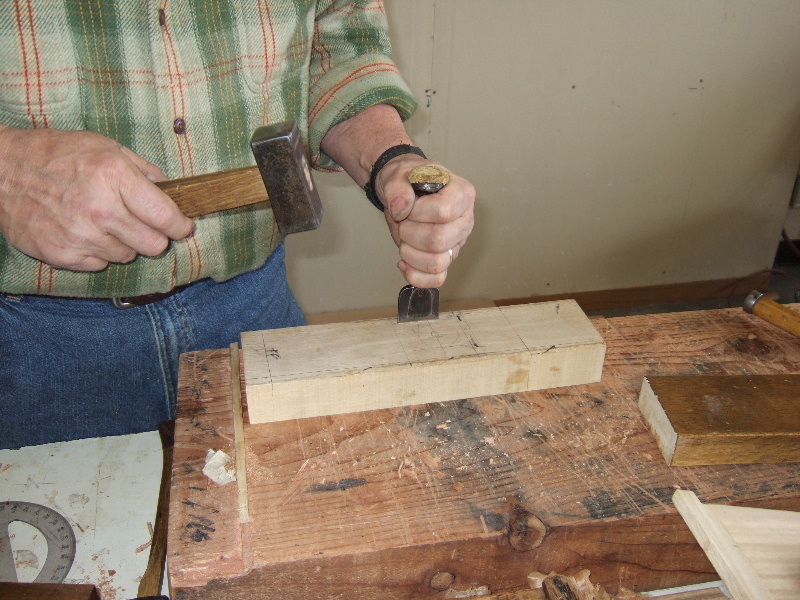
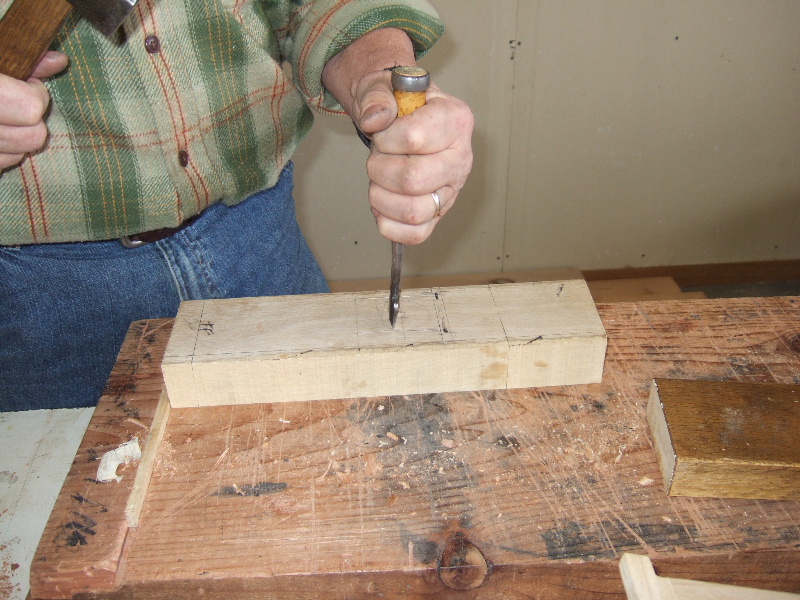
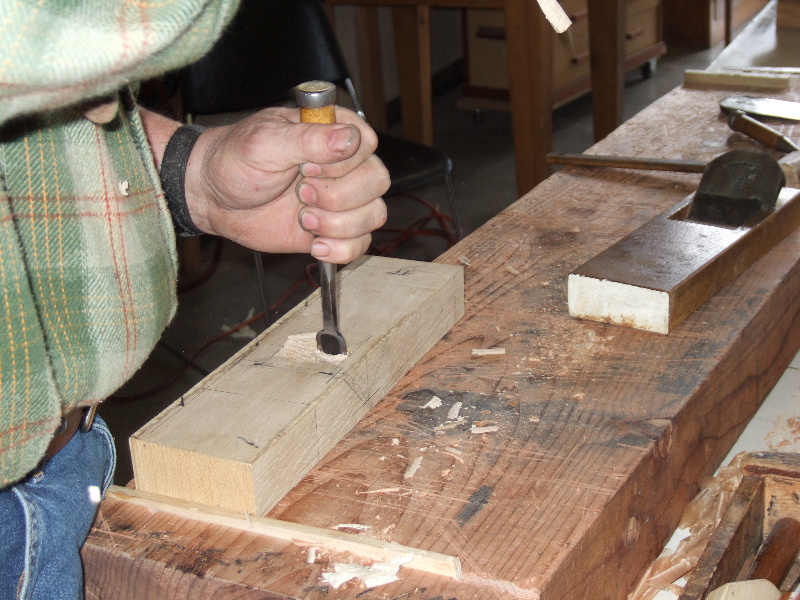
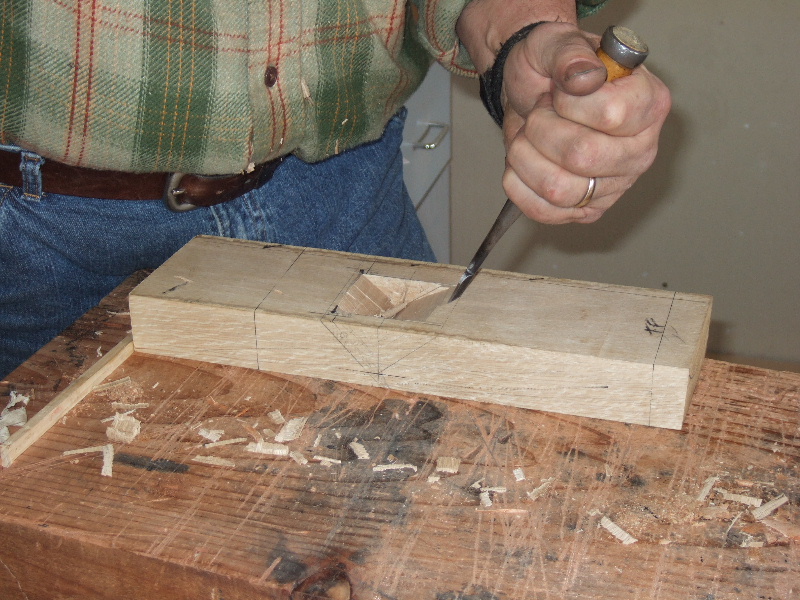
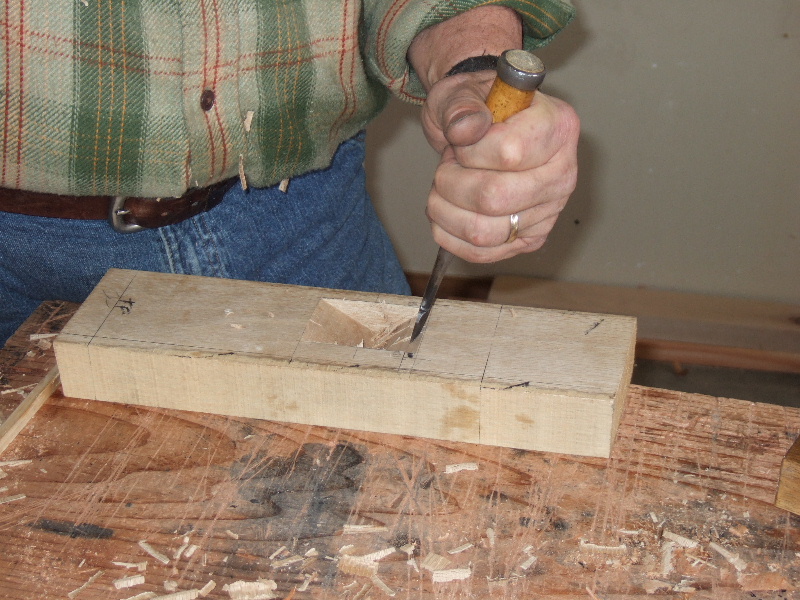
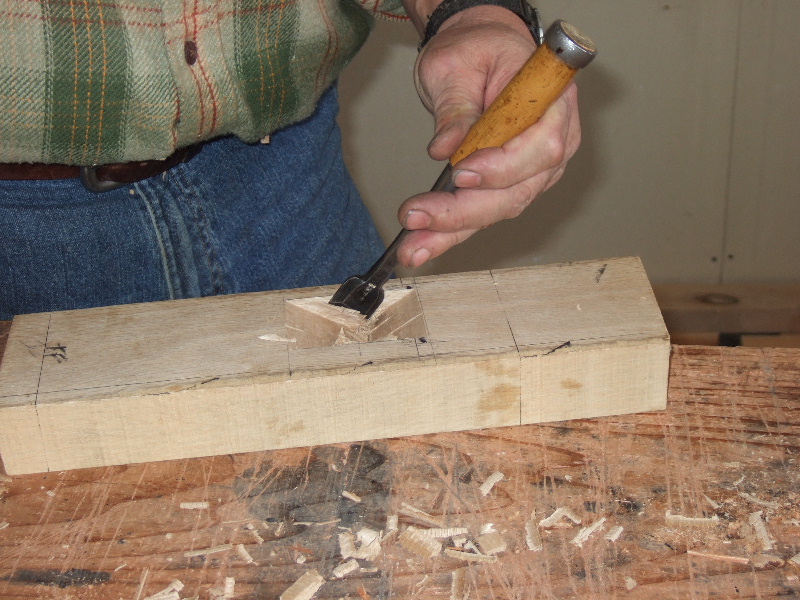
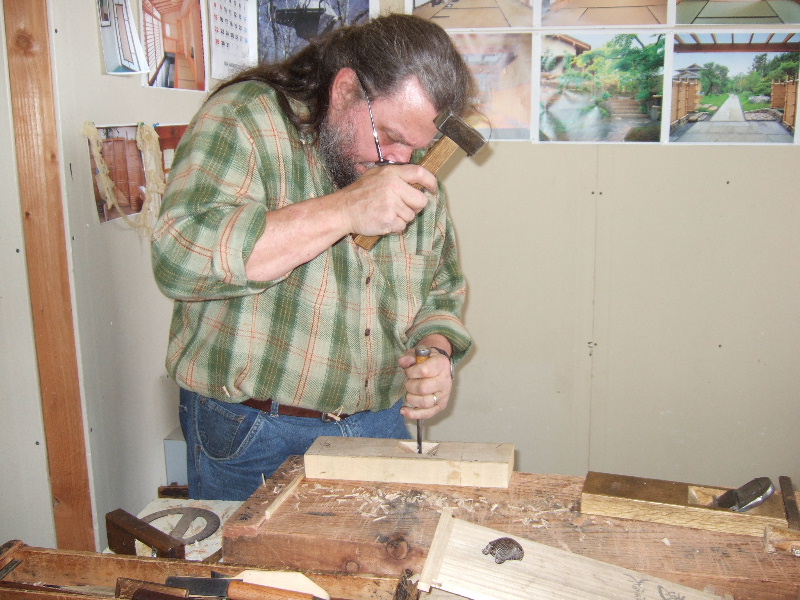
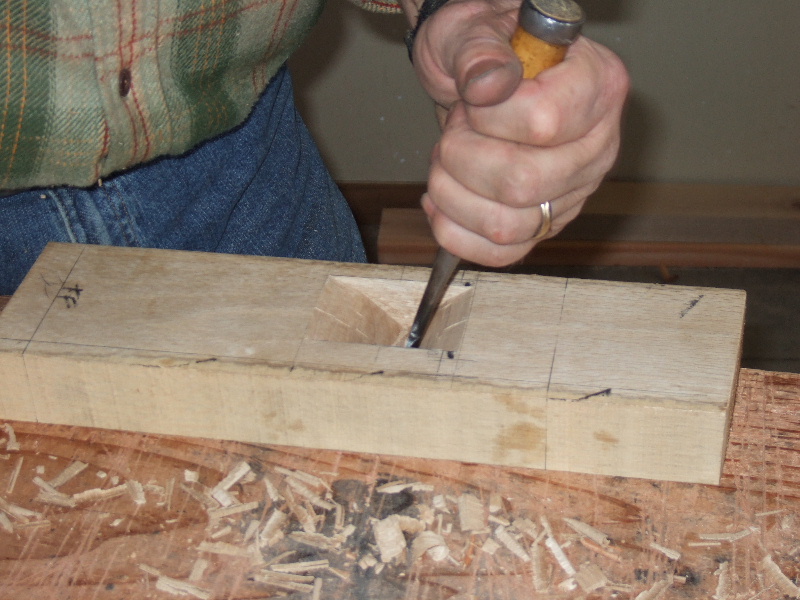
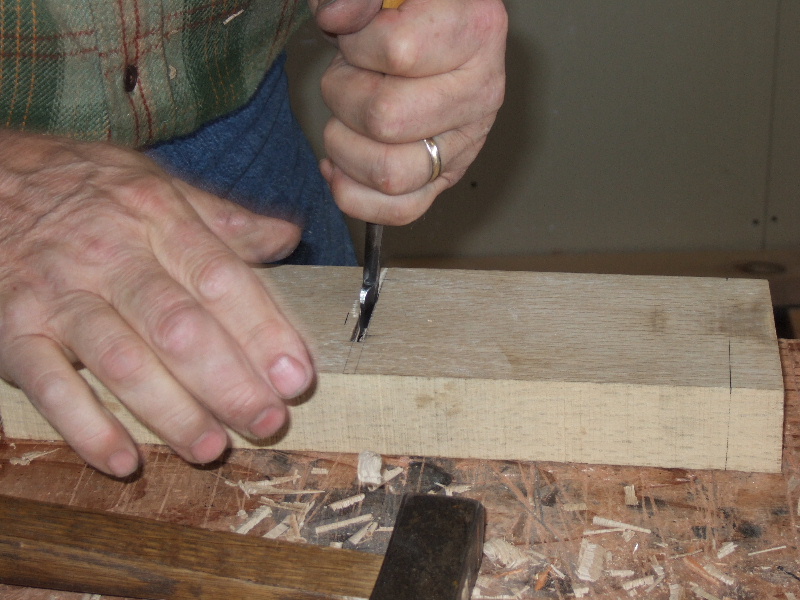
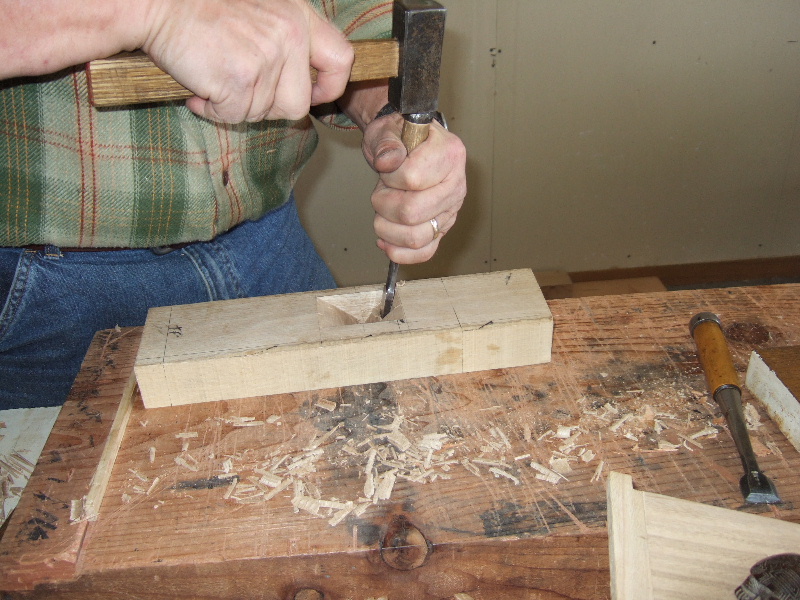
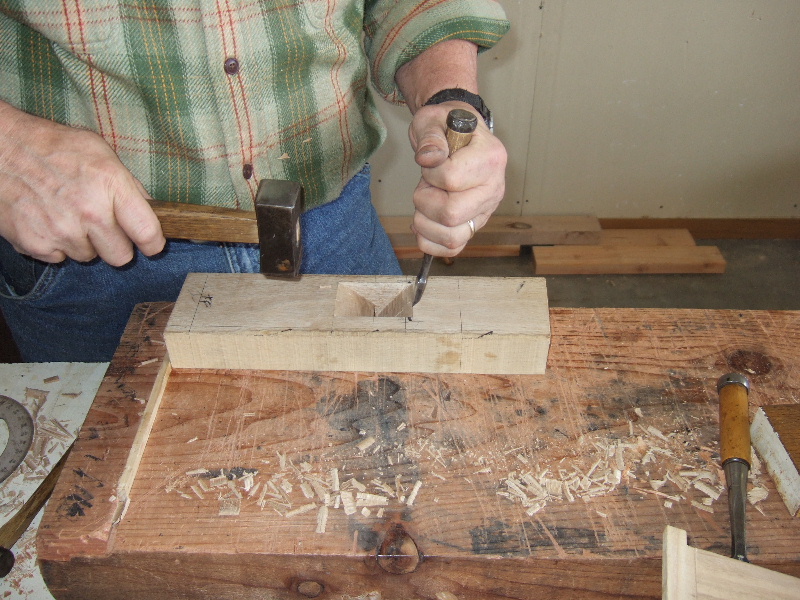
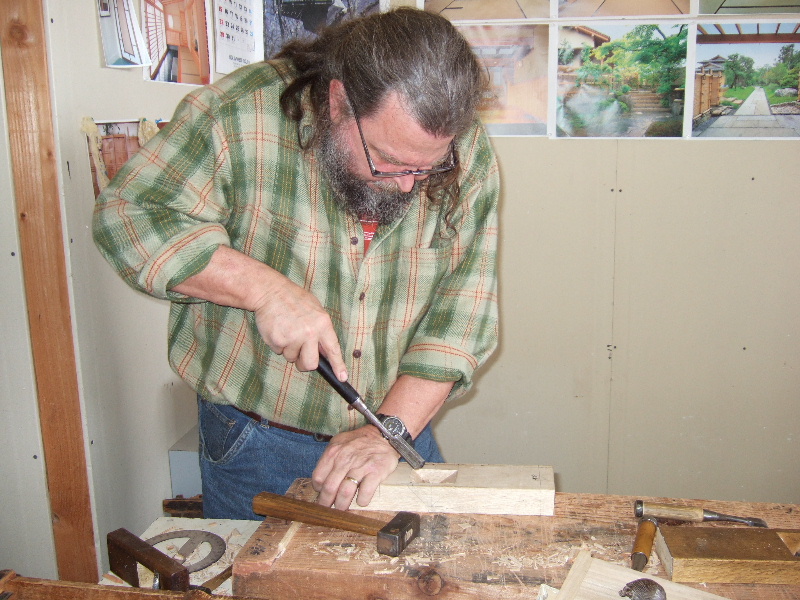
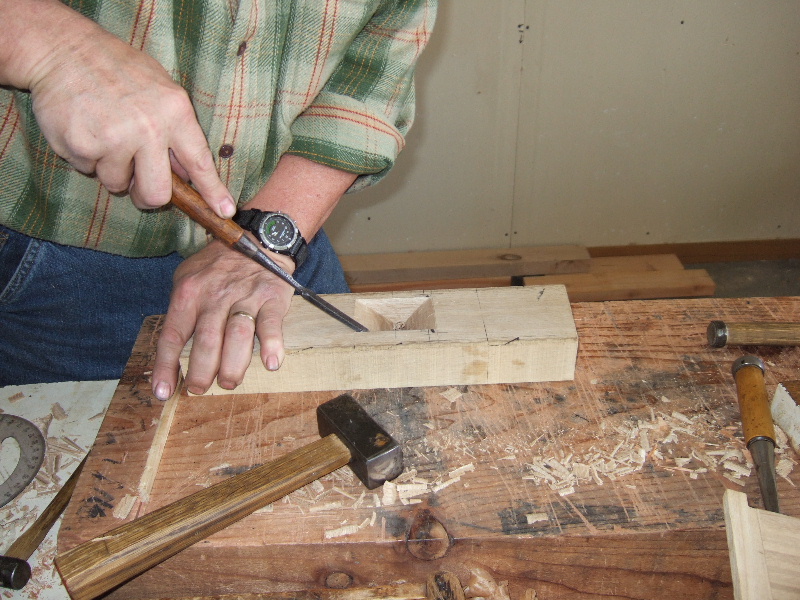
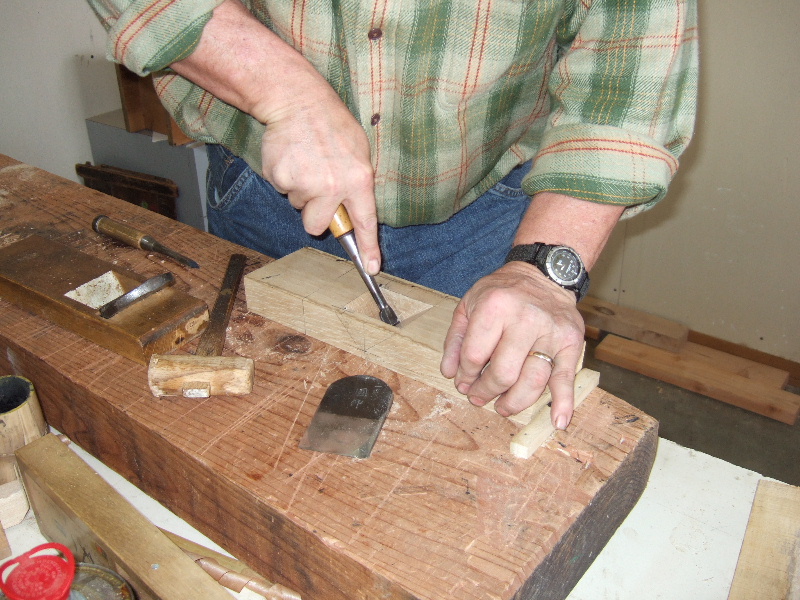
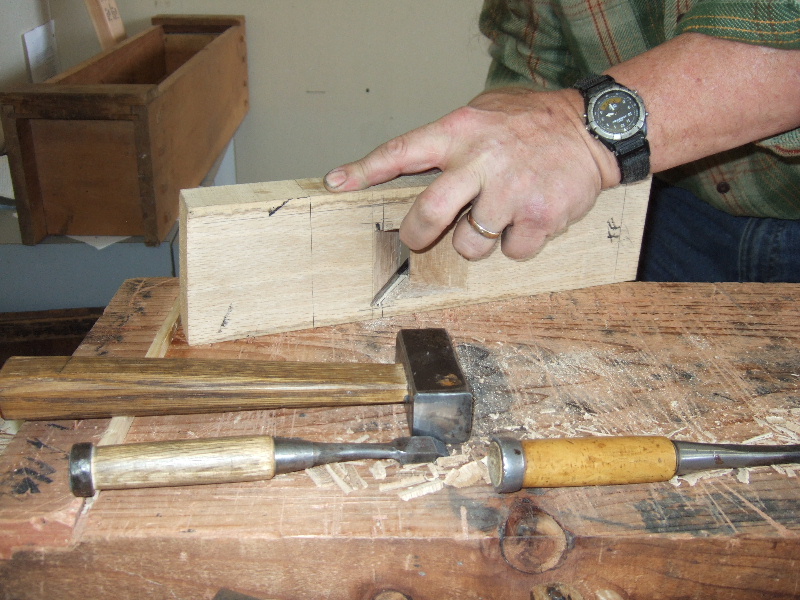
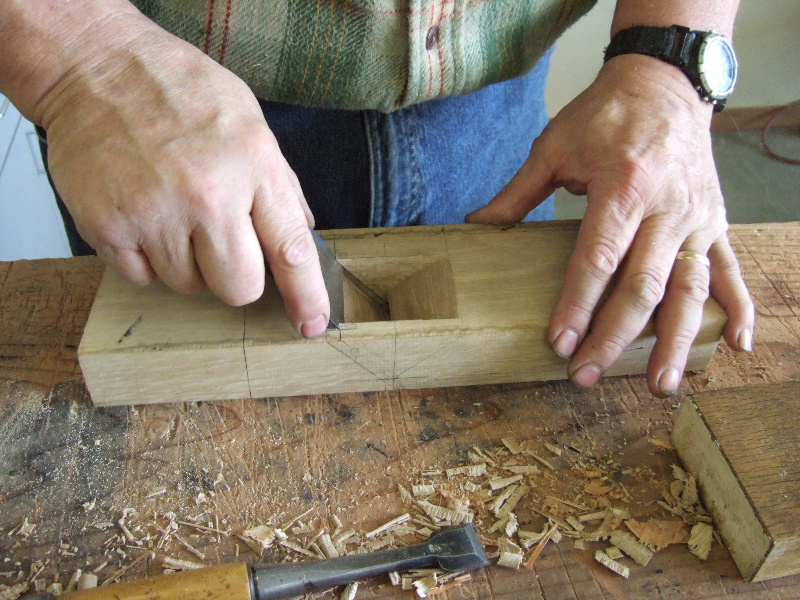
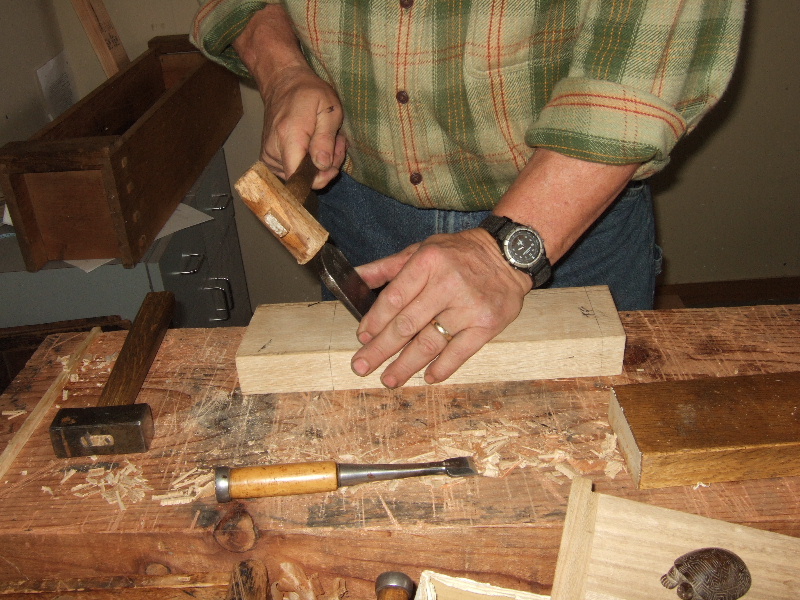
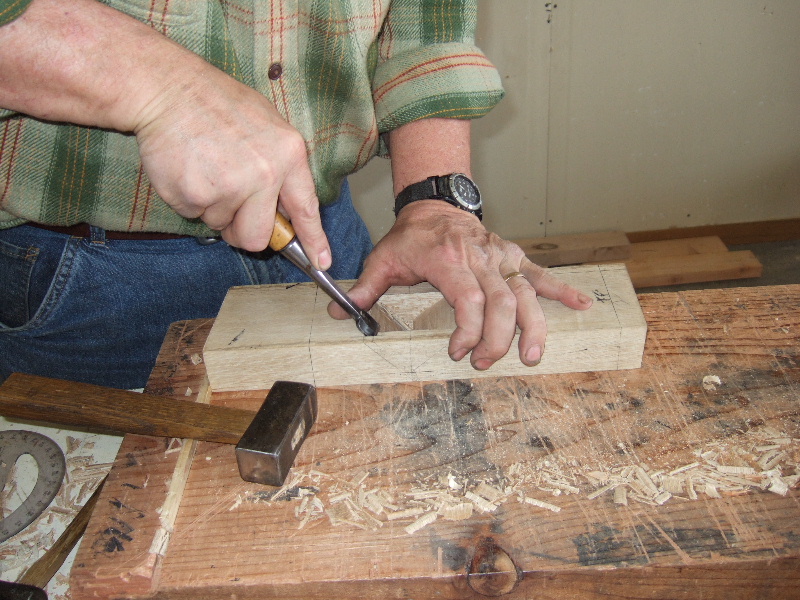
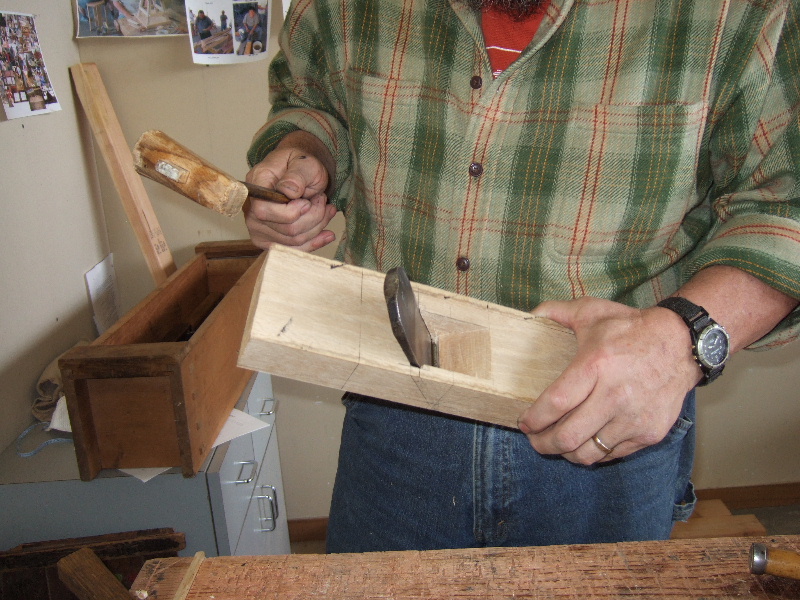
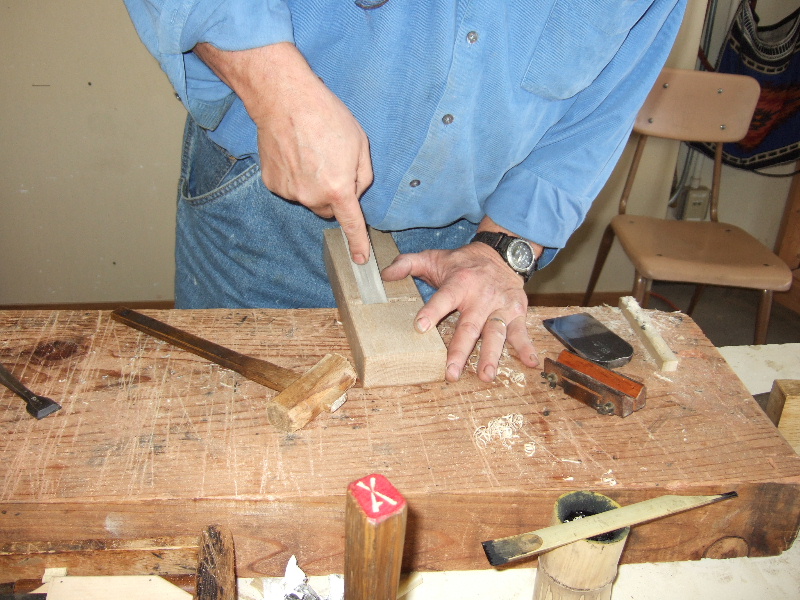
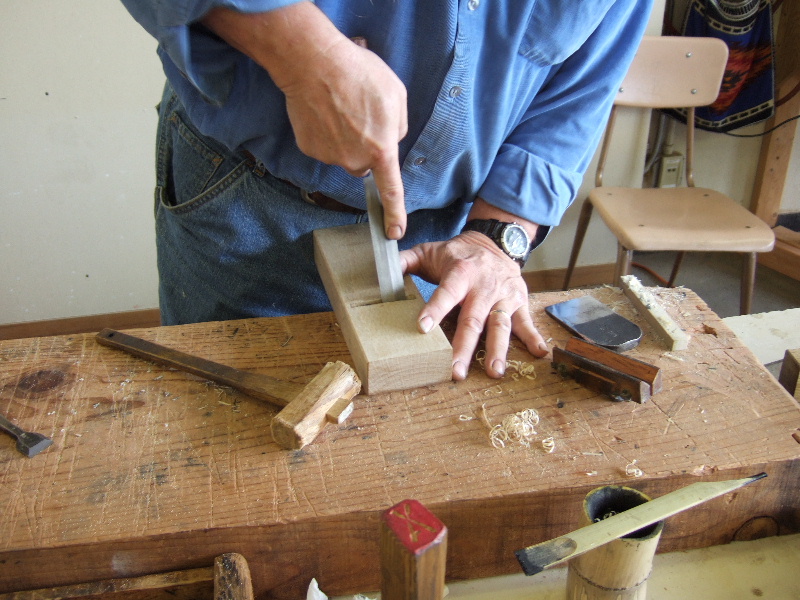
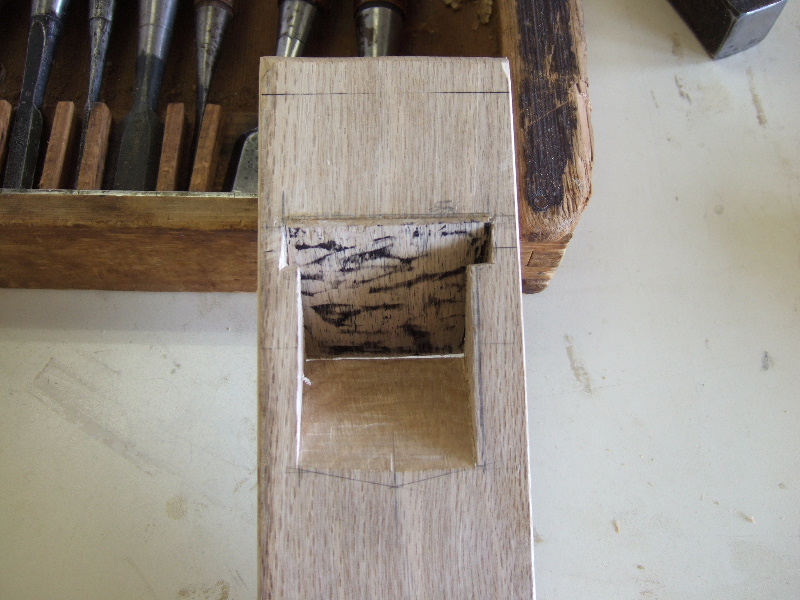
| Jay starts mortising the throat opening (on the bottom of the block). He uses a thin bench chisel. | |
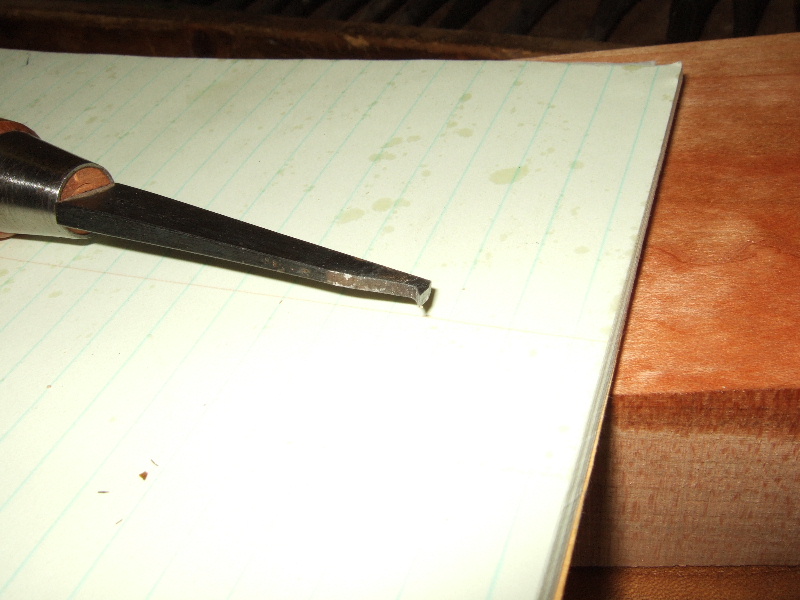
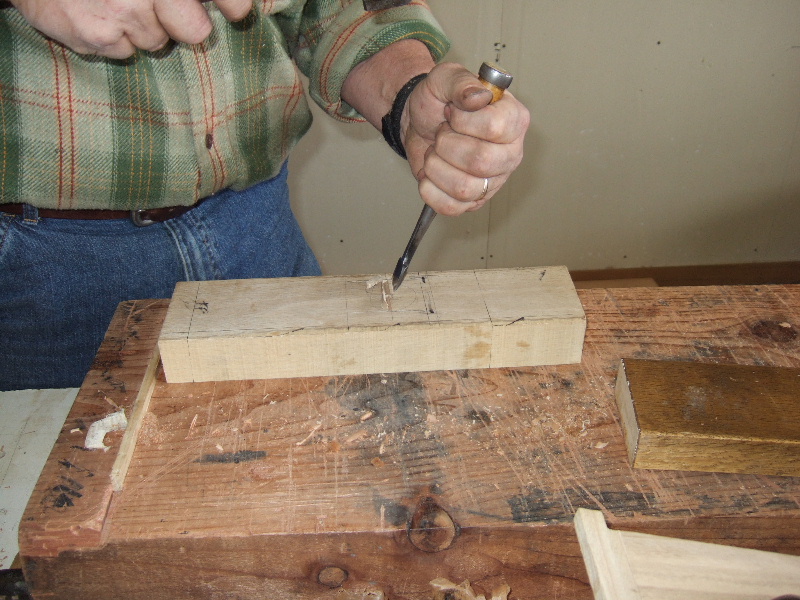
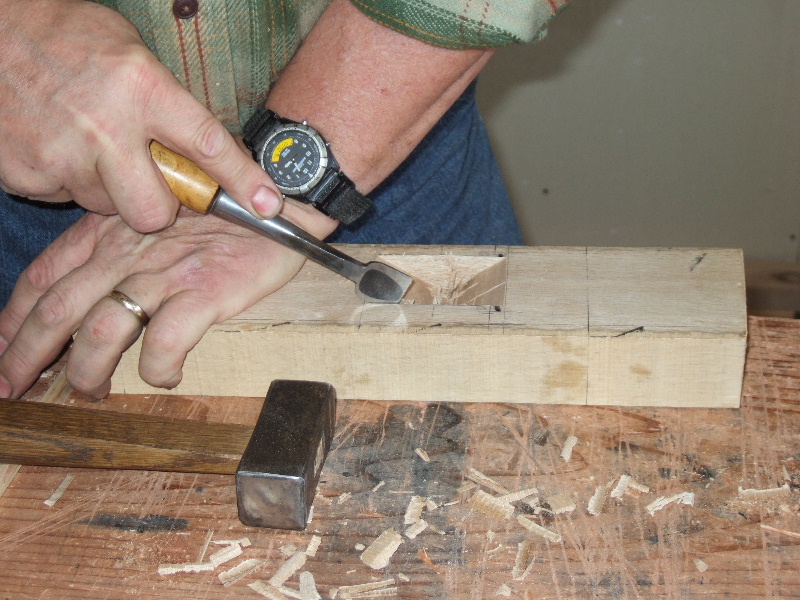
| Waste inside the throat is scraped out using a special bottom-cleaning chisel (Sokosarae Nomi). In traditional dai making, a special mouth-cutting chisel is used instead. | |
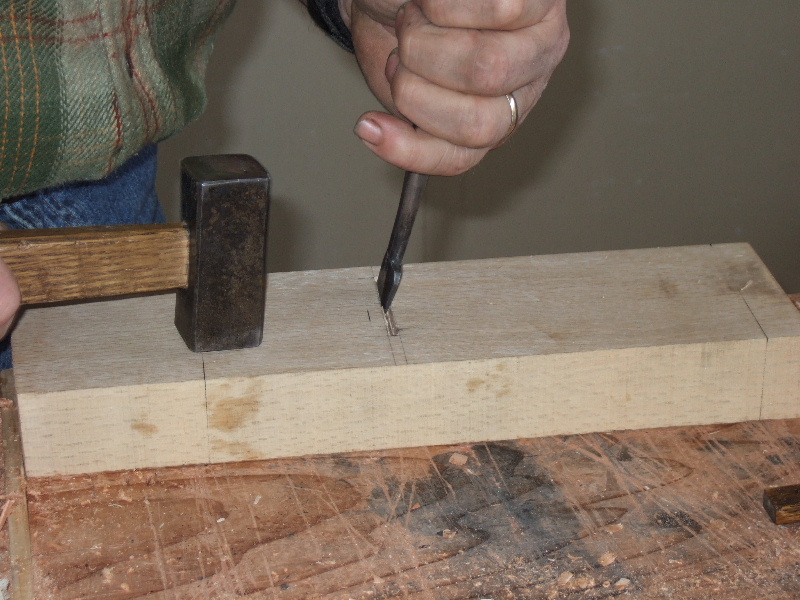
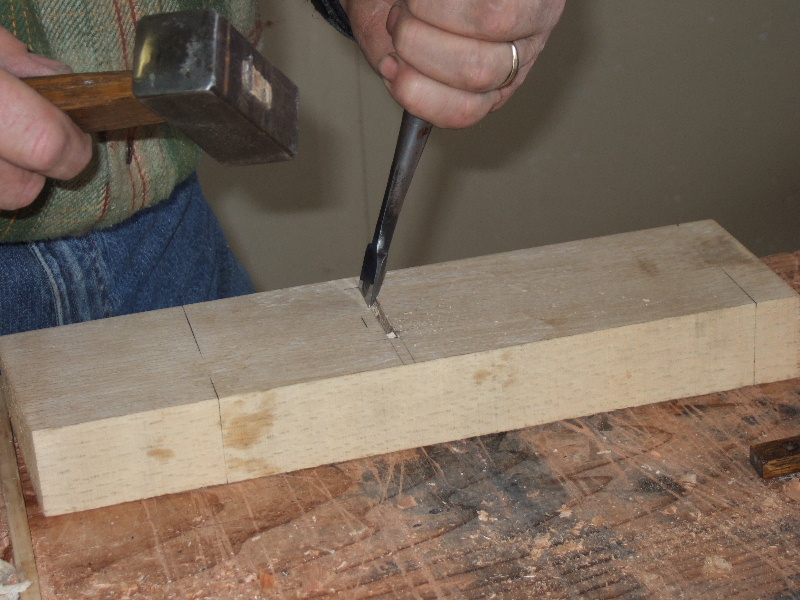
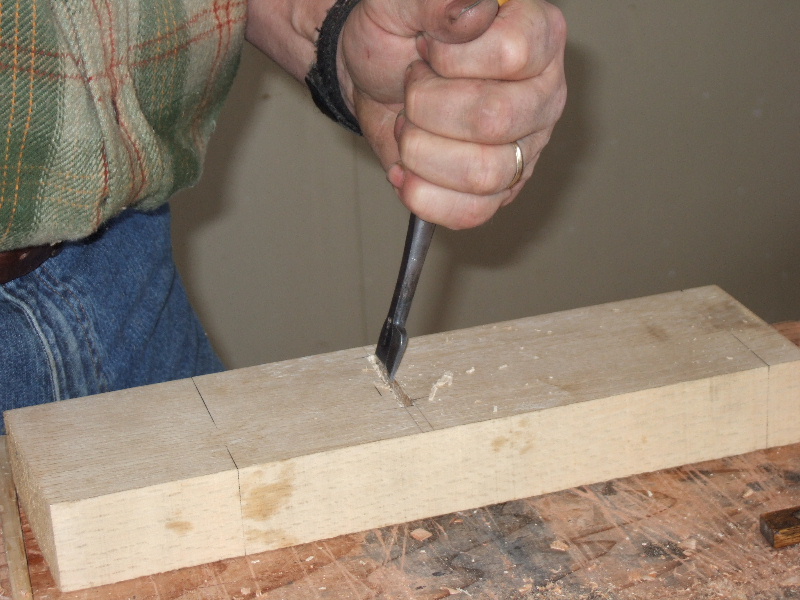
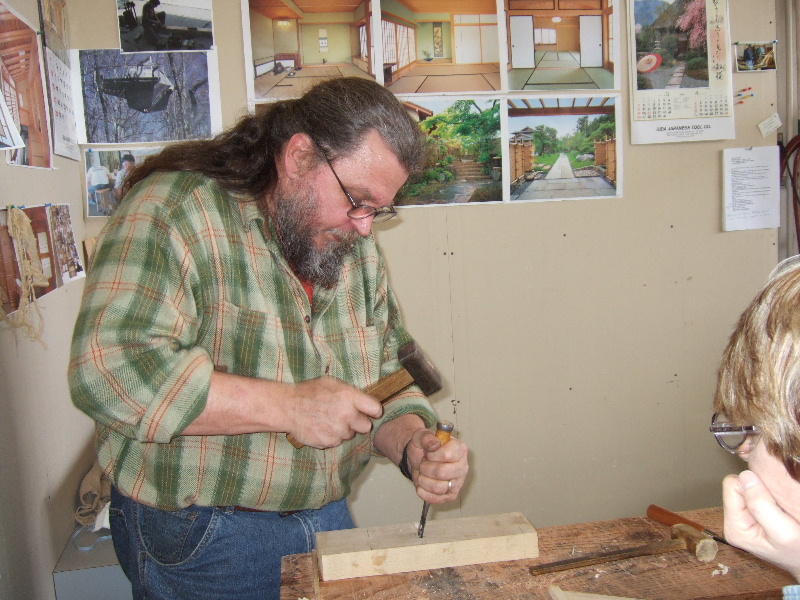
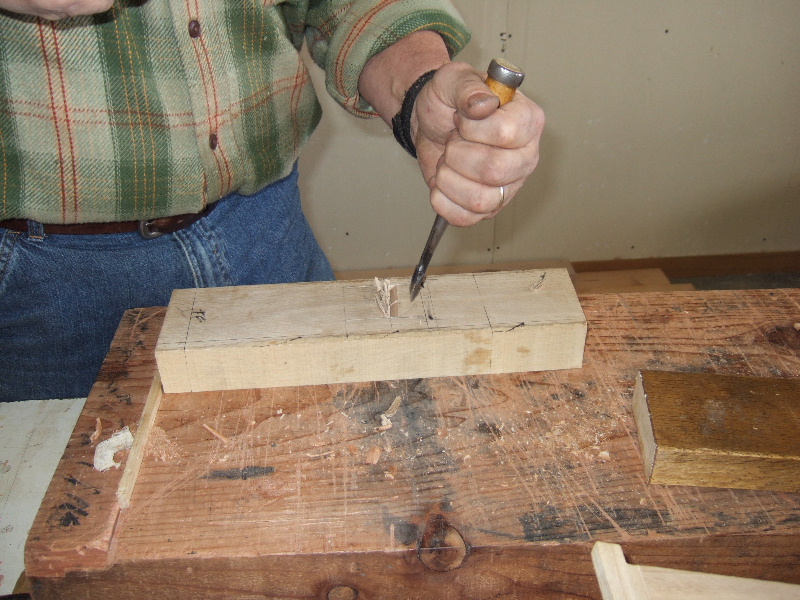
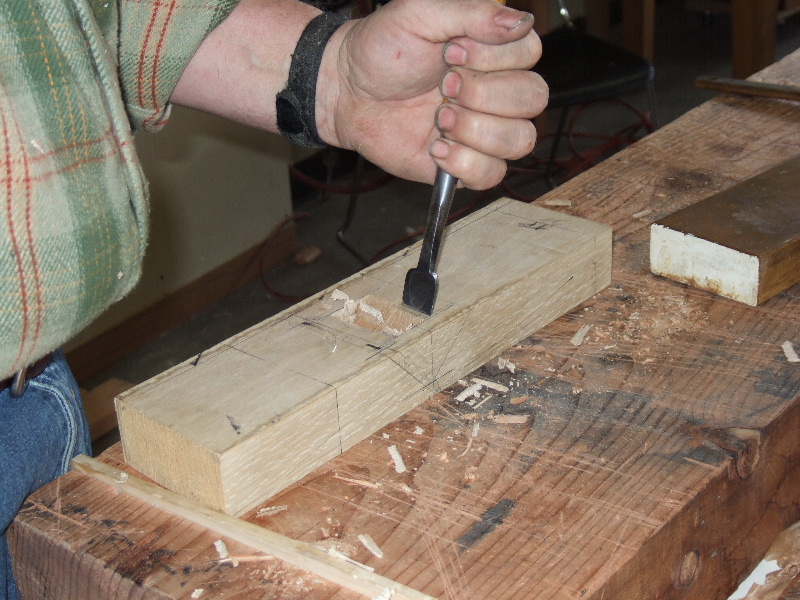
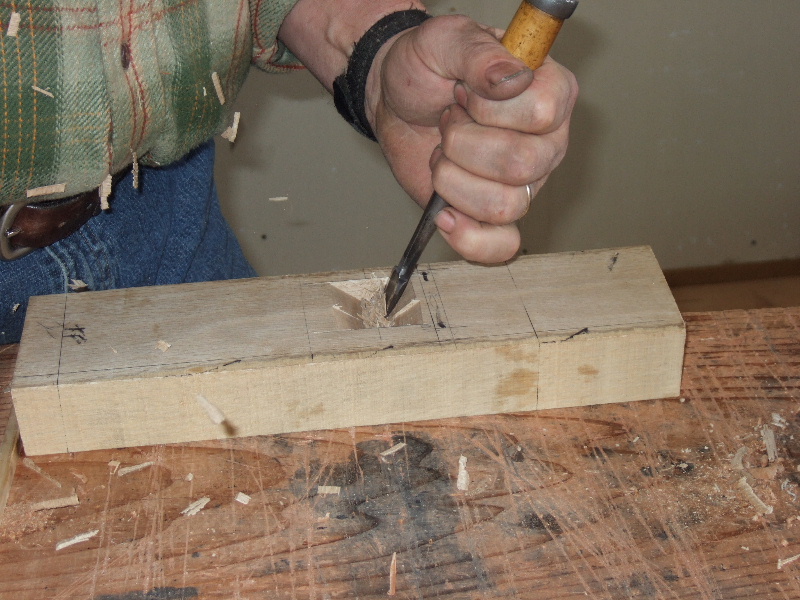
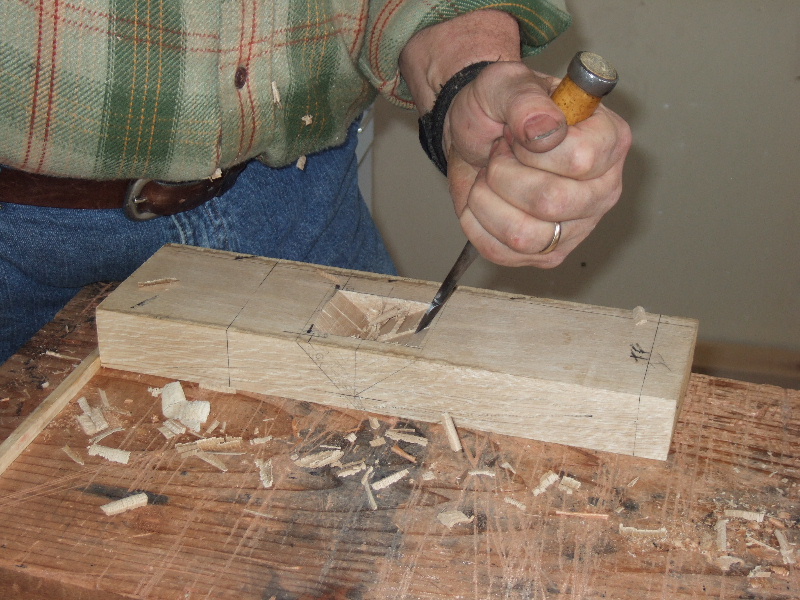
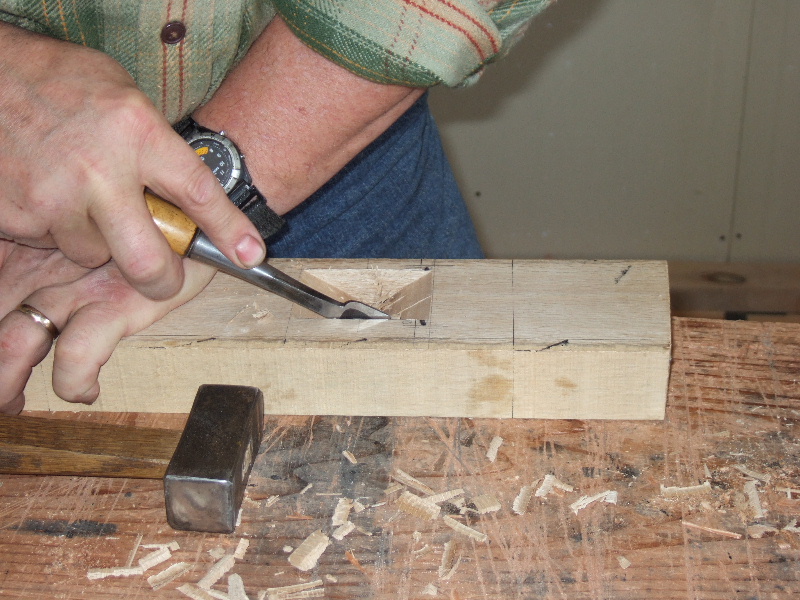
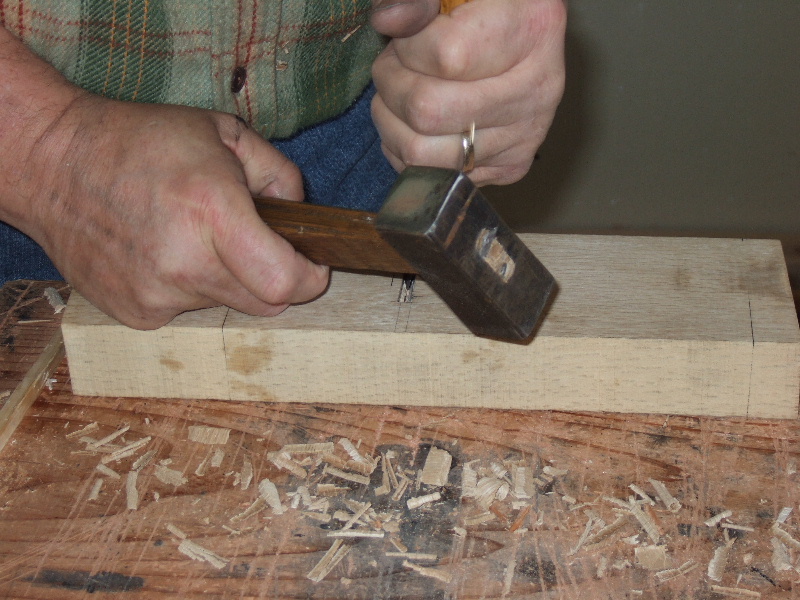
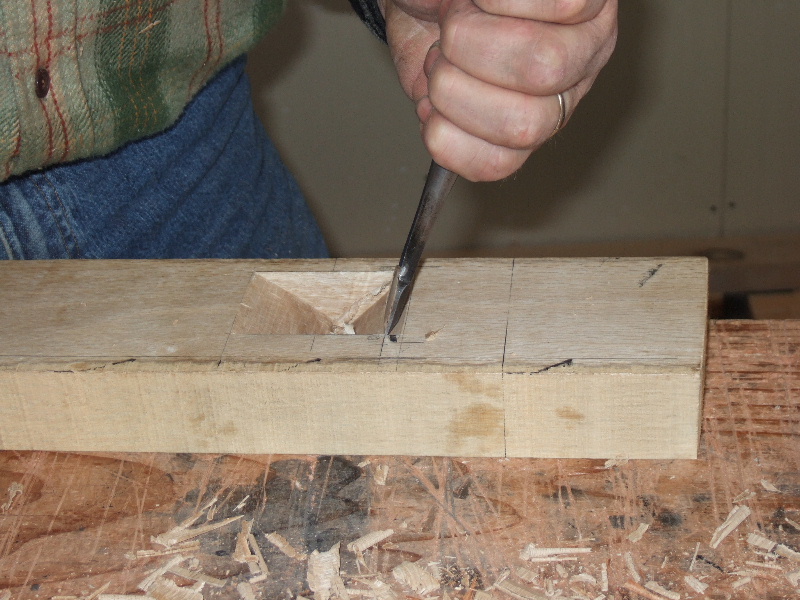
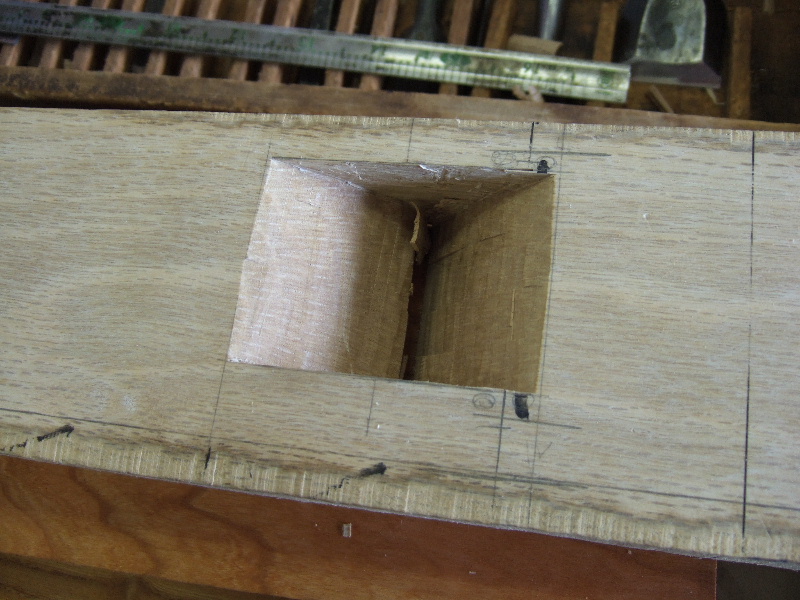
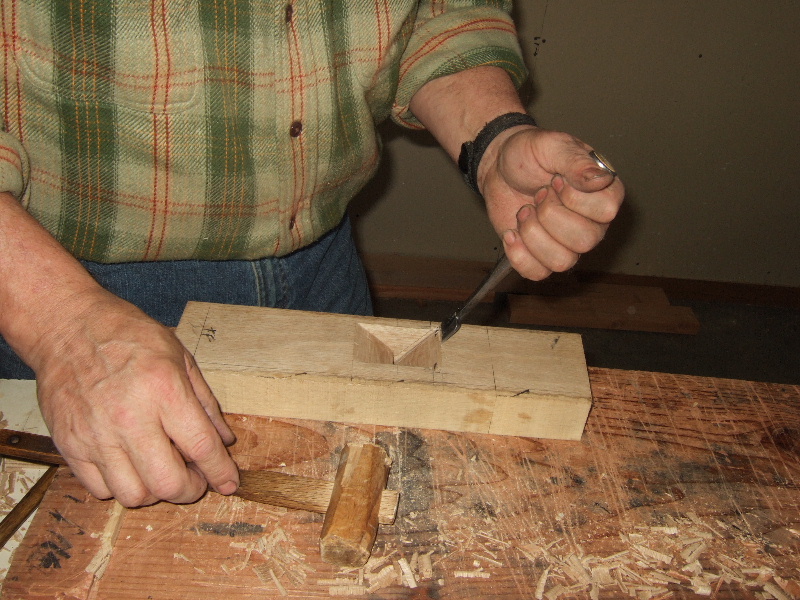
| Jay continues chipping away at the throat. Take your time with mortising as the angle must be precise. Jay uses the bevel periodically to check the angle. Also, the front of the throat has to be exact. | |
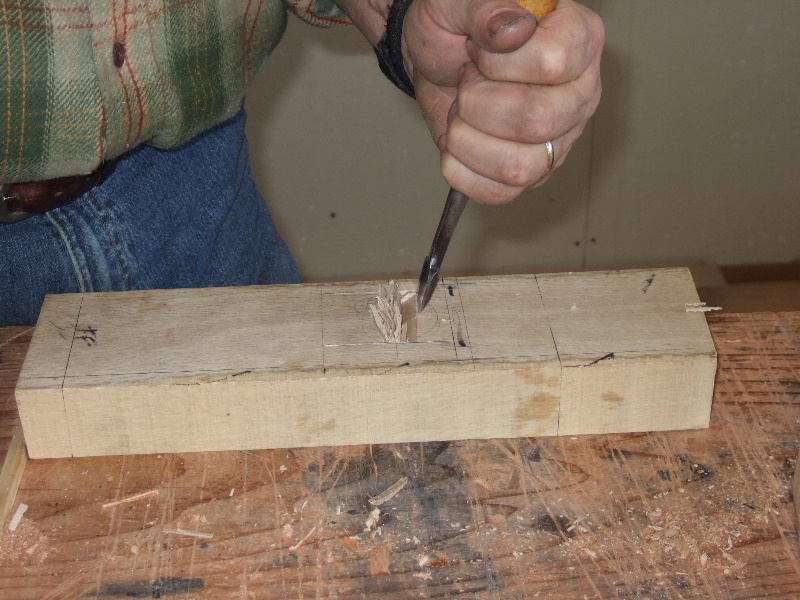
| More scraping. | |
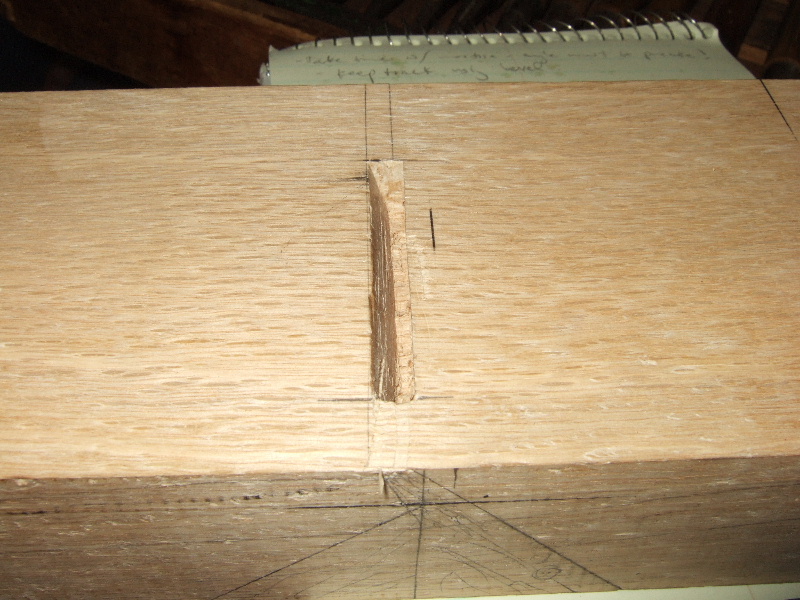
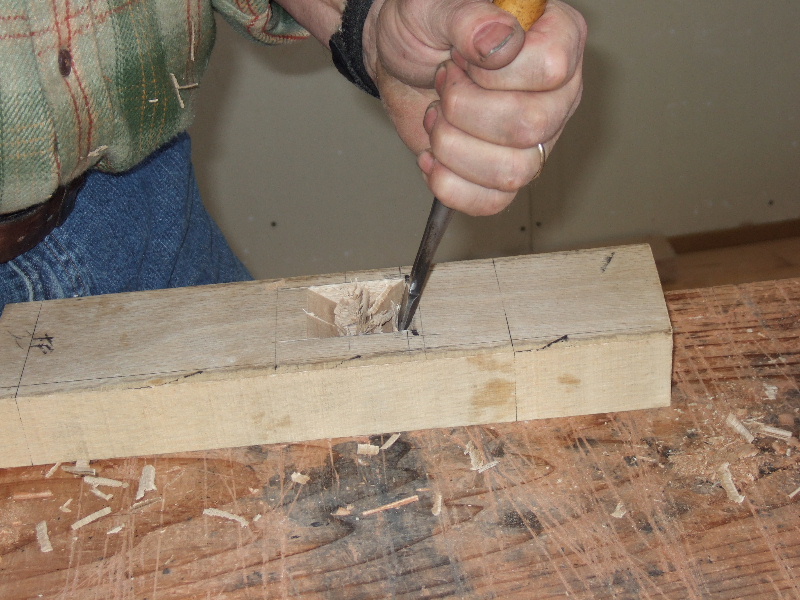
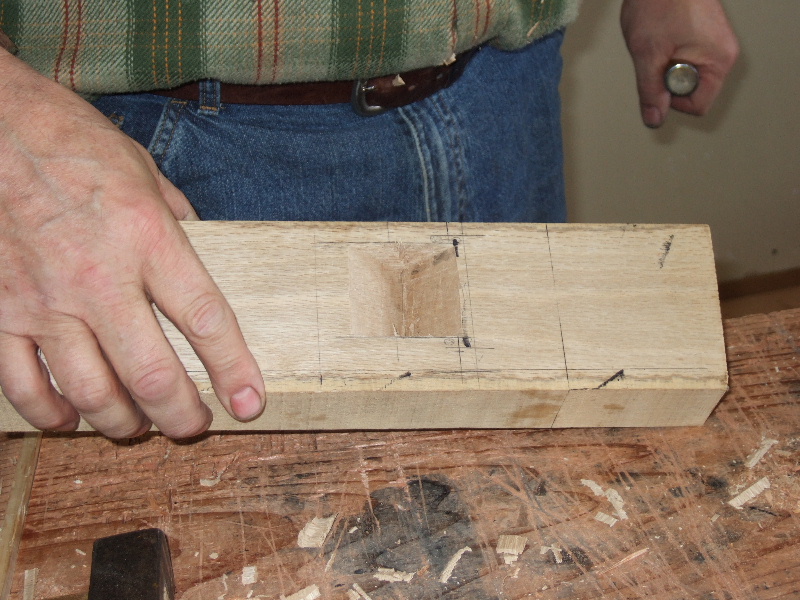
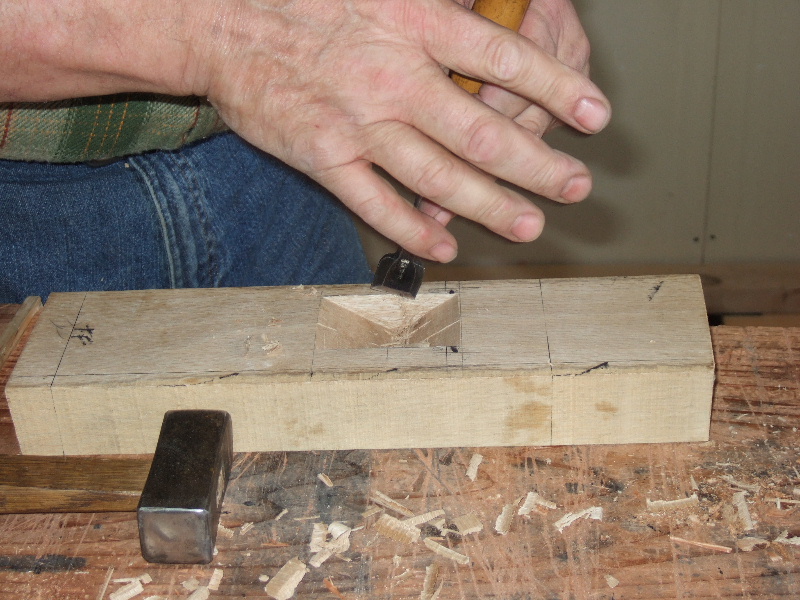
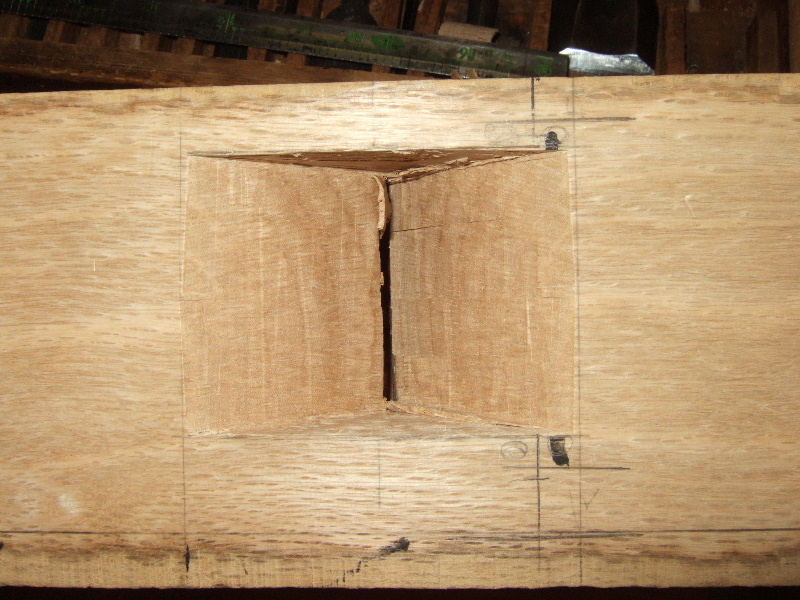
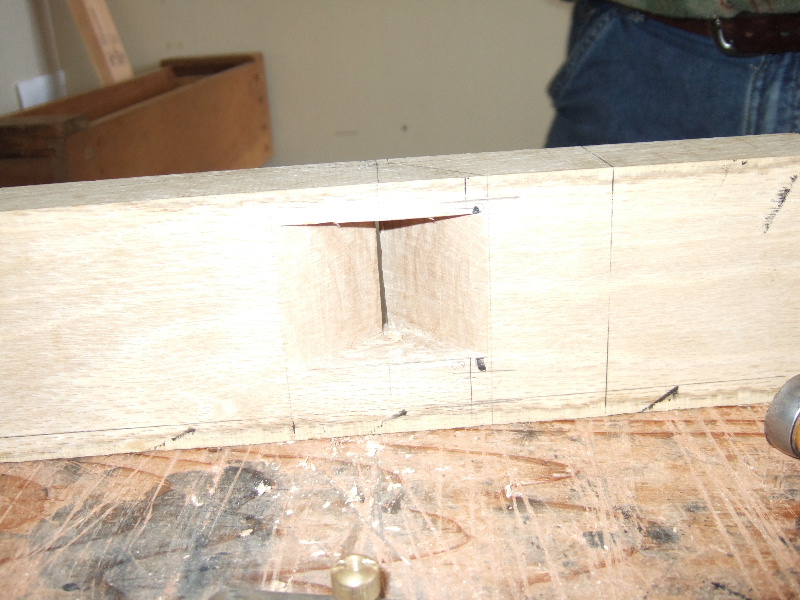
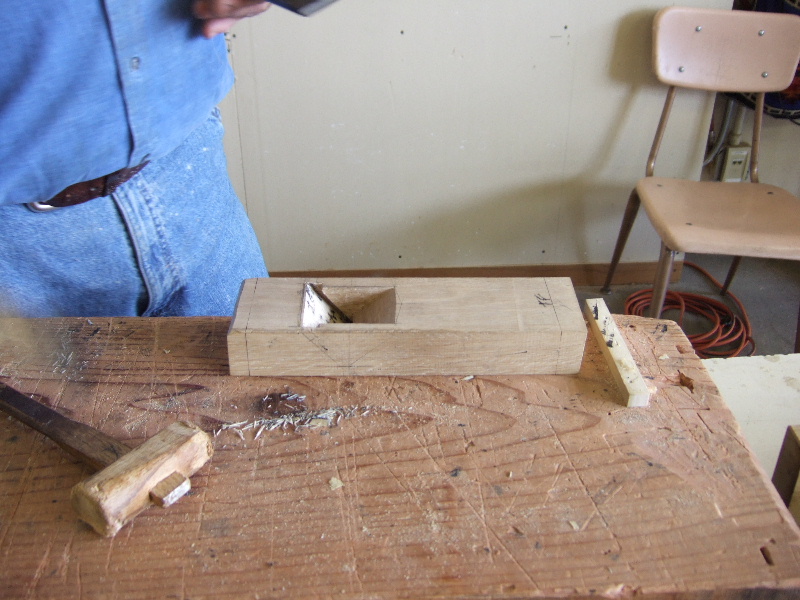
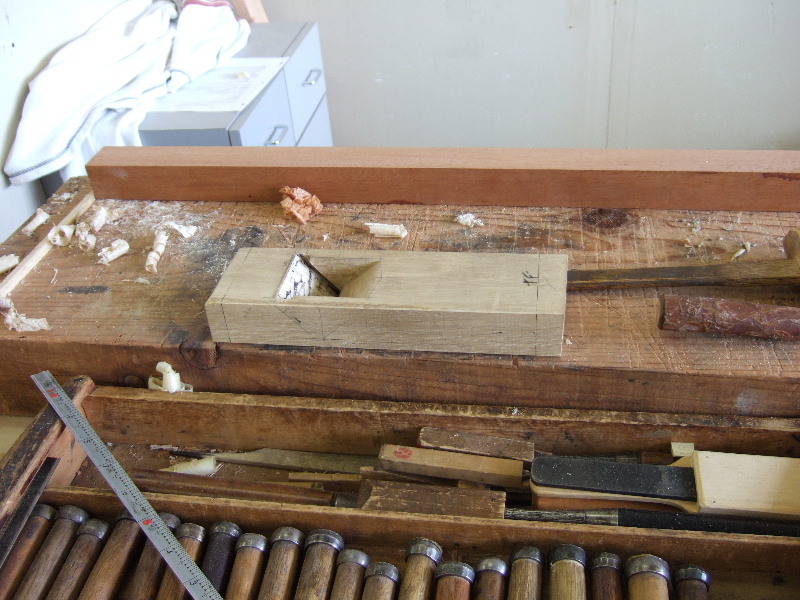
| This is how deep the throat opening needs to be. | |
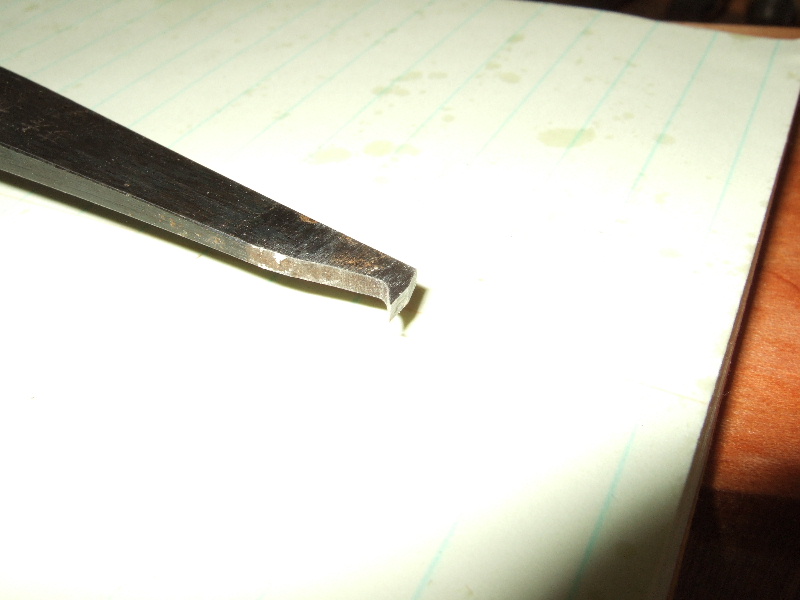
| Jay's sokosarae nomi. | |
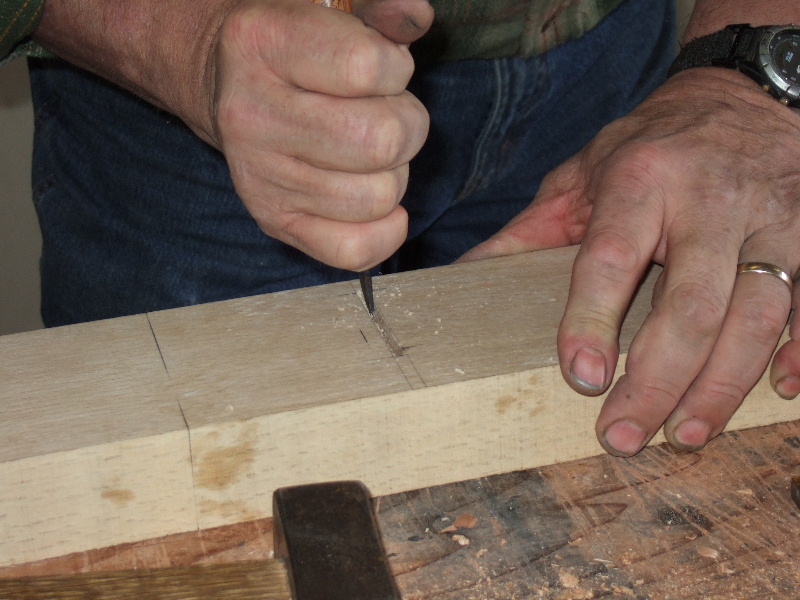
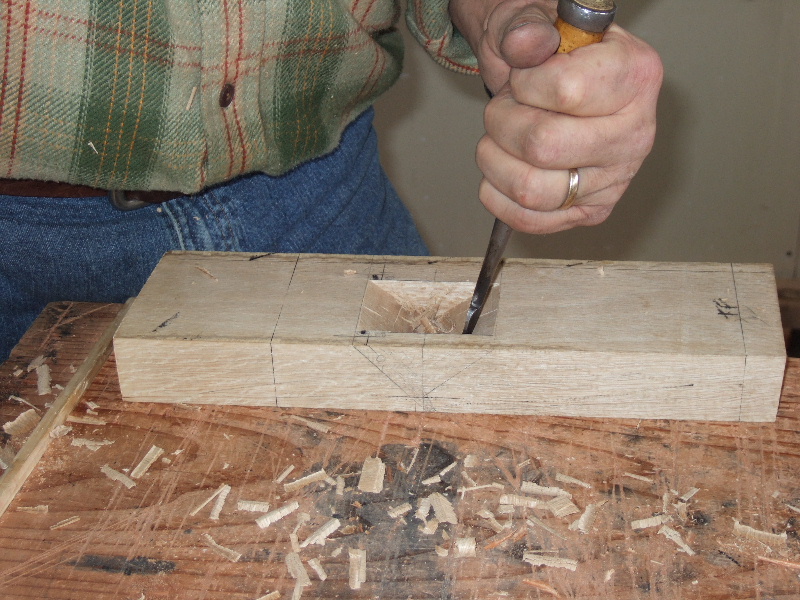
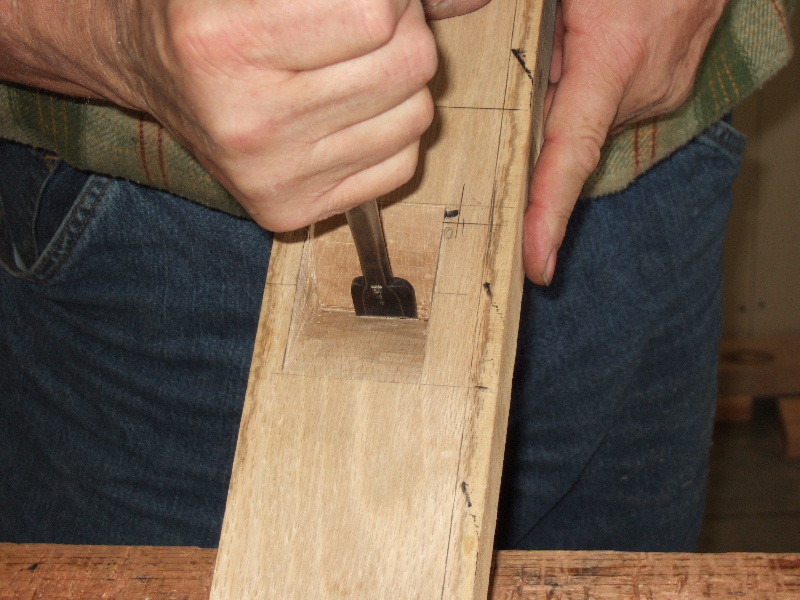
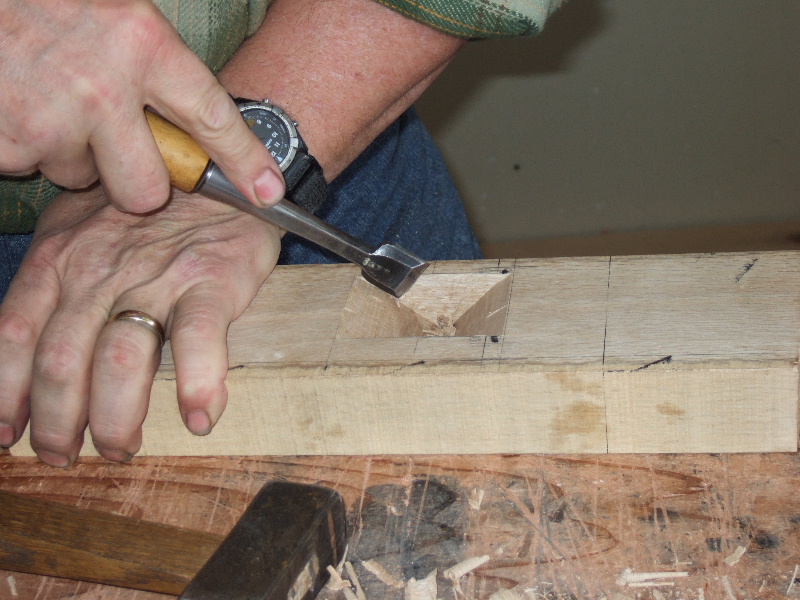
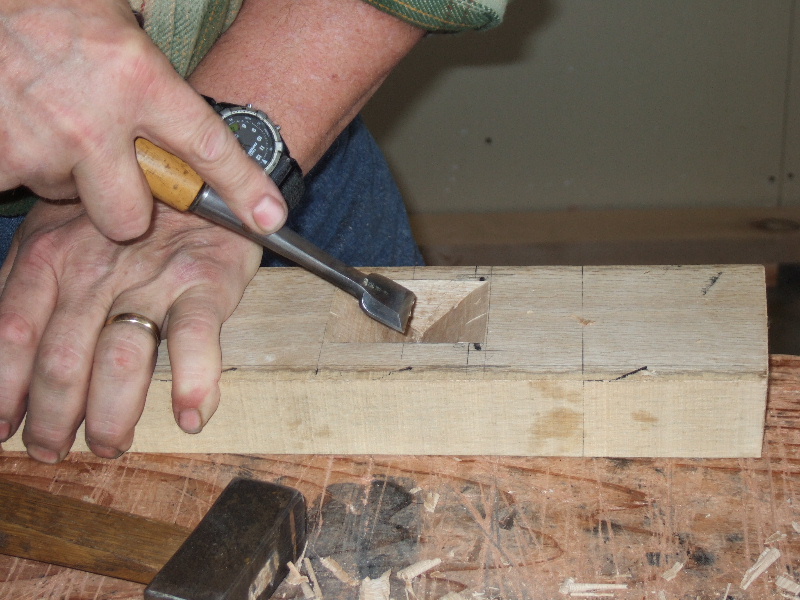
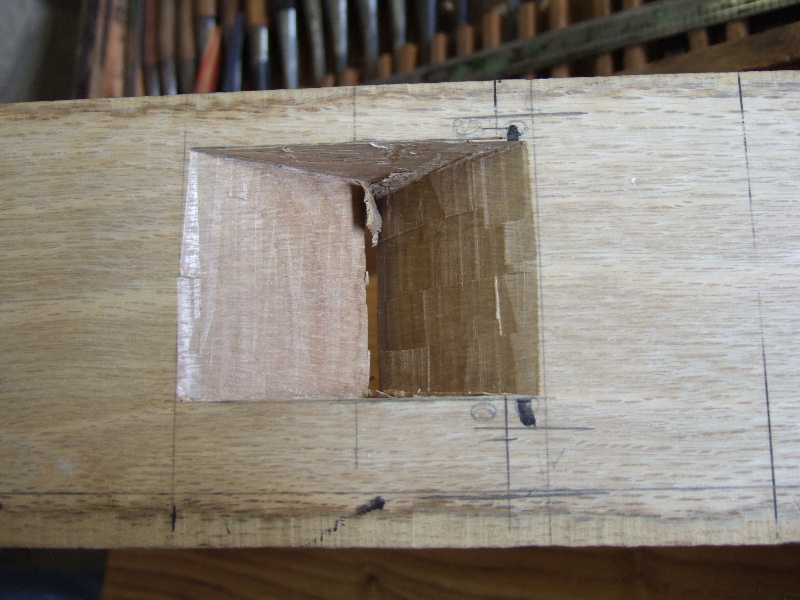
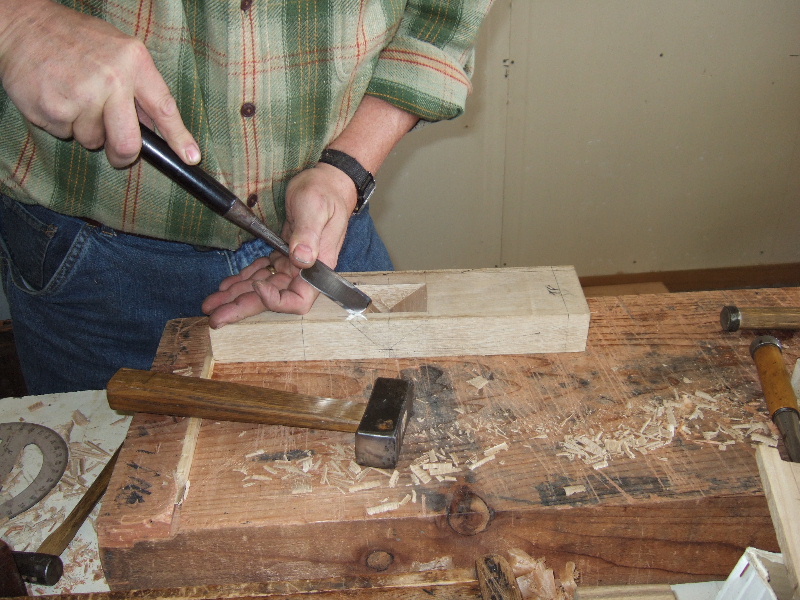
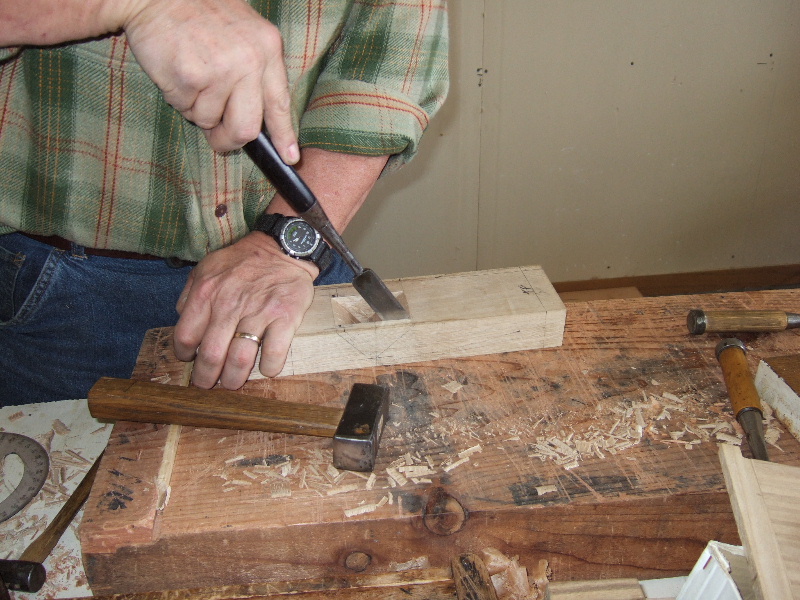
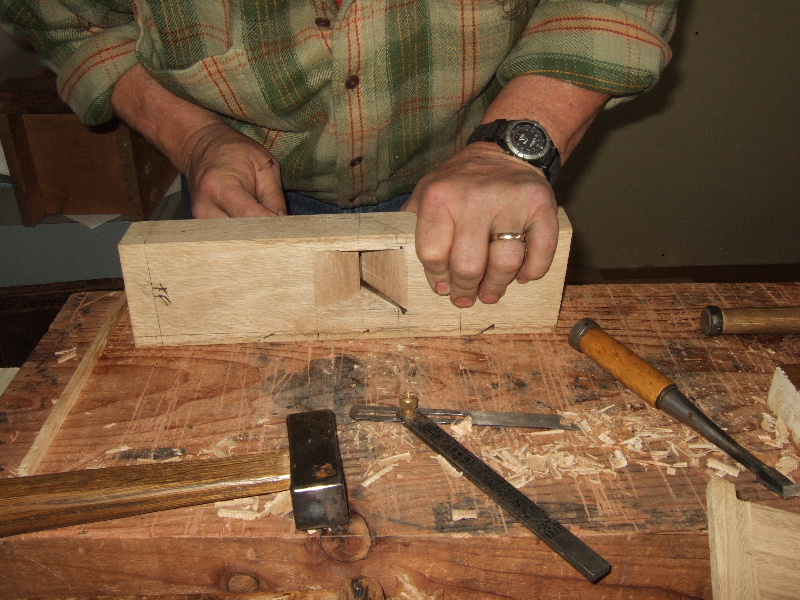
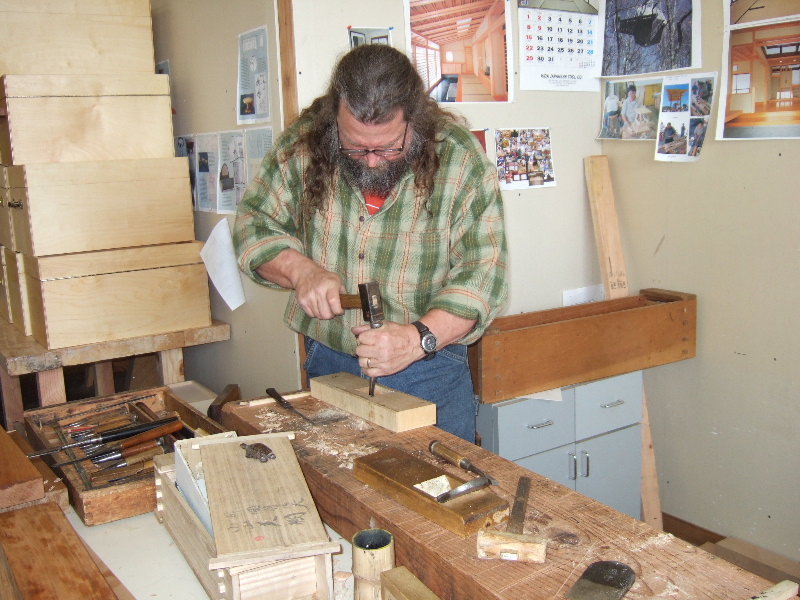
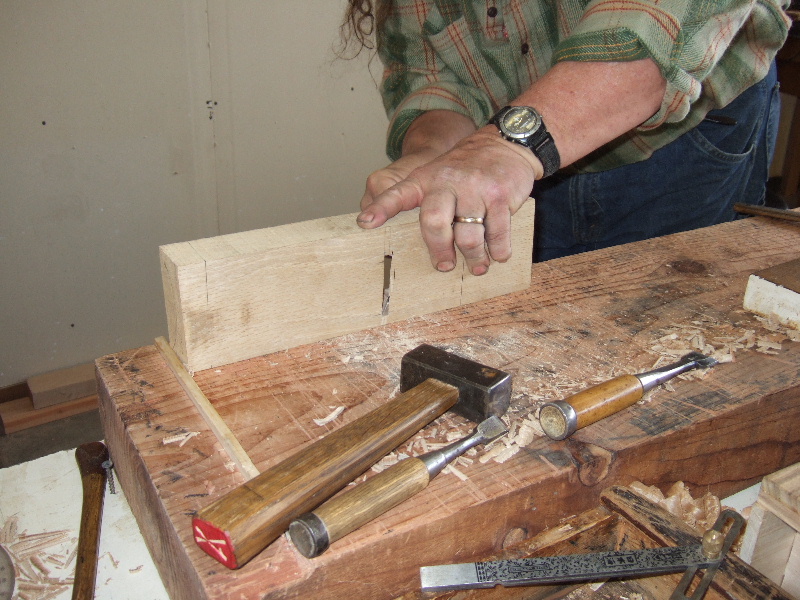
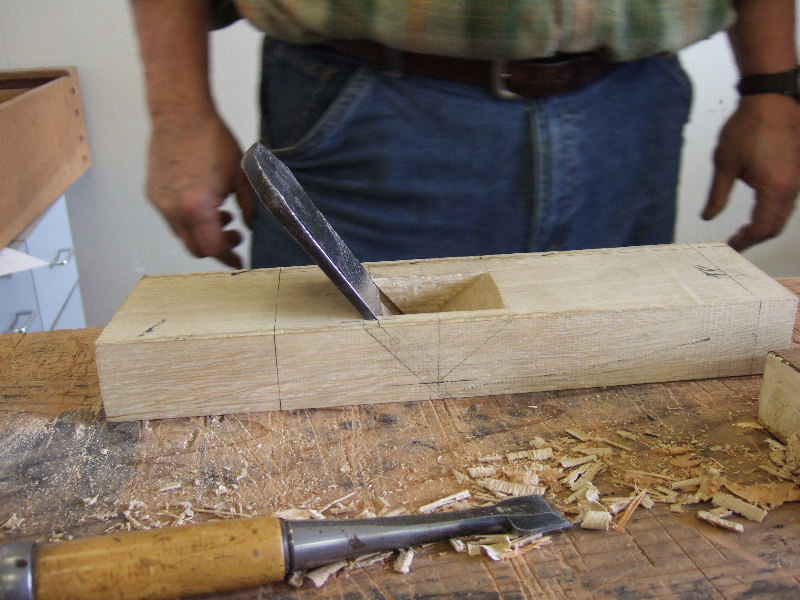
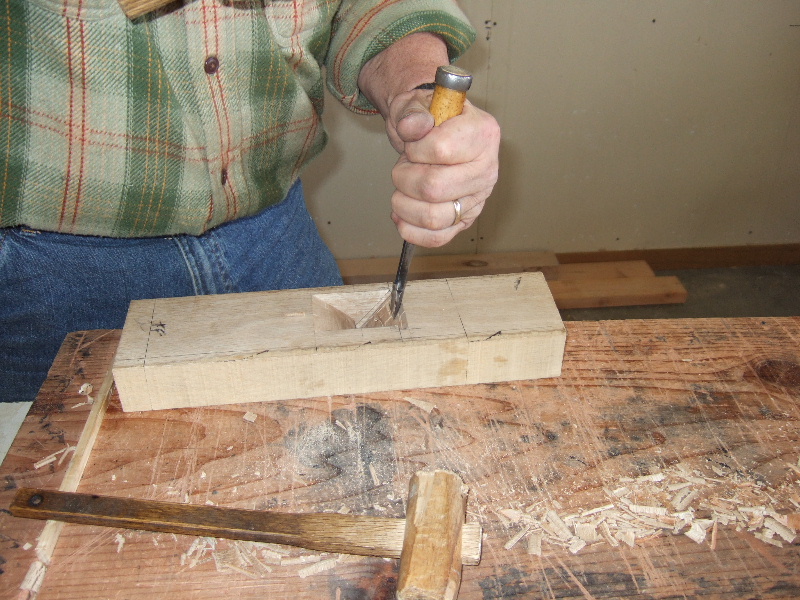
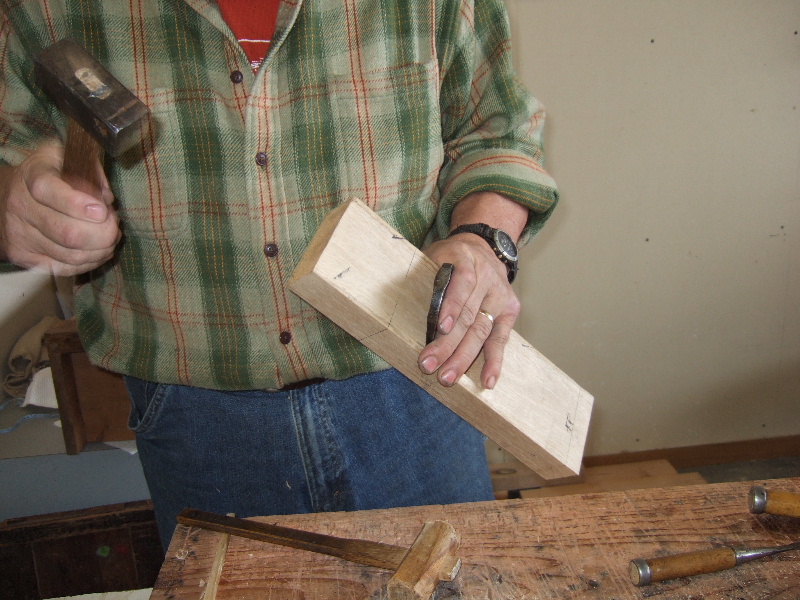
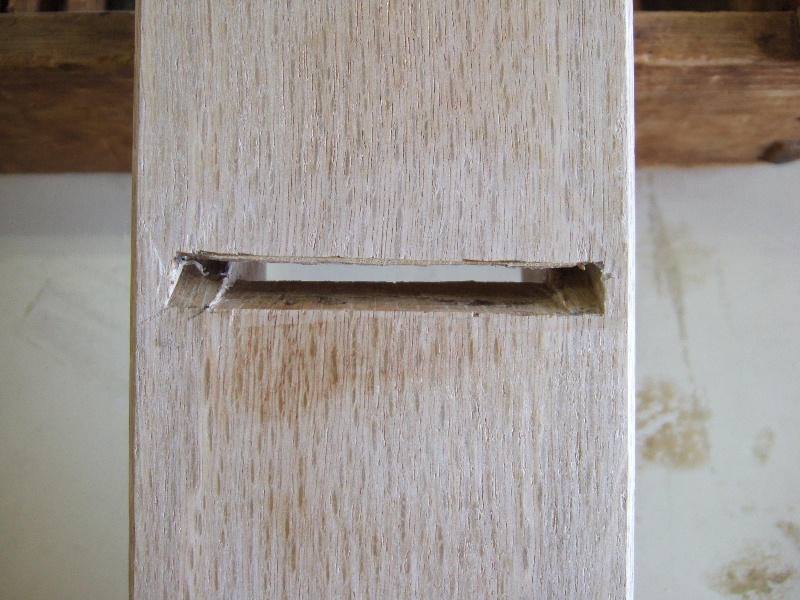
| Jay's starting to work on the mouth of the plane. | |
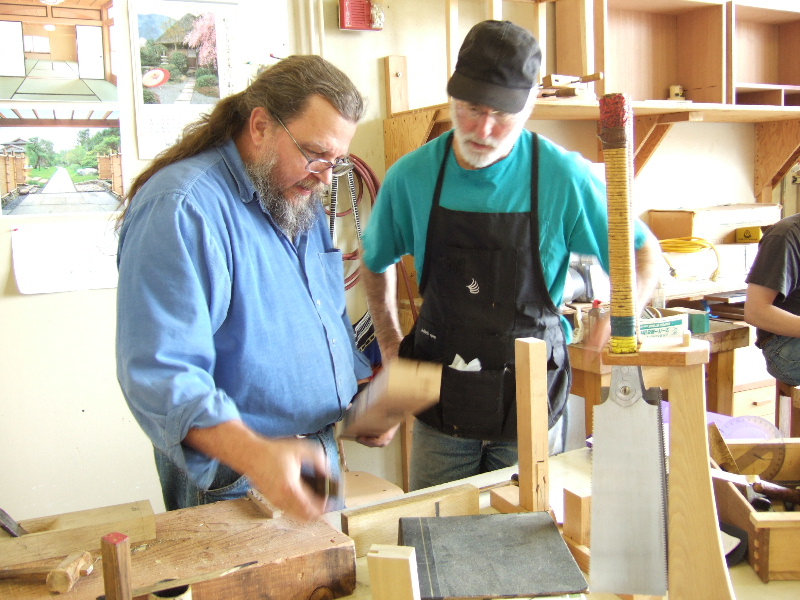
| Japanese white oak is very tough but sensei makes it look easy. | |
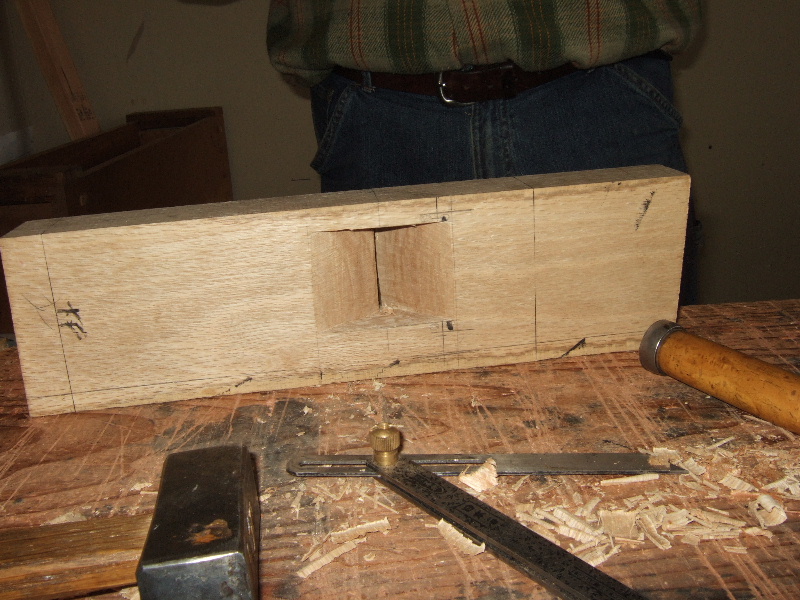
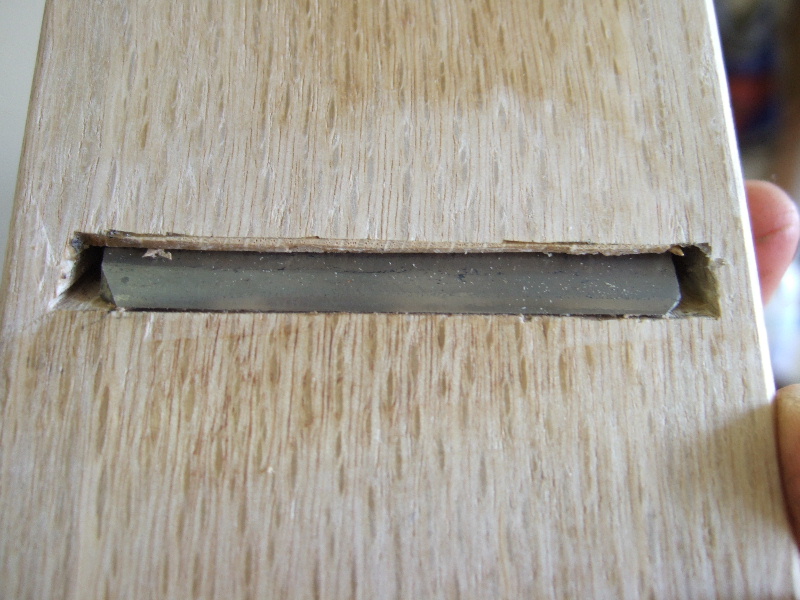
| Finally, the mouth meets up with the throat. | |
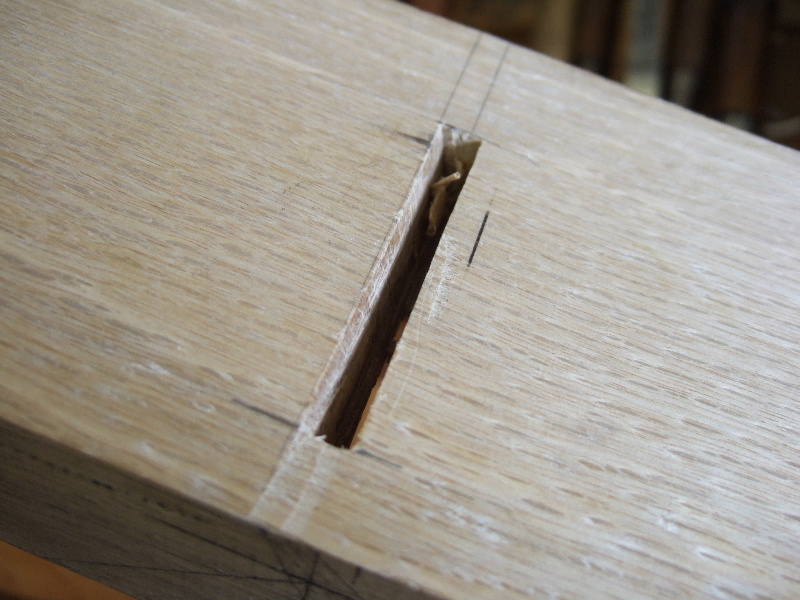
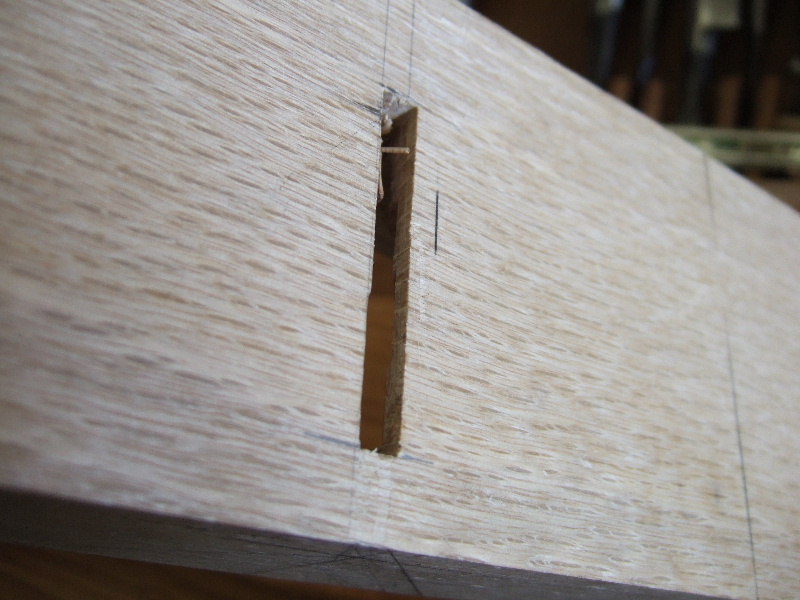
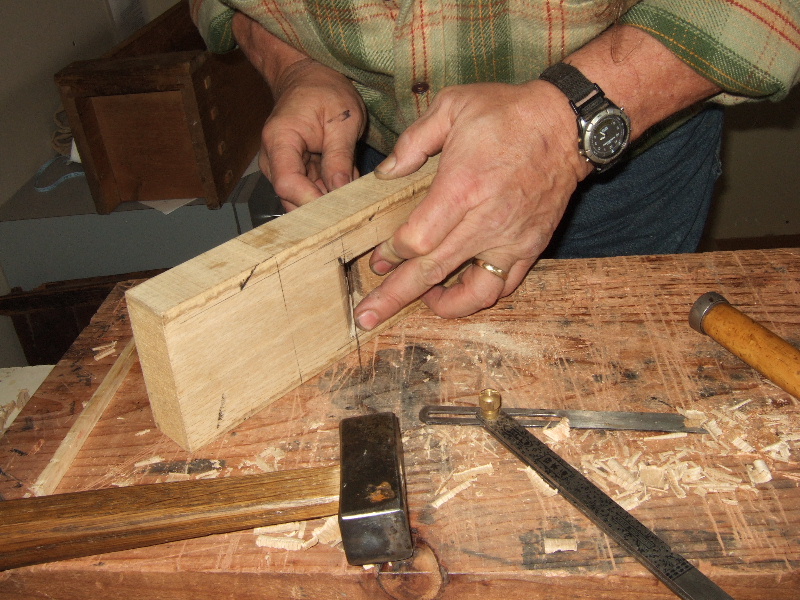
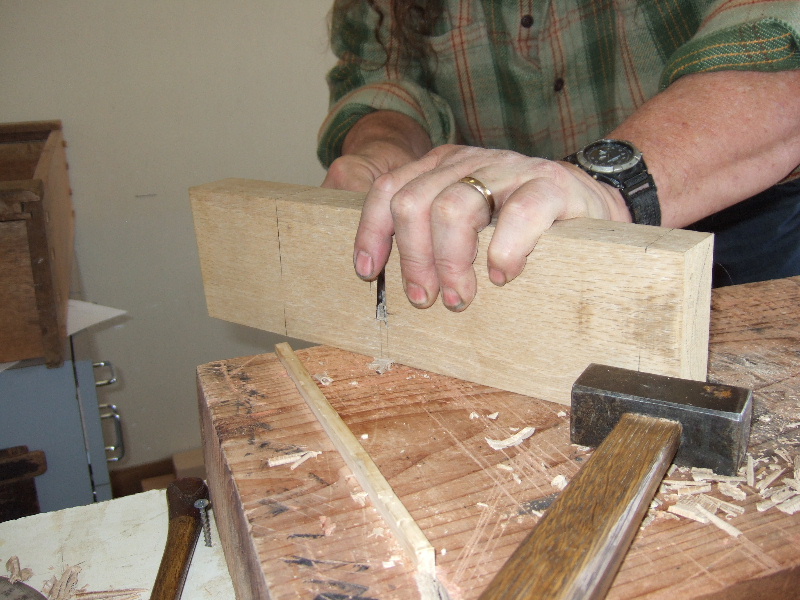
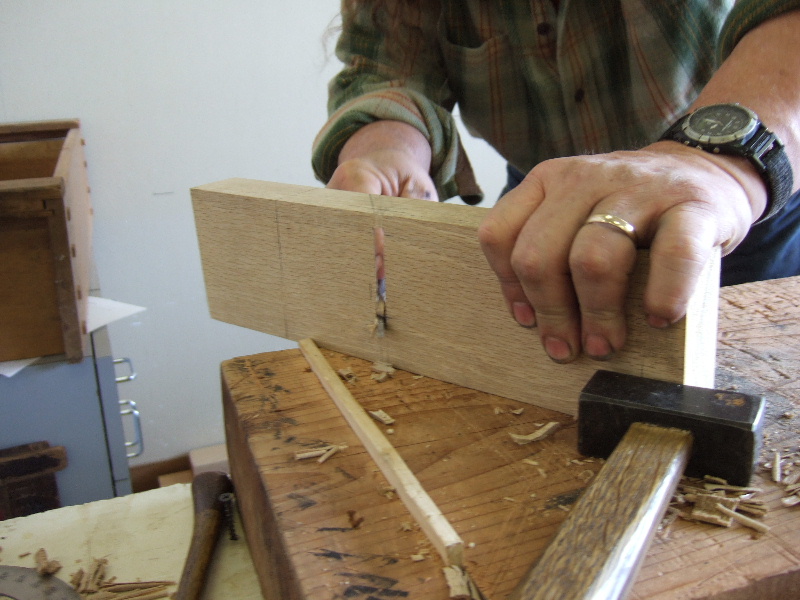
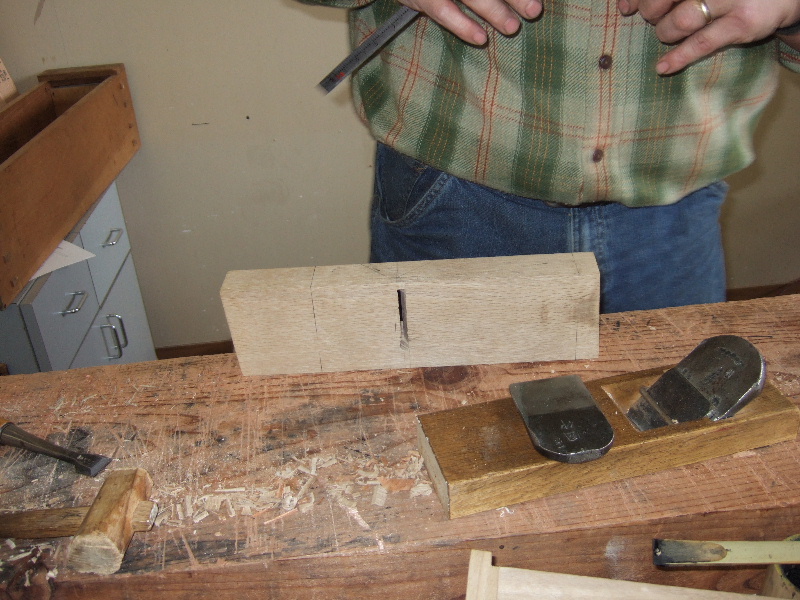
| A keyhole saw (Hikimawashi Nokogiri) is used to cut the tapered slot for the plane blade. | |
| Checking the blade angle with the bevel. | |
| Waste is removed from the tapered slot using a skinny chisel (~3mm). | |
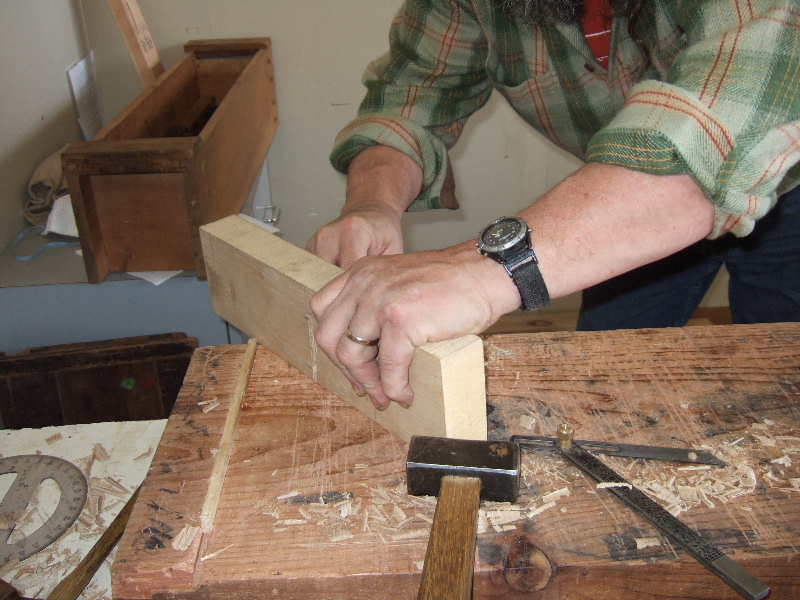
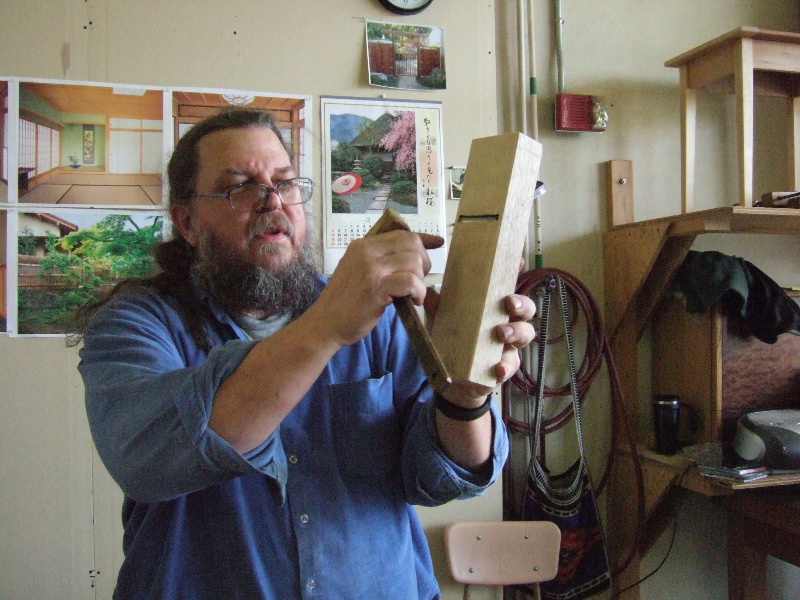
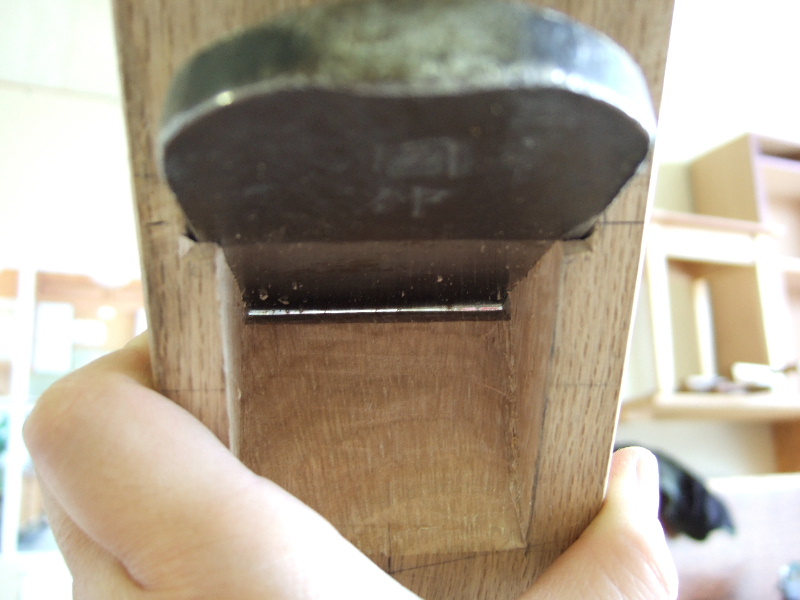
| Test fitting. | |
| Jay applies sumi ink to the back of the blade. | |
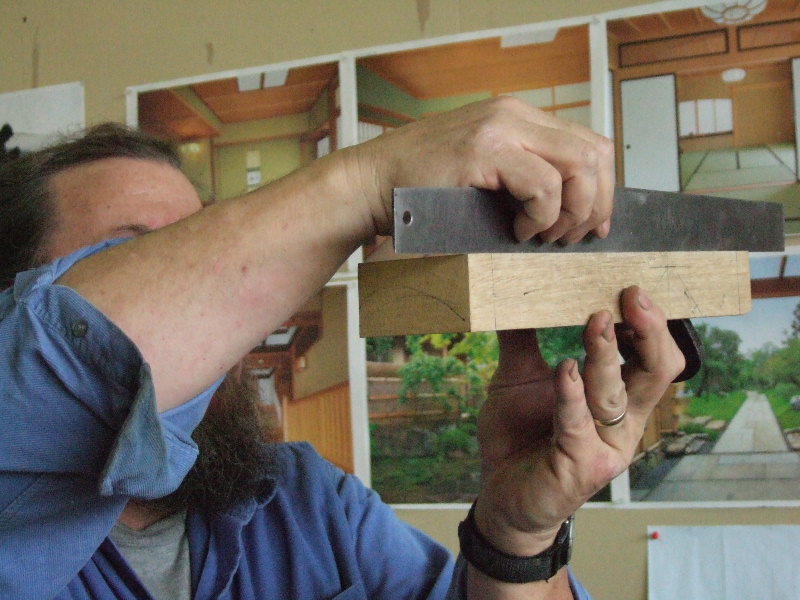
| Ink marks show up on the high spots on the plane bed. | |
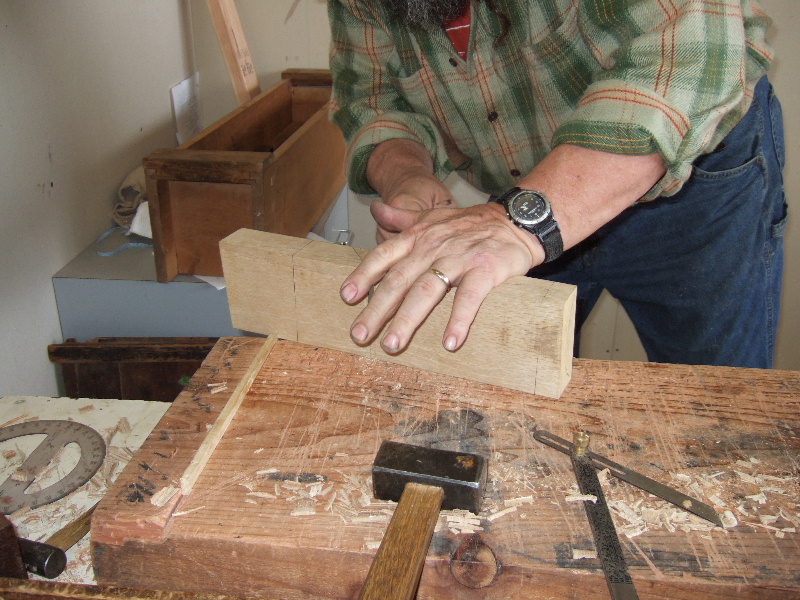
| The blade is almost reaching the bottom. | |
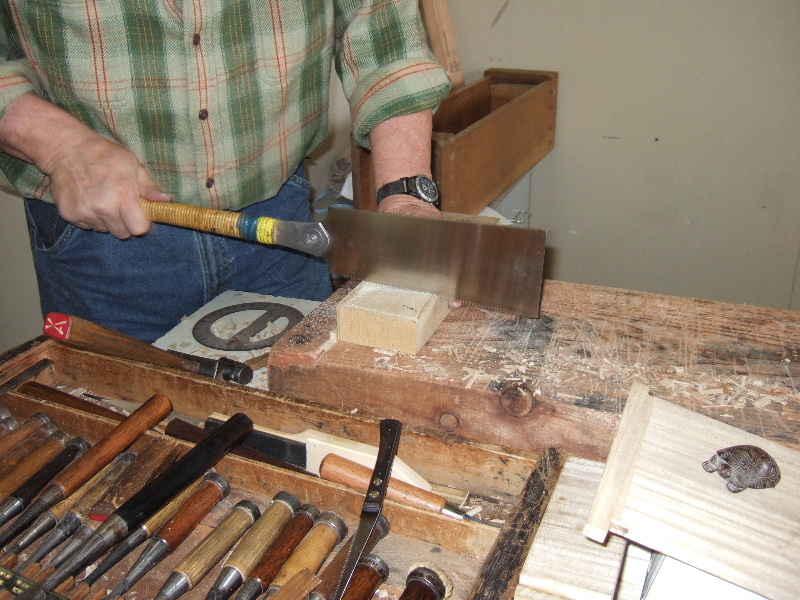
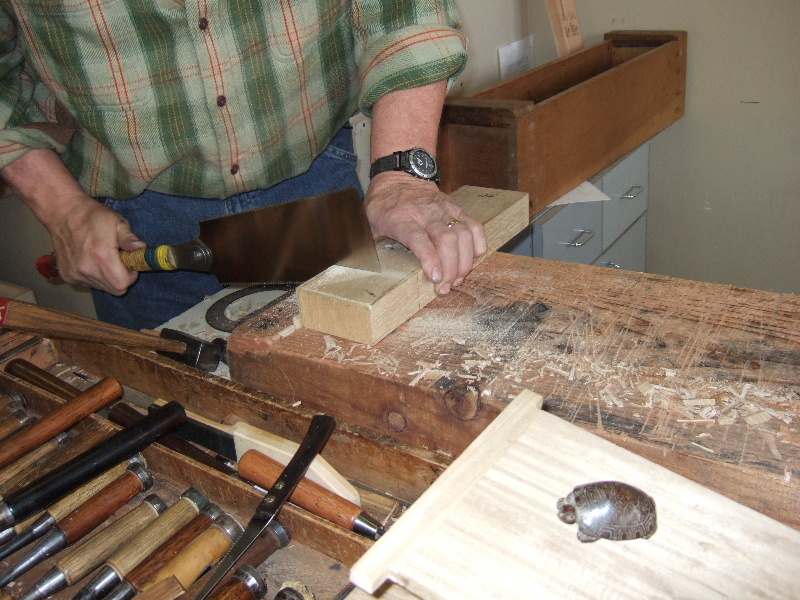
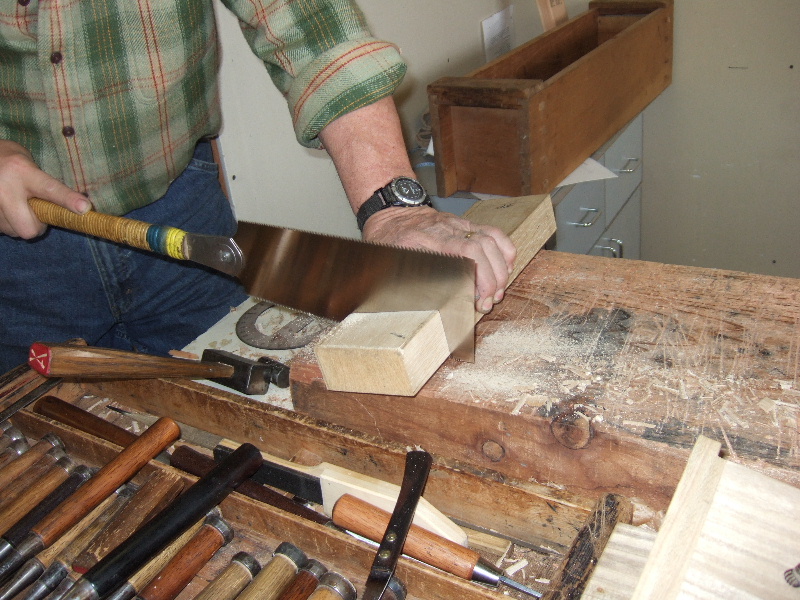
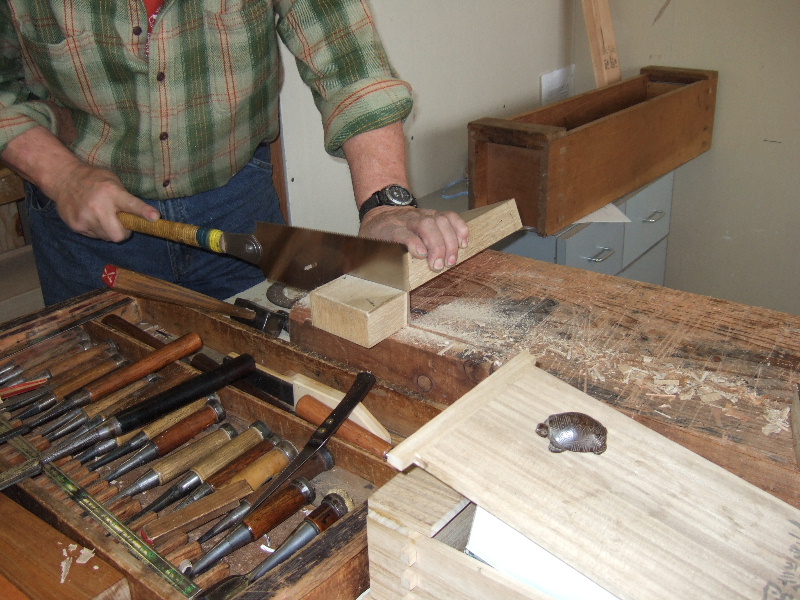
| Jay is shortening the dai. | |
2006/04/08 - The second day of the project. | |
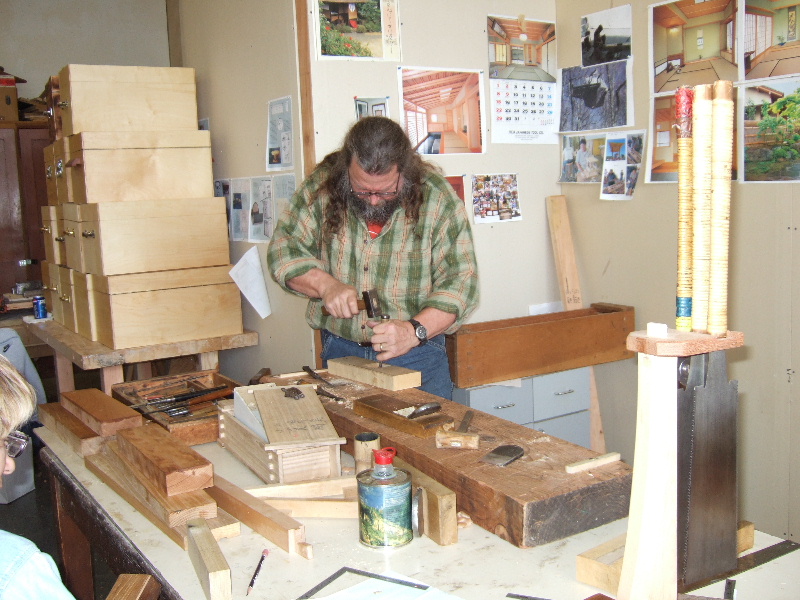
| A new day in class. Jay continues work with fitting the blade in the dai. | |
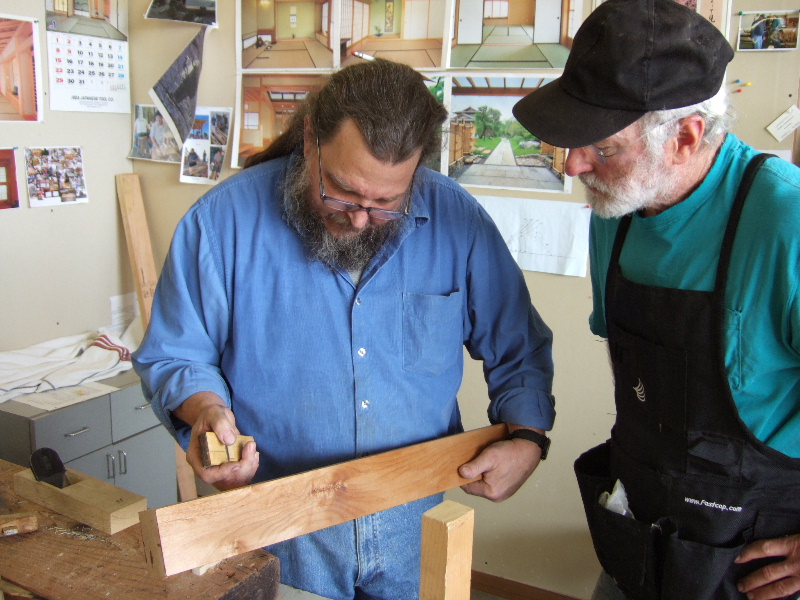
| Jay and Lee examining a board with swirly grain patterns. | |
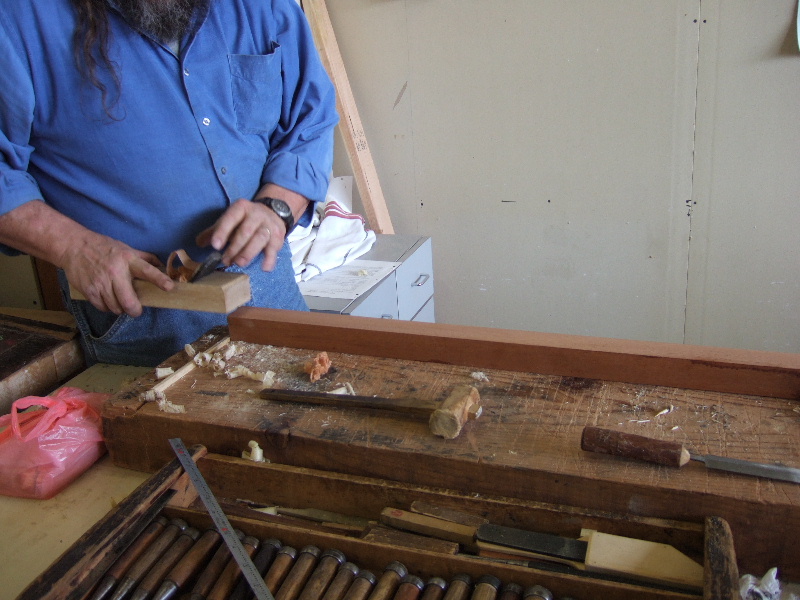
| Jay explains that sometimes it's easier to use a small block plane to work the difficult areas. The small block plane allows you change direction easier than a smoothing plane. | |
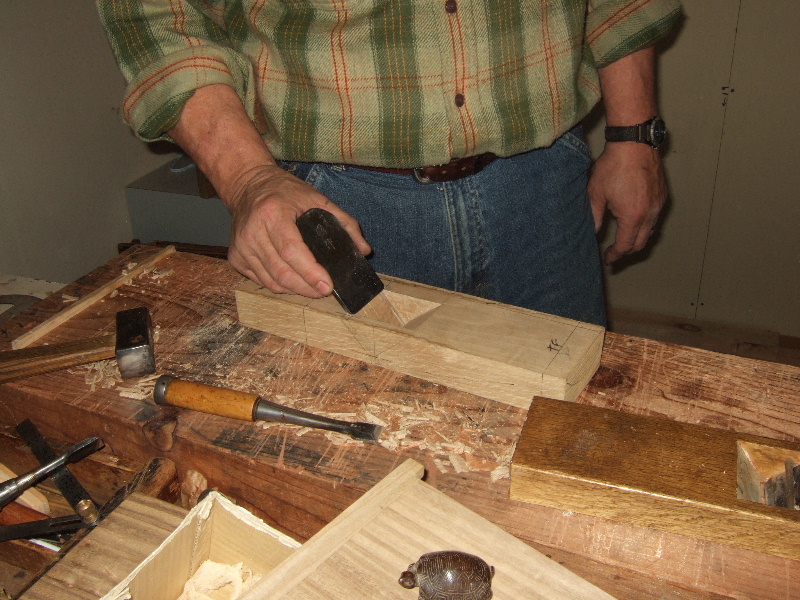
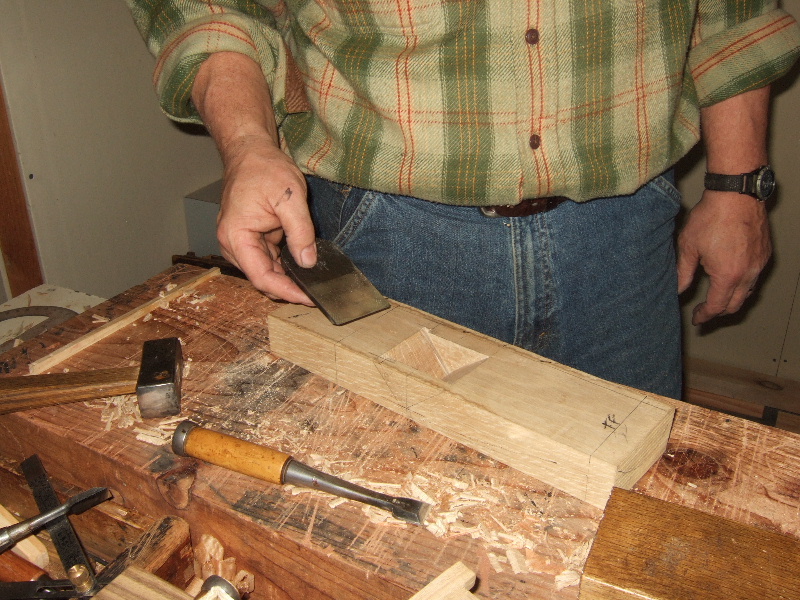
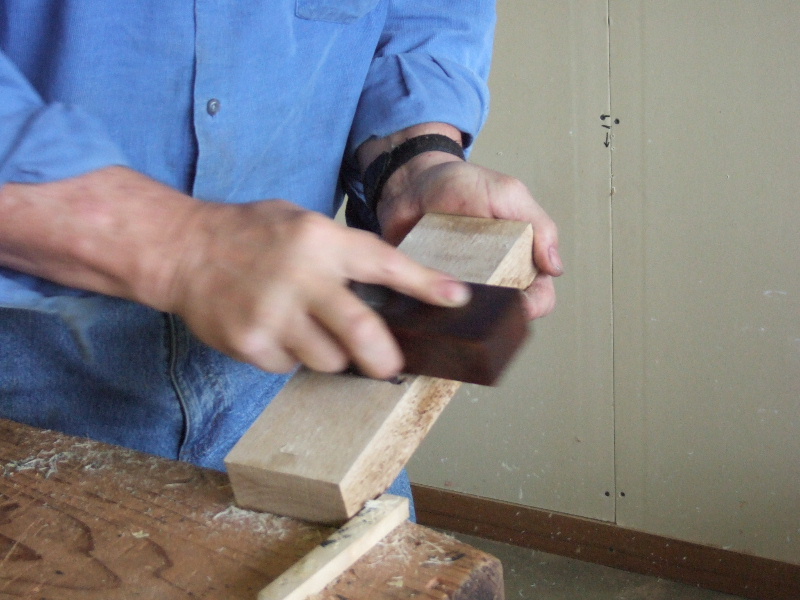
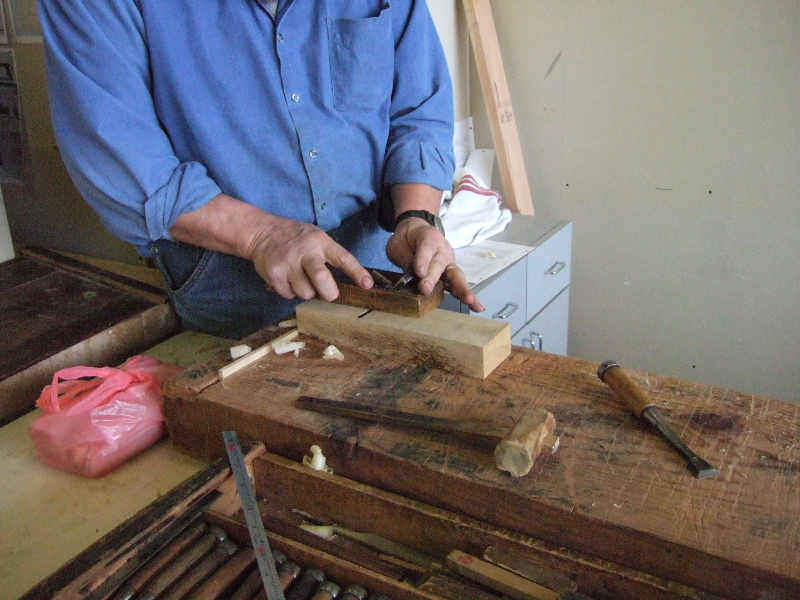
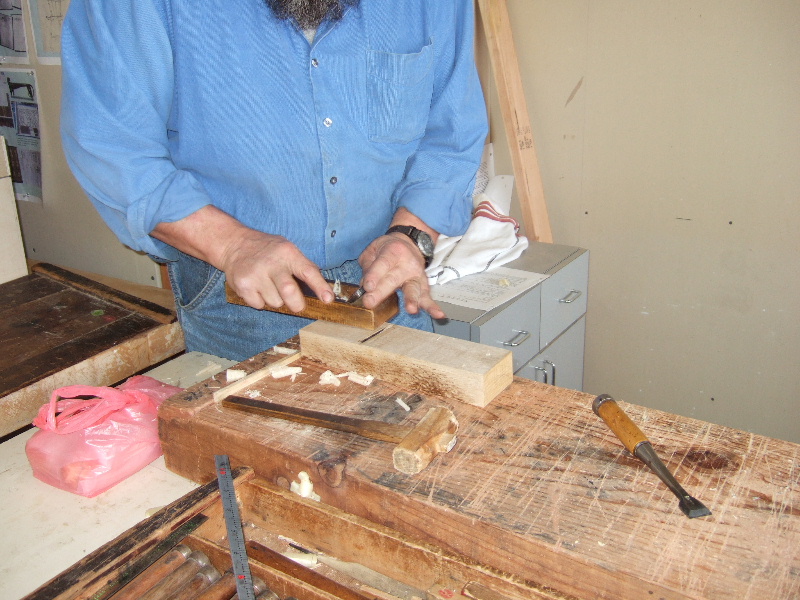
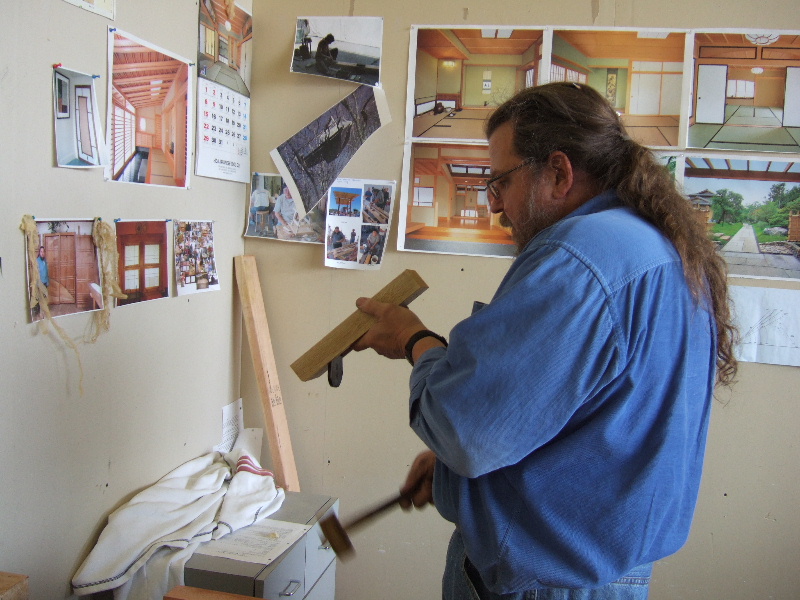
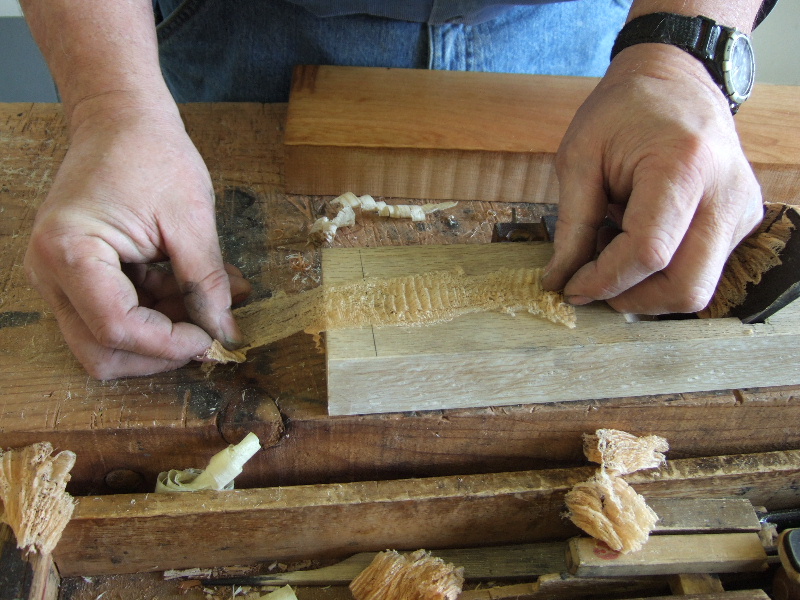
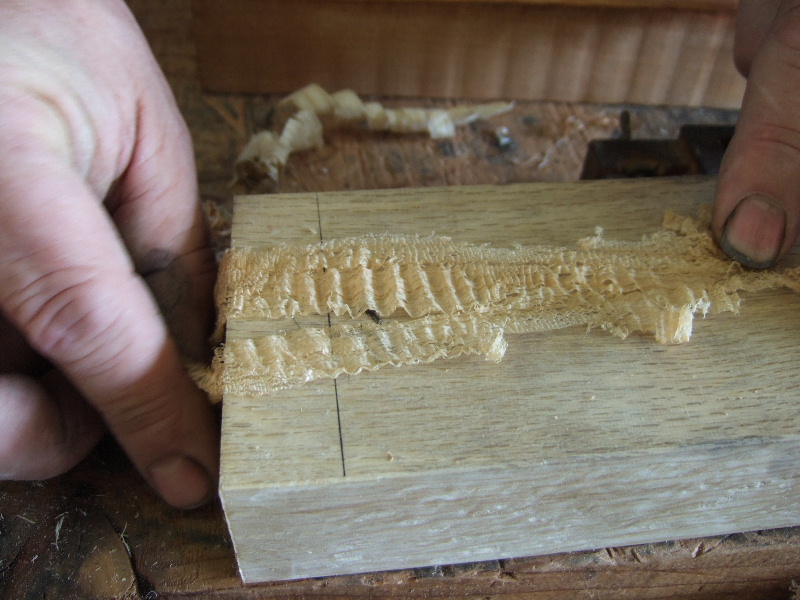
| Sensei begins work on conditioning the sole. He's using a scraper plane (Tachi Kanna)- blade is positioned at approximately 90 degrees. | |
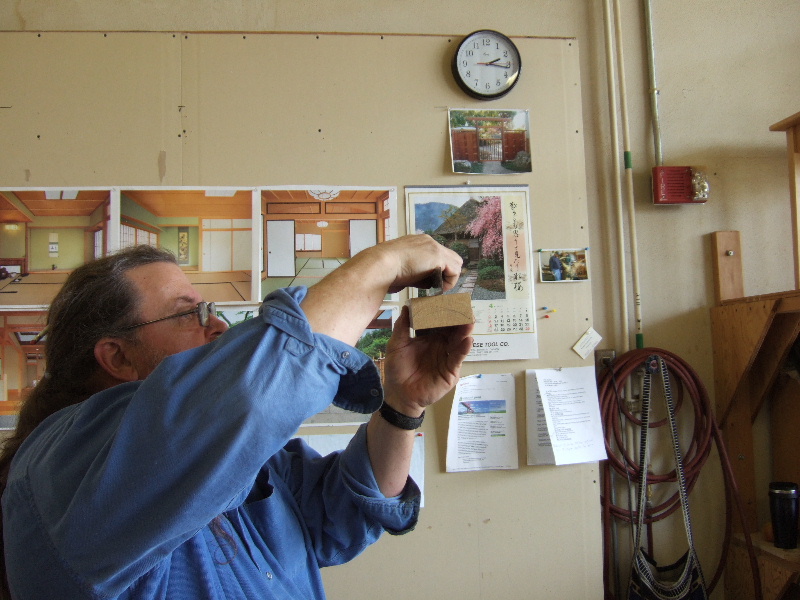
| Jay checking the gliding surface which should be right before the cutting edge and front of block. | |
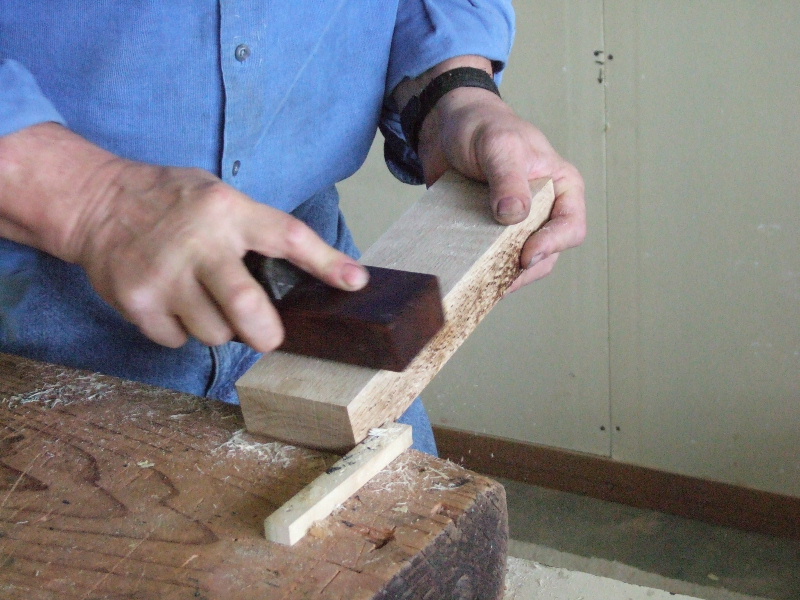
| A chamfer plane is used to chamfer the edges. | |
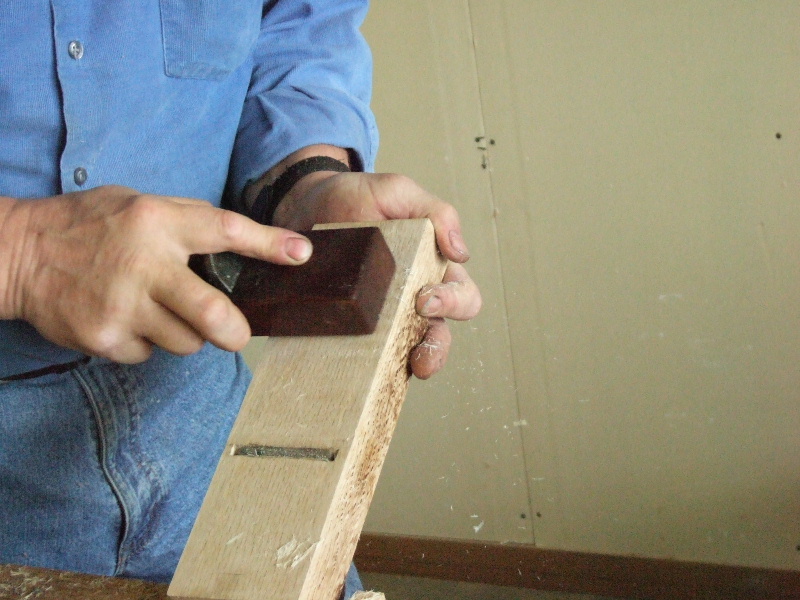
| Jay cleans up the throat (the front portion of the cutting edge) with a file. | |
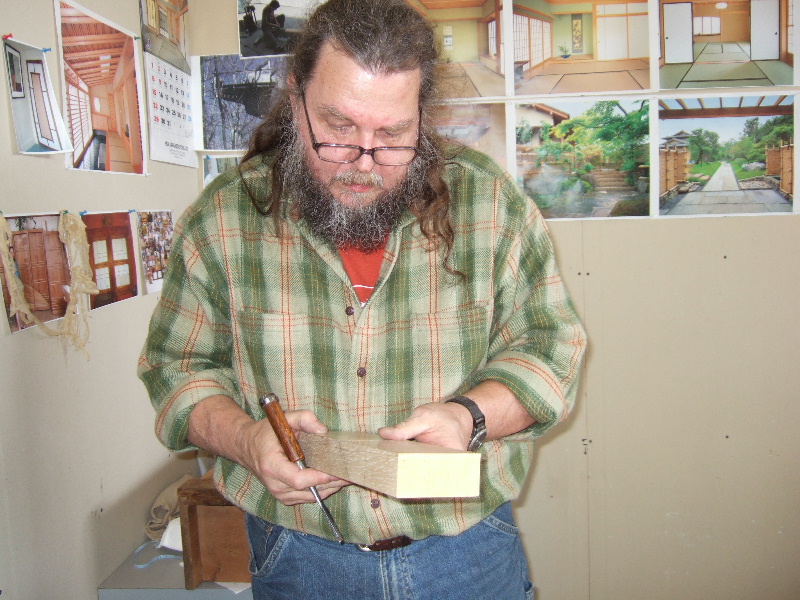
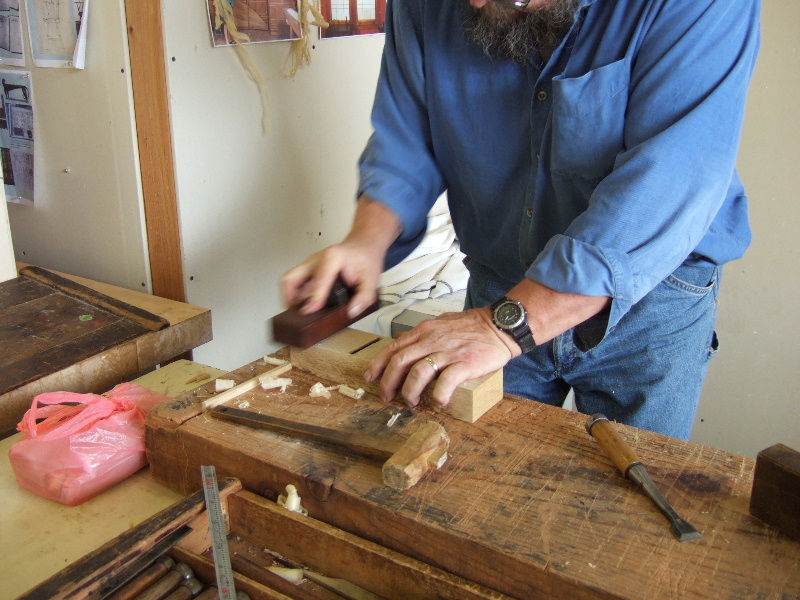
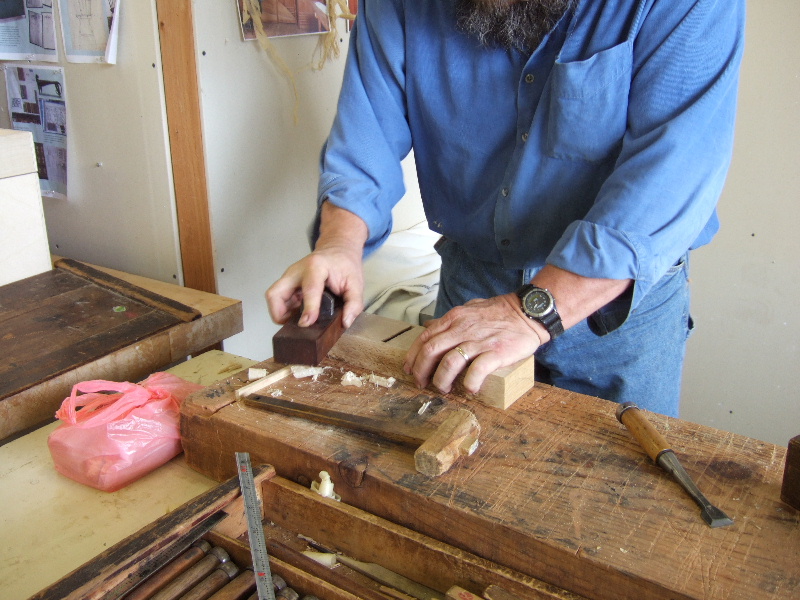
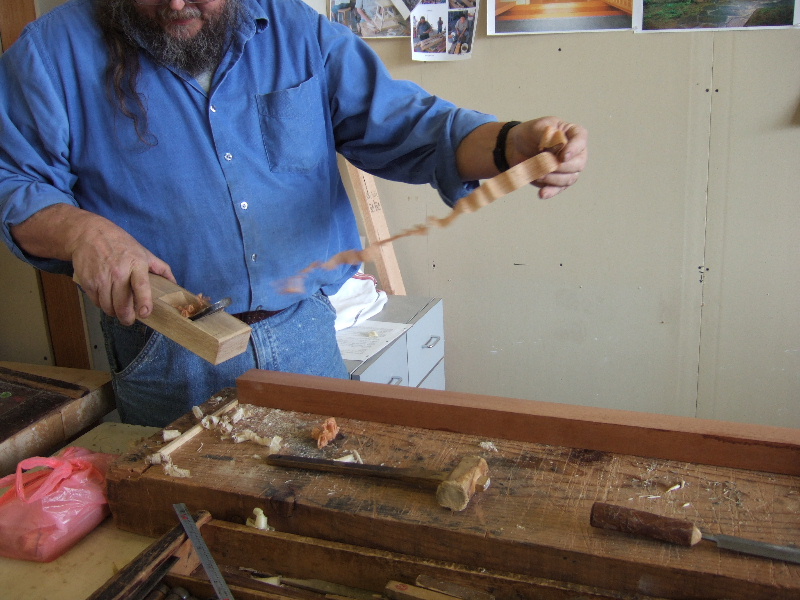
| Test drive... | |
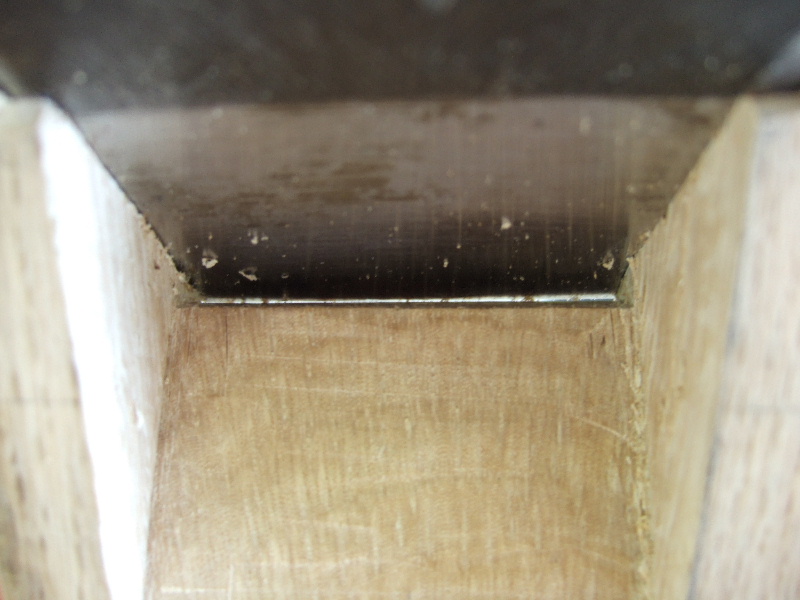
| First shavings from the new dai. | |
| Tight throat opening. | |
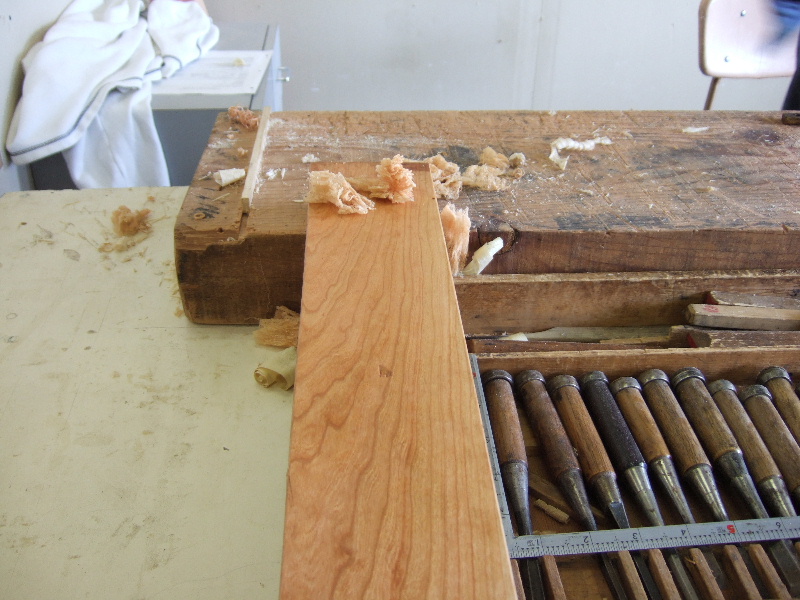
| Thin shaving from the new plane. | |
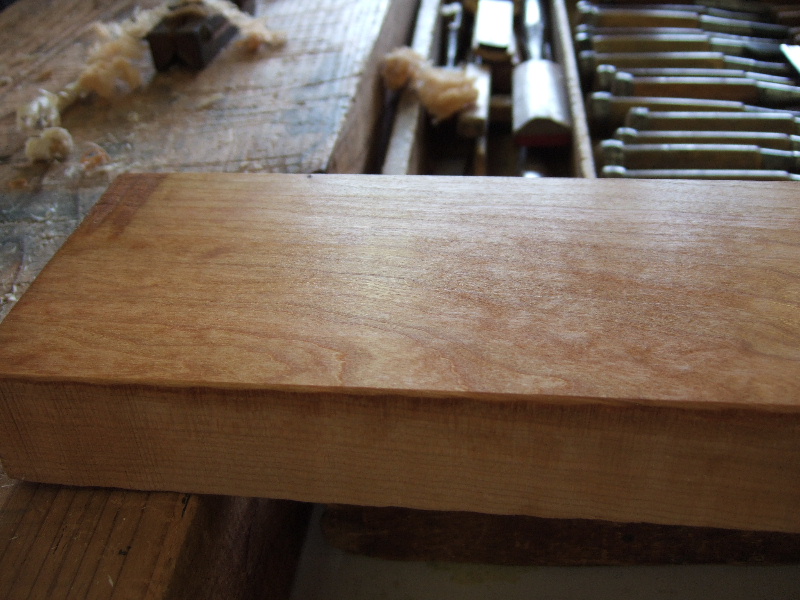
| Polished finish after a few passes with the new plane. Jay likes to apply BioShield Primer Oil #1 on the wood prior to final passes. | |