|
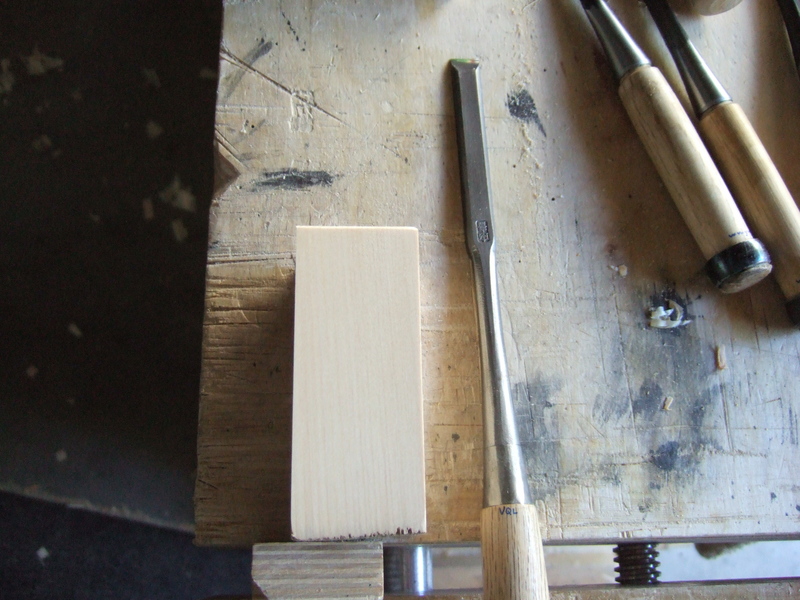
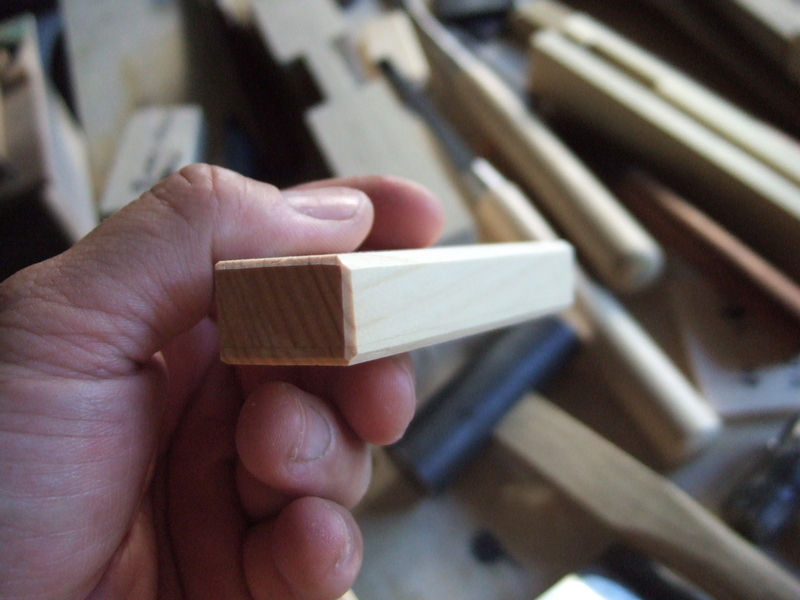
1 - A small block of Port Orford Cedar and a 12mm paring chisel. Almost any kind of wood can be used to make a scabbard. |
|
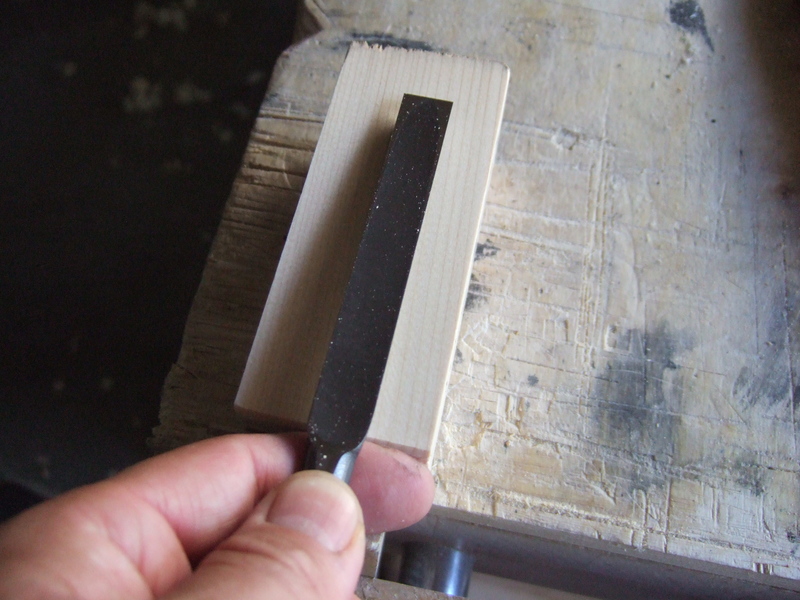
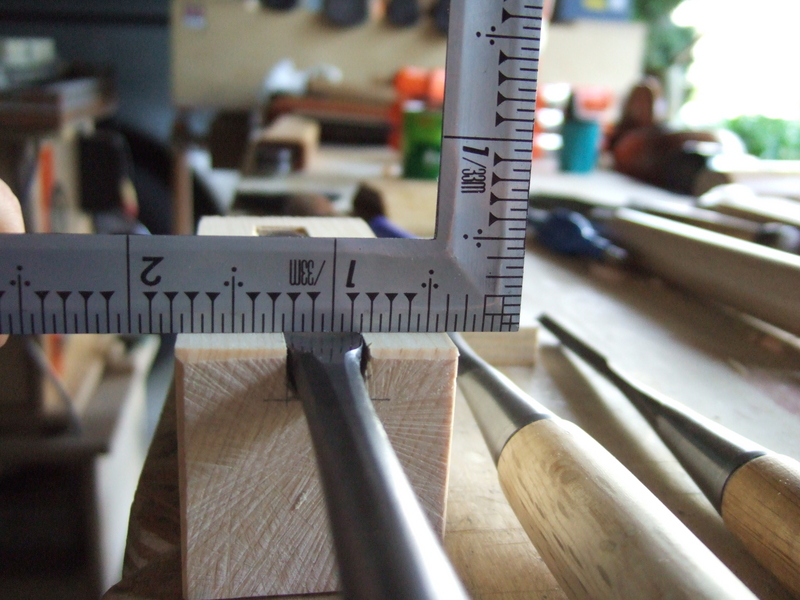
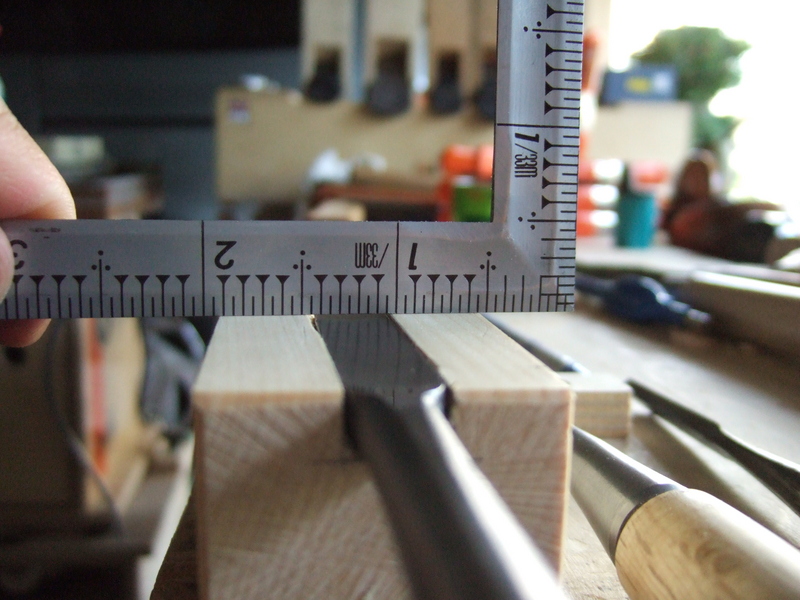
2 - Determine how much of the blade should be covered by the scabbard. |
|
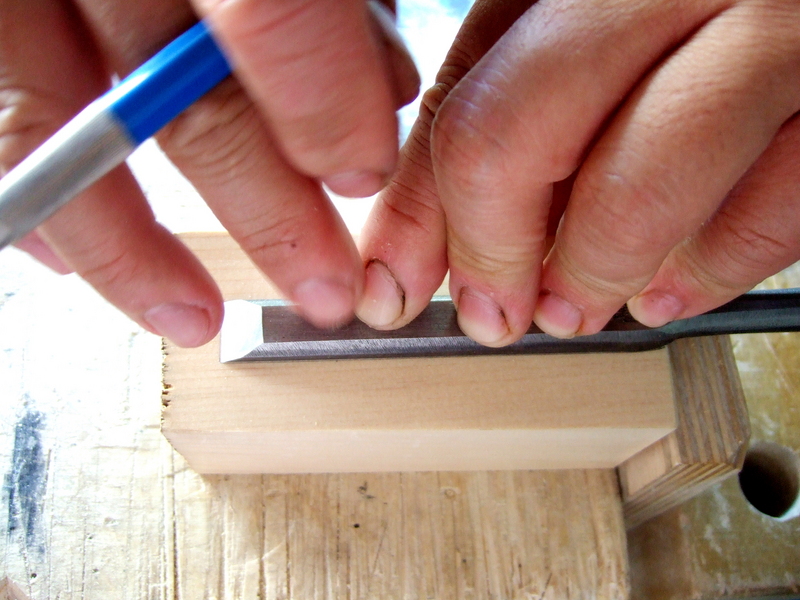
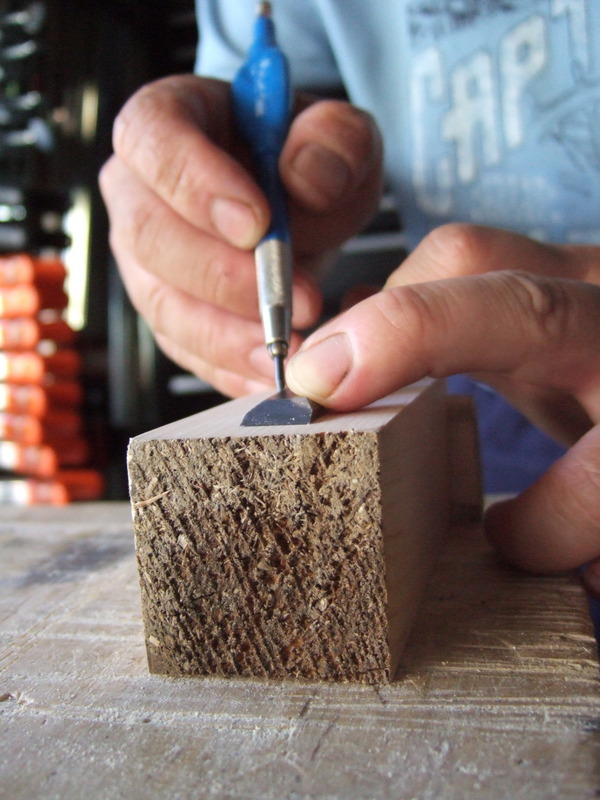
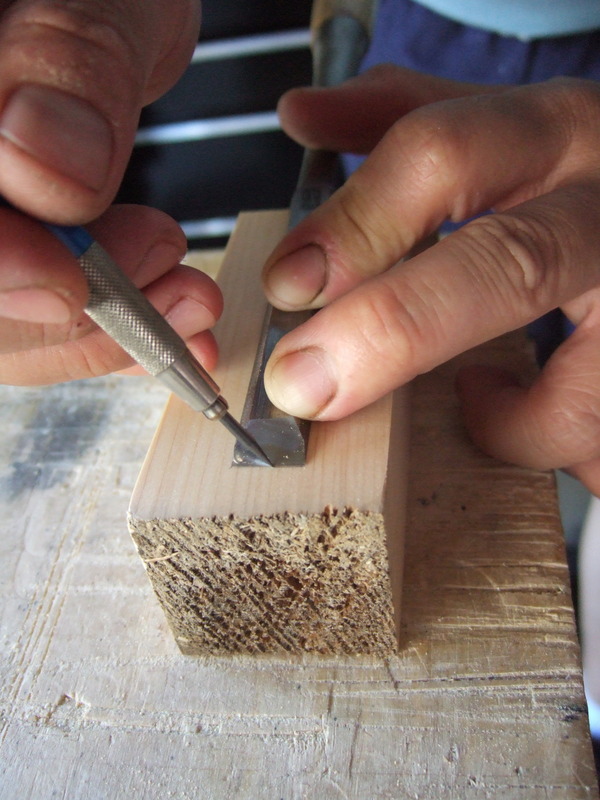
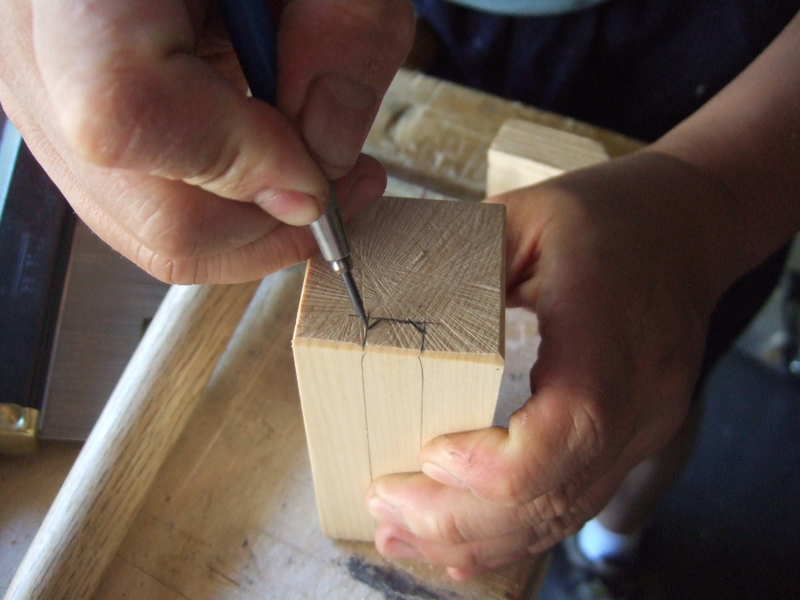
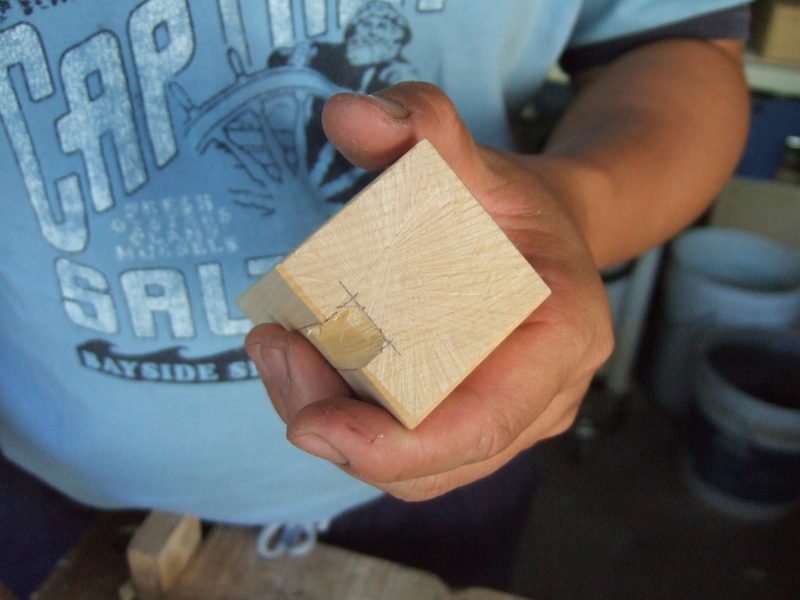
3, 4, 5 - Outline the shape of the chisel onto the block of wood.
|
|
6 |
|
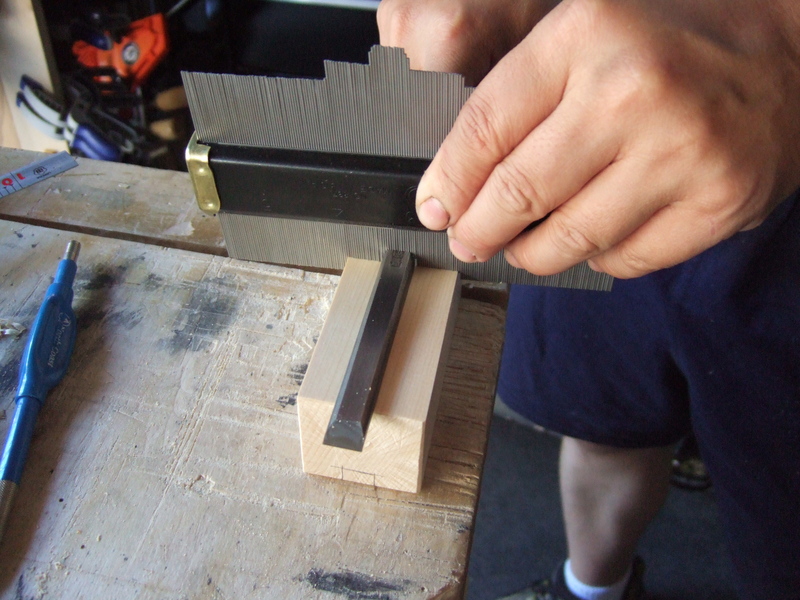
7 - Use a contour gauge to get the find the thickest, widest section of the blade. |
|
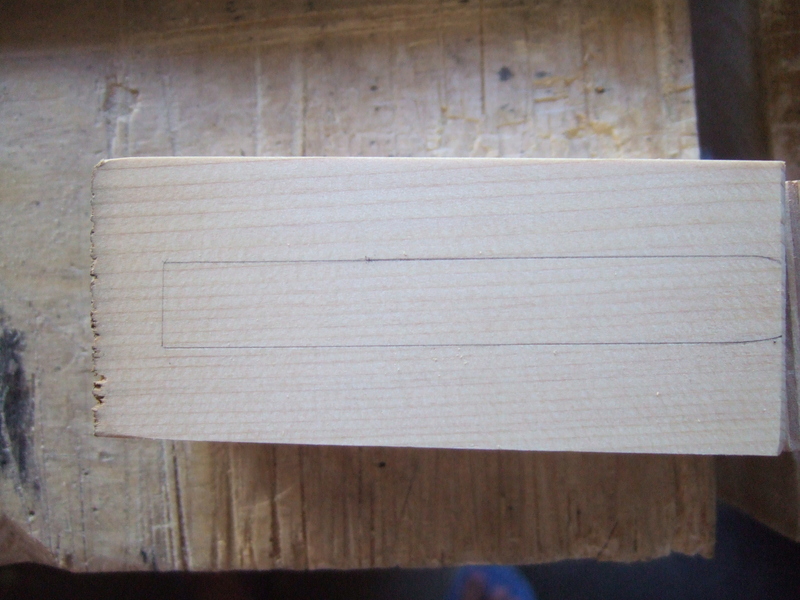
8, 9 - Trace the contour to the block of wood.
|
|
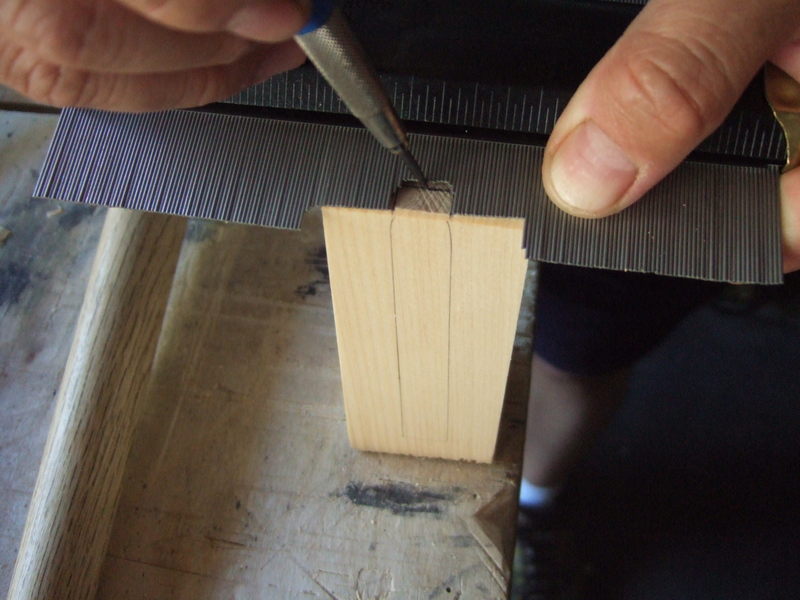
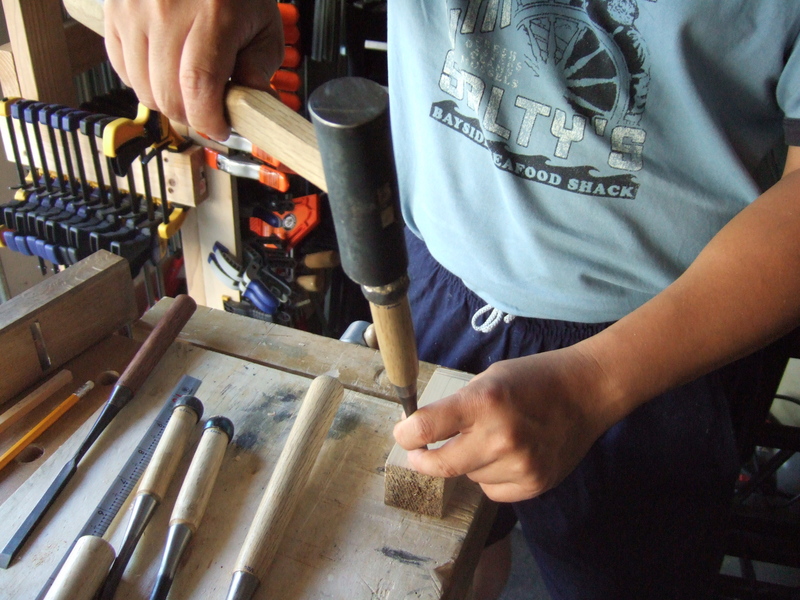
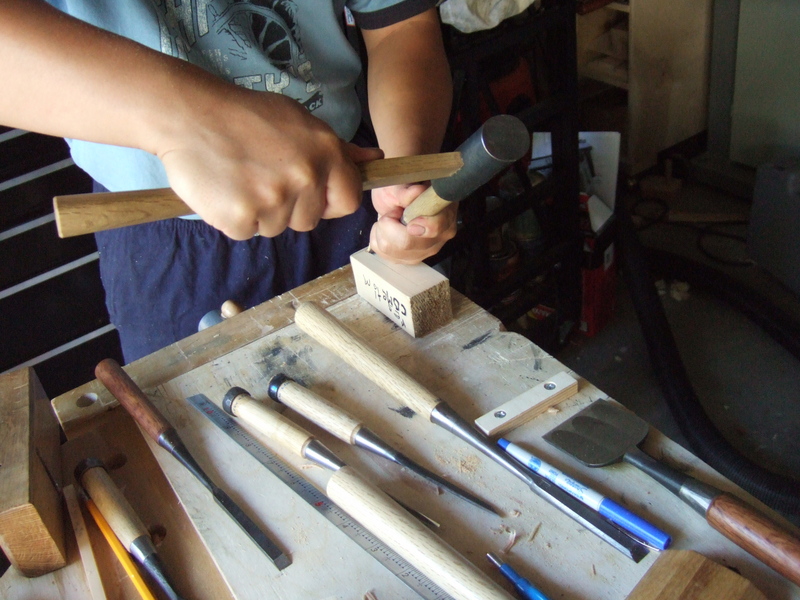
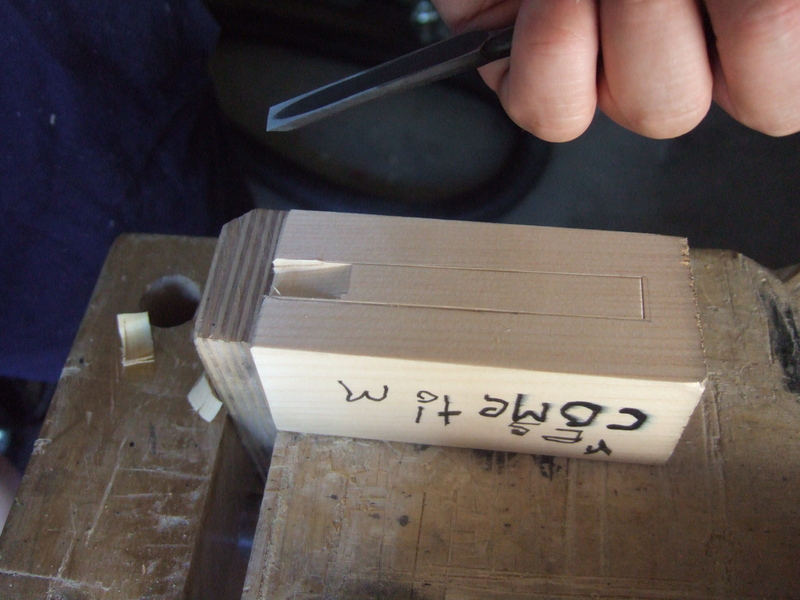
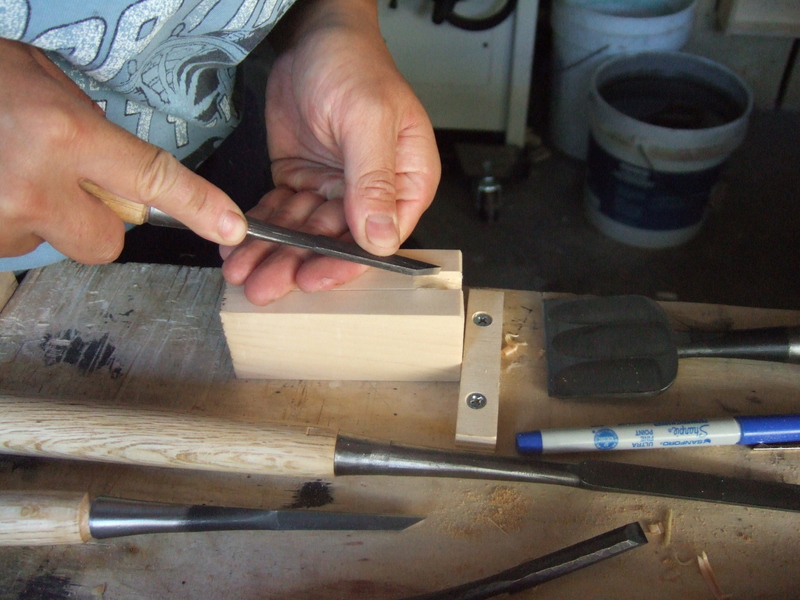
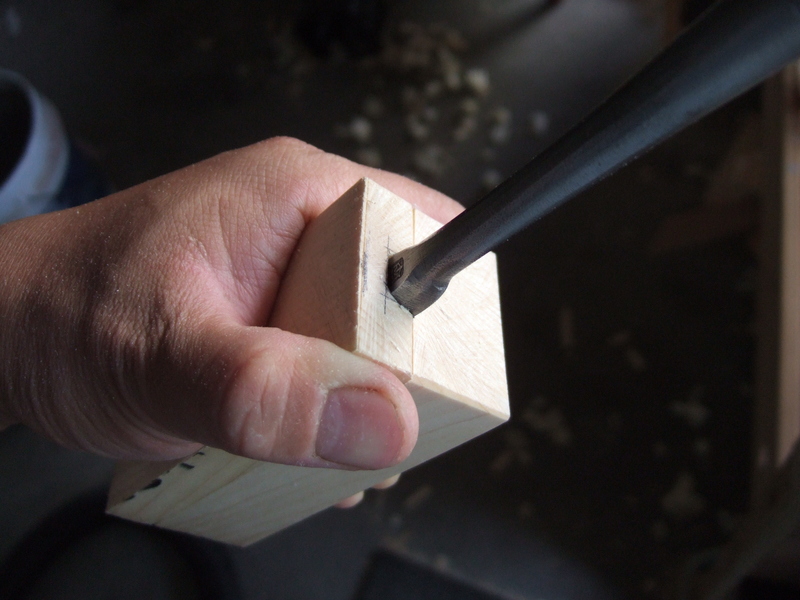
10 - Score the outline with a wide chisel. |
|
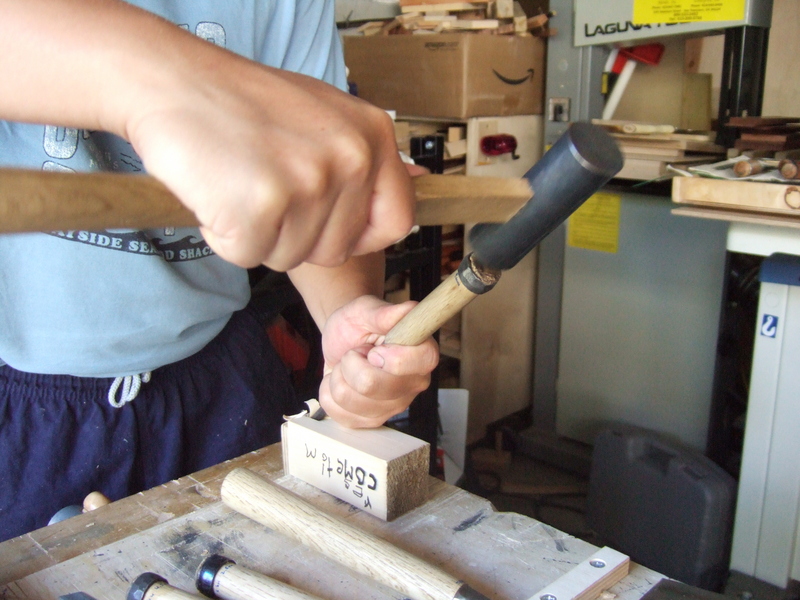
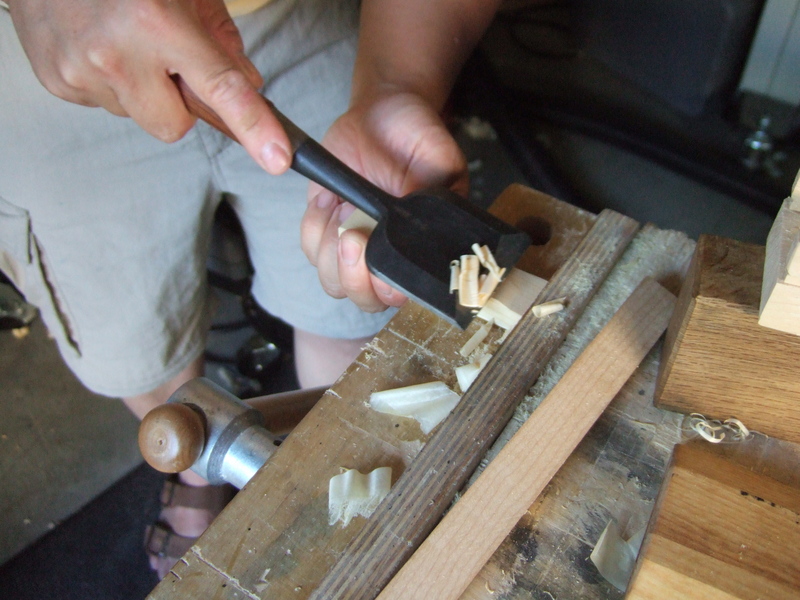
11 - Chop out the waste. |
|
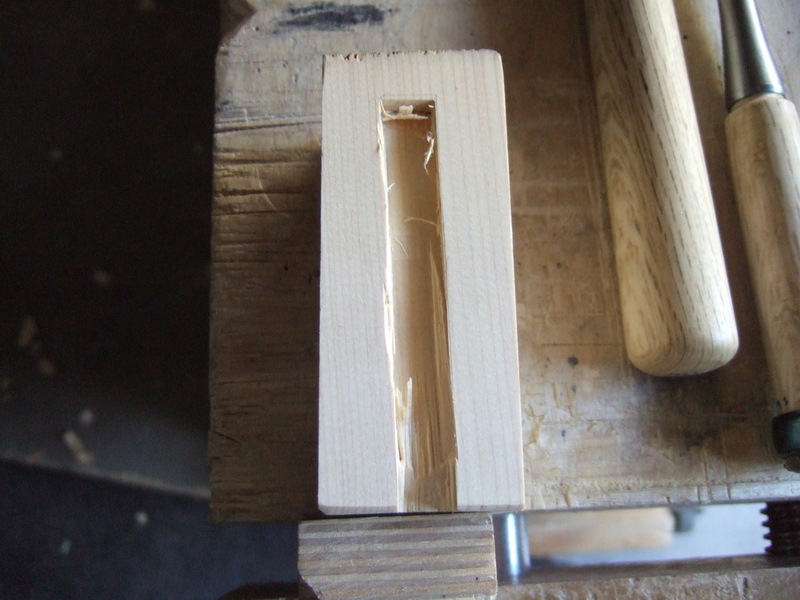
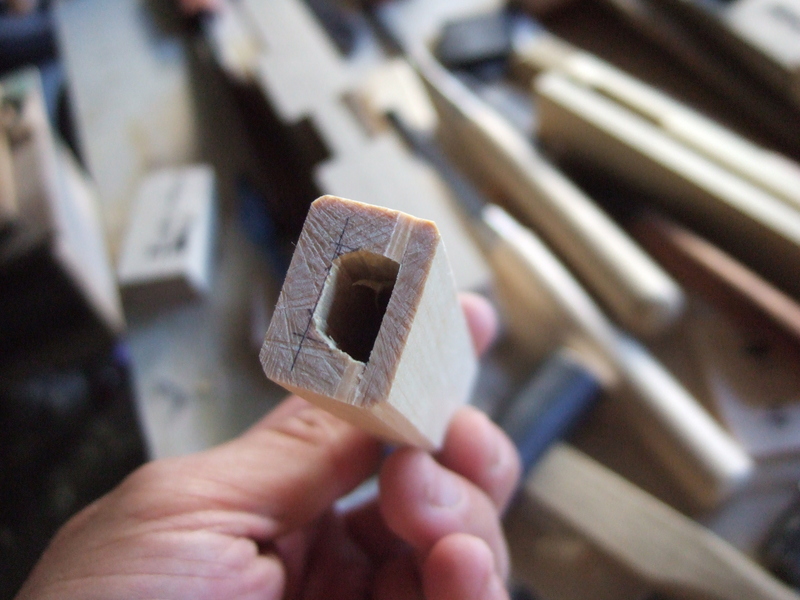
12 - Hint: For aesthetic reason, cut out the "mouth" opening of the scabbard first and shape it nicely. Once you get the correct shape for the mouth opening, chop out the rest of the waste. |
|
13 |
|
14 |
|
15, 16, 17, 18
|
|
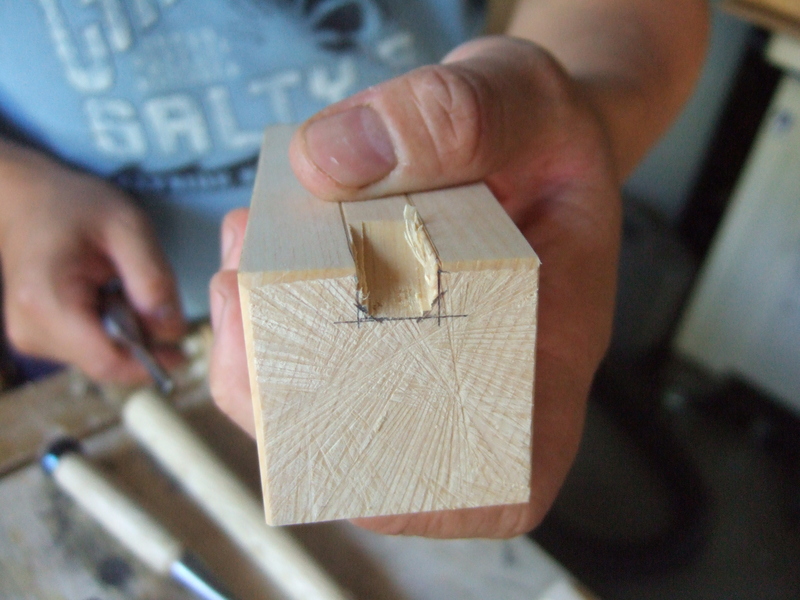
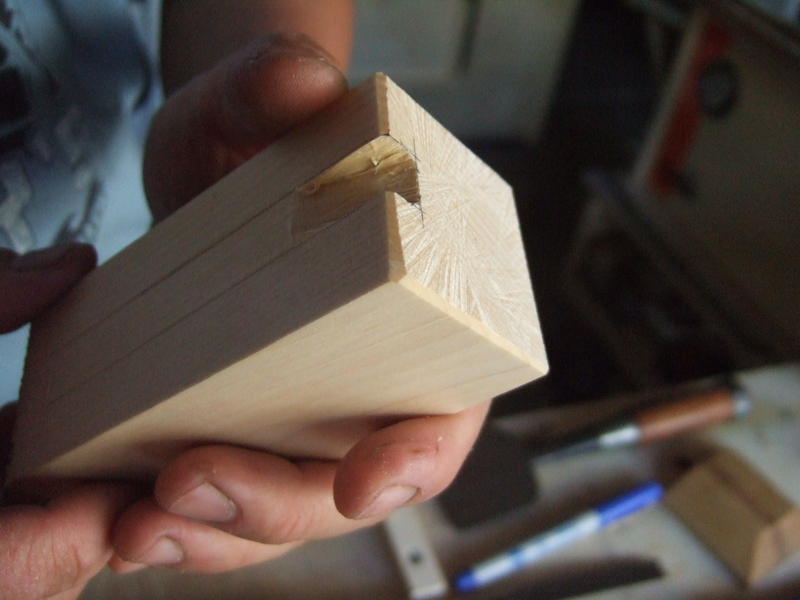
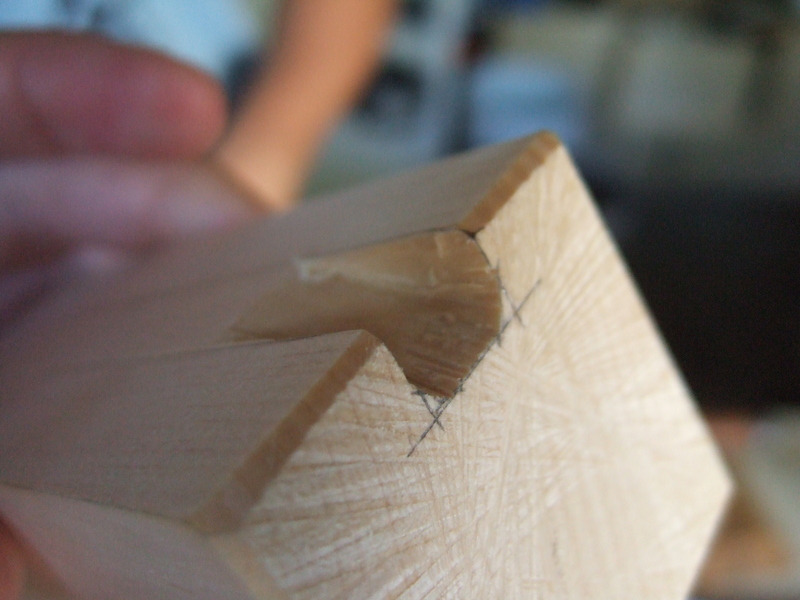
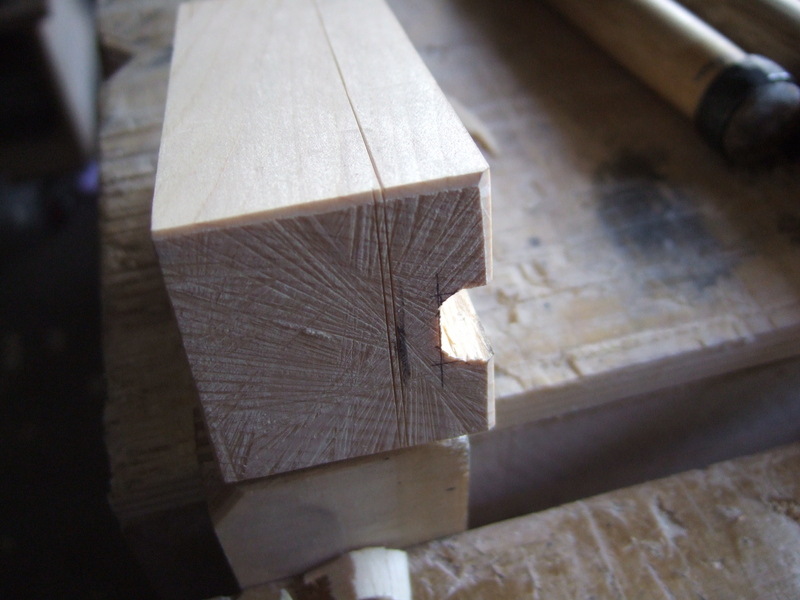
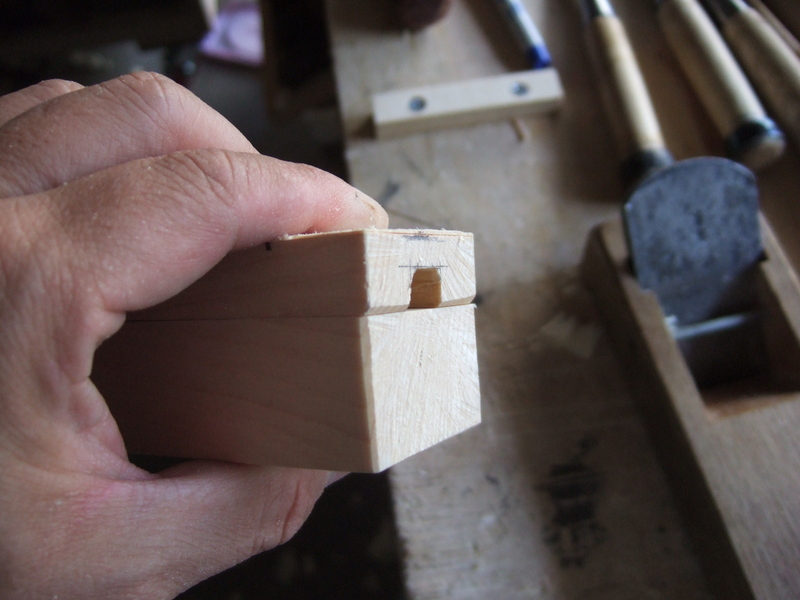
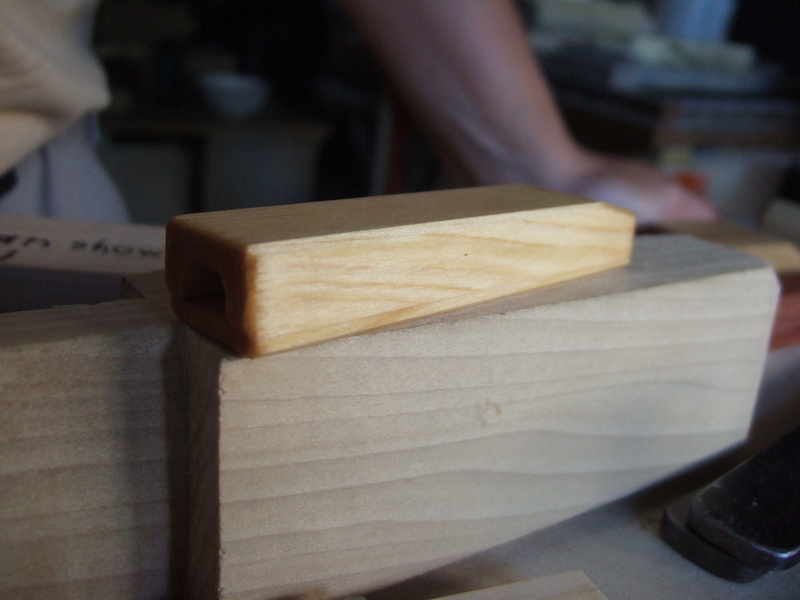
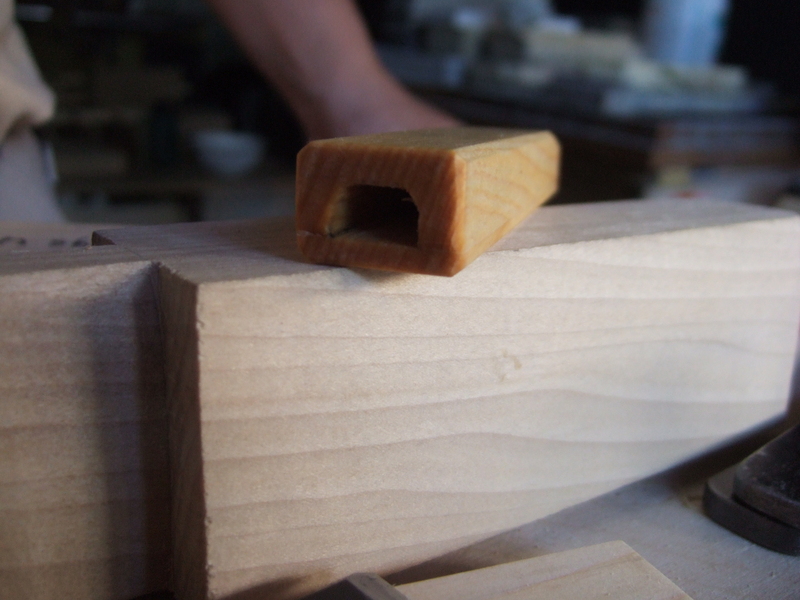
19, 20, 21 - Mouth opening completed.
|
|
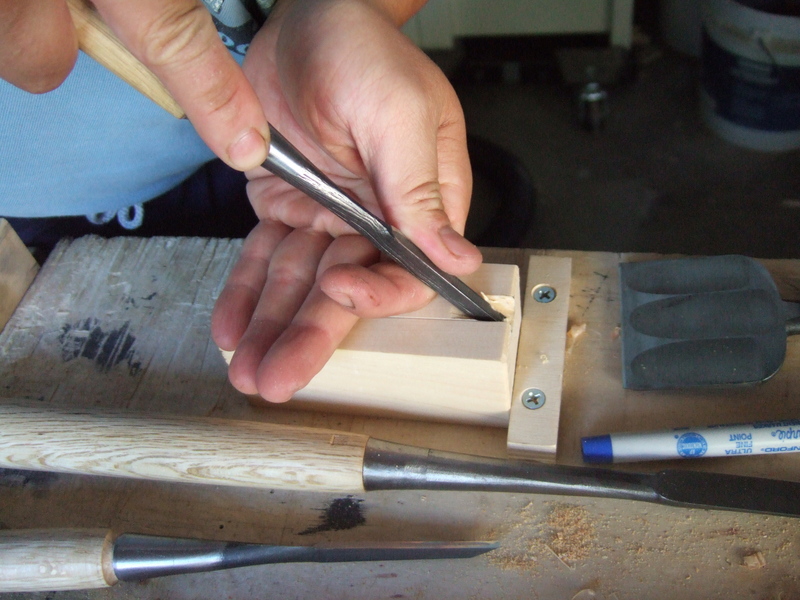
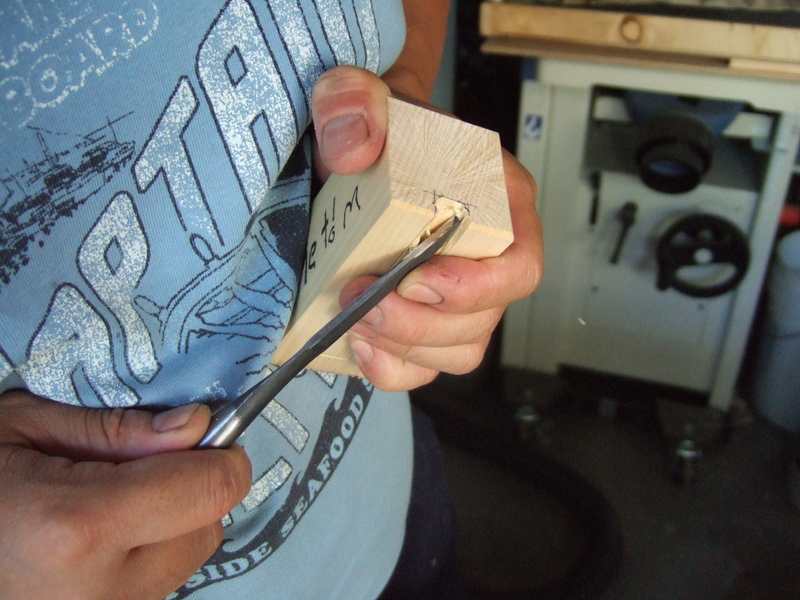
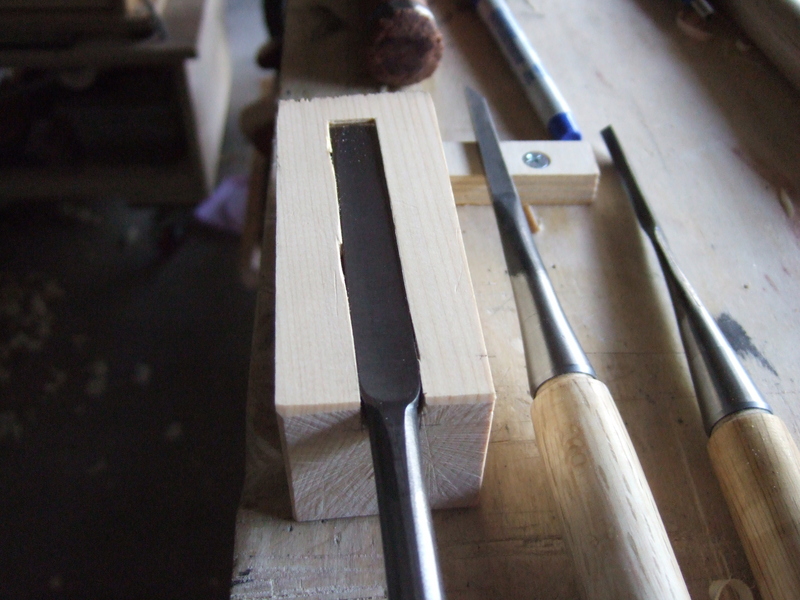
22 - Chop out the remaining waste. |
|
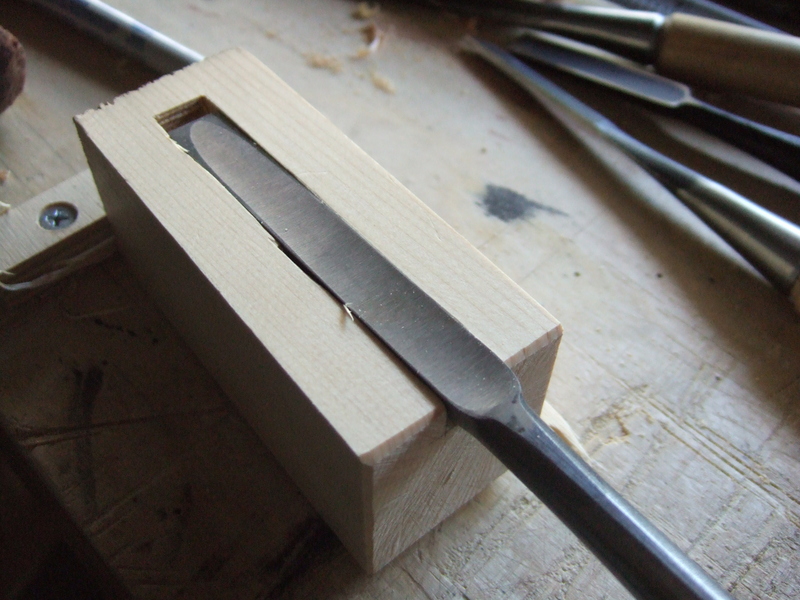
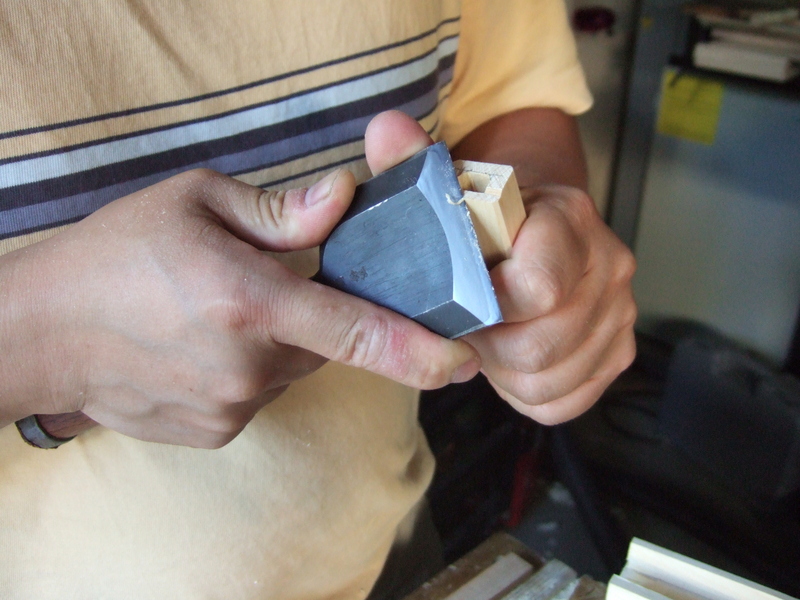
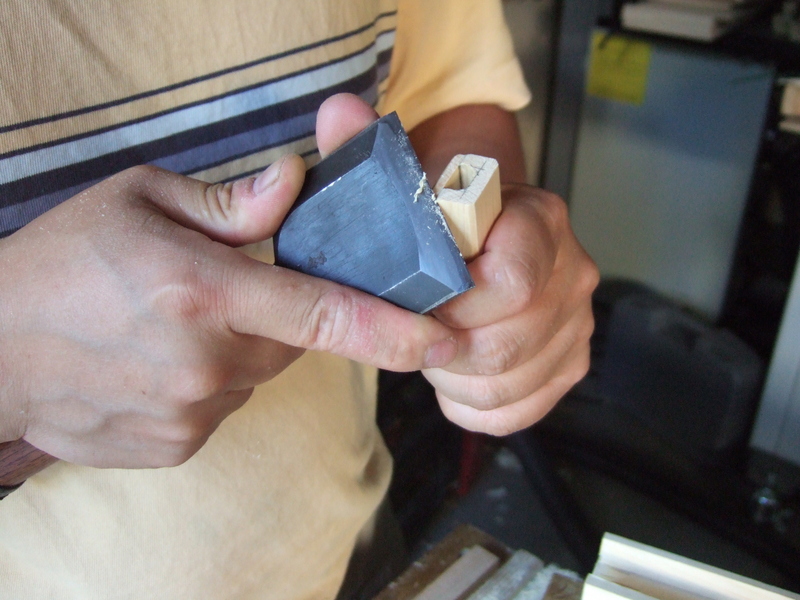
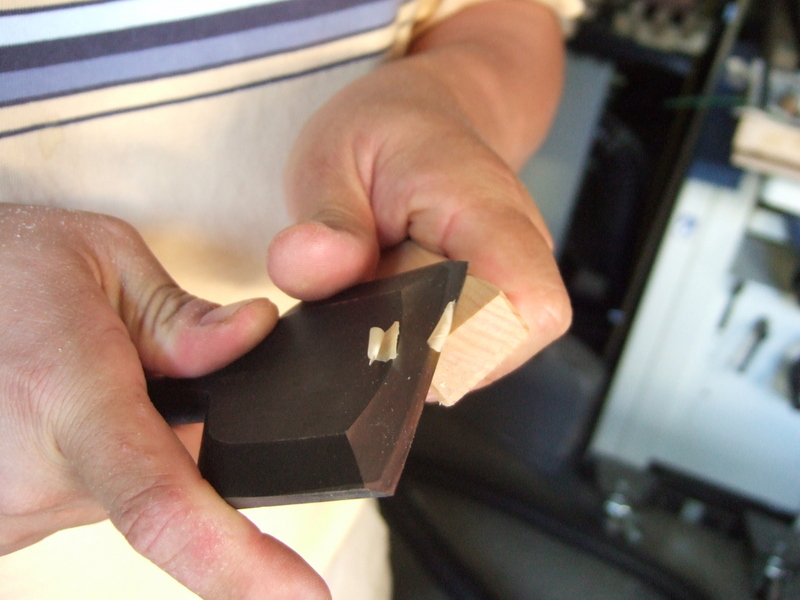
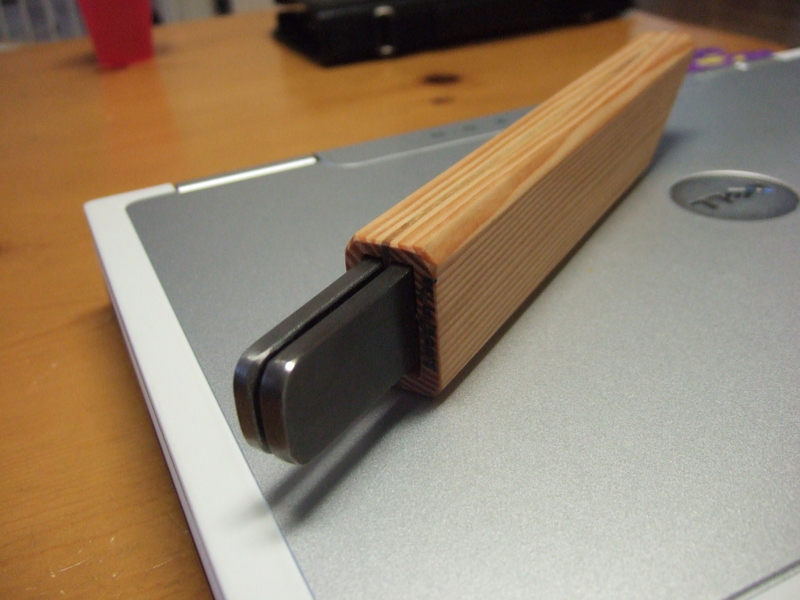
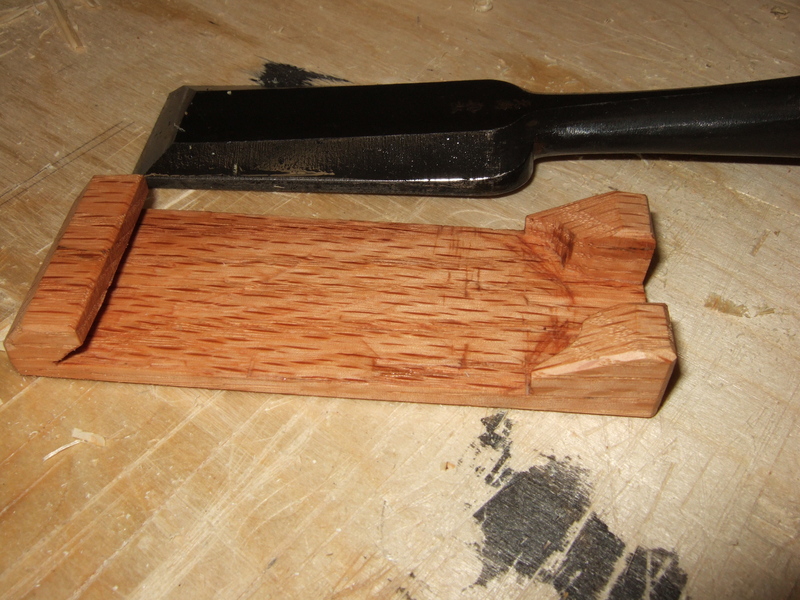
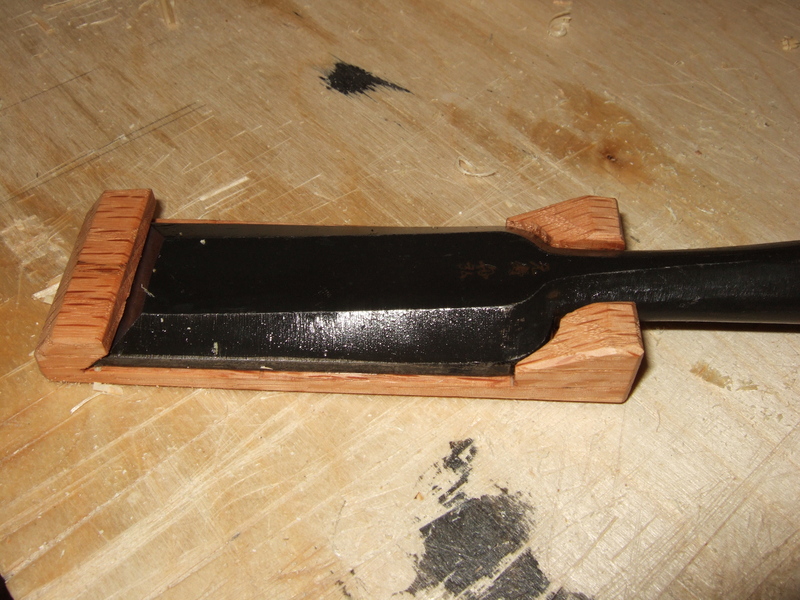
23, 24 - Test fitting.
|
|
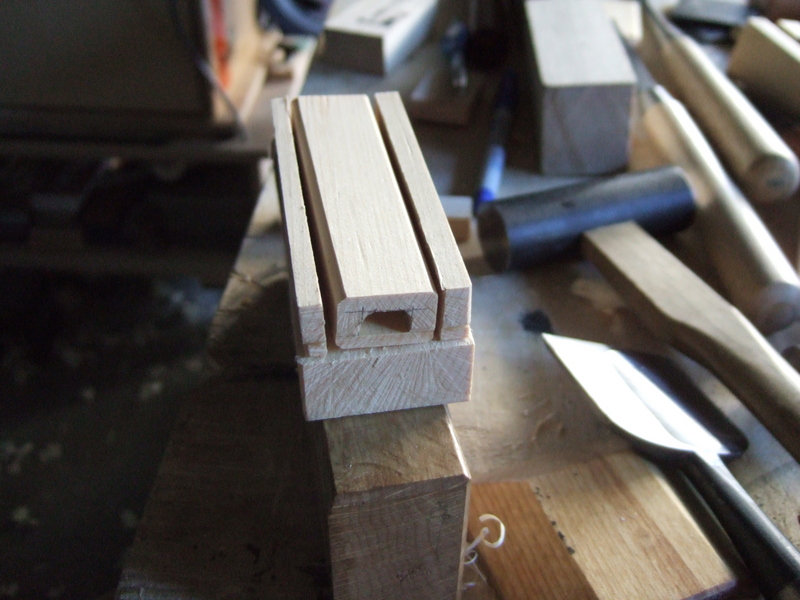
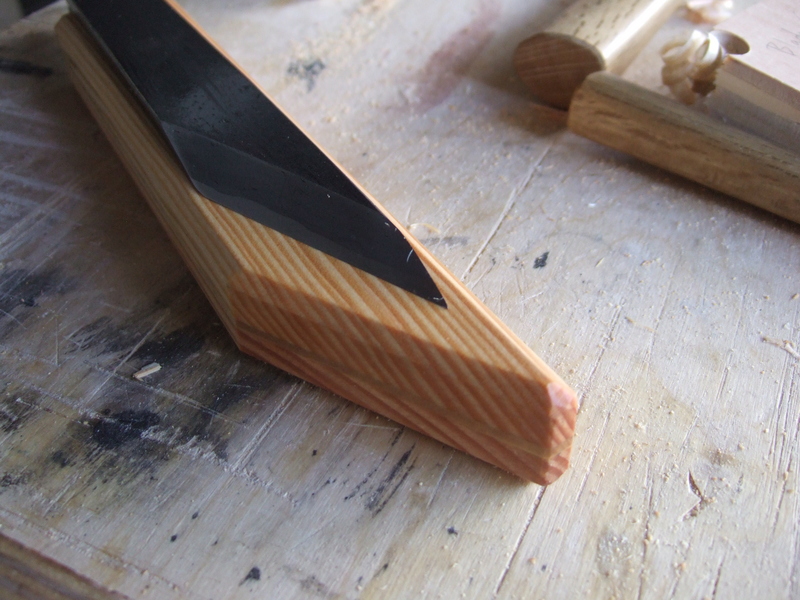
25, 26 - Check that the blade sits flushed inside the slot.
|
|
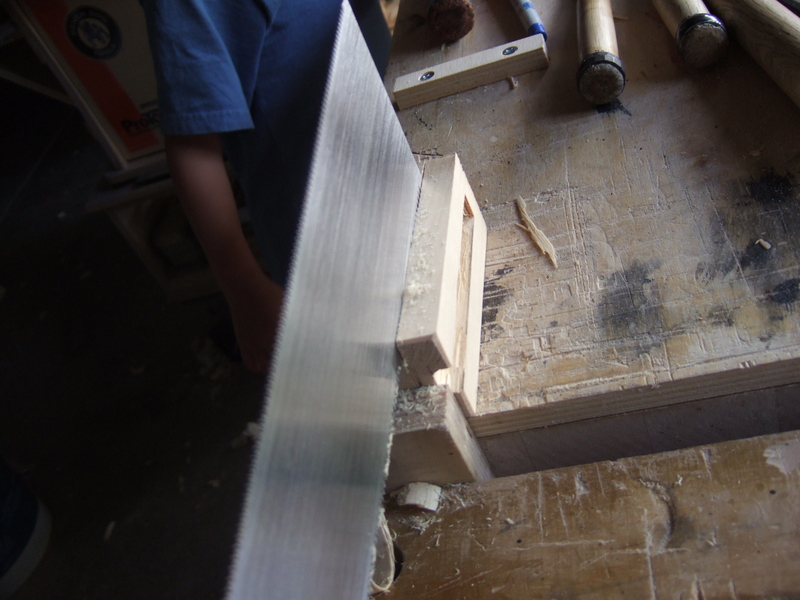
27, 28, 29, 30 - Cut it to size.
|
|
31, 32, 33 - Match the other half of the scabbard. Check to ensure a proper fit.
|
|
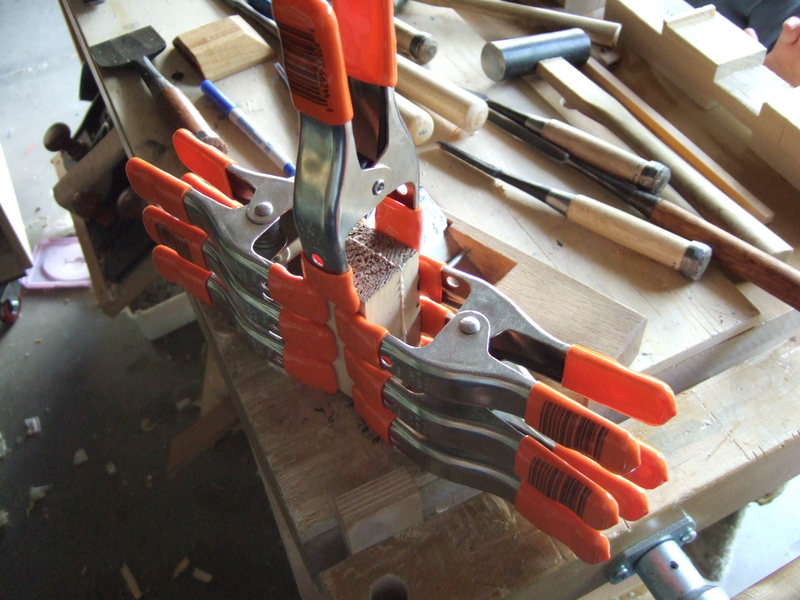
34 - Glue the two halves together. |
|
35, 36 - Cut it to size.
|
|
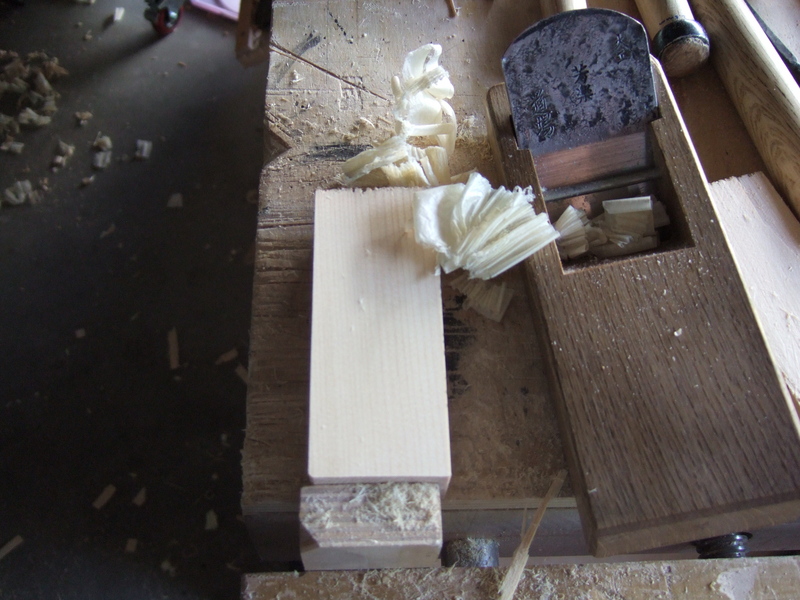
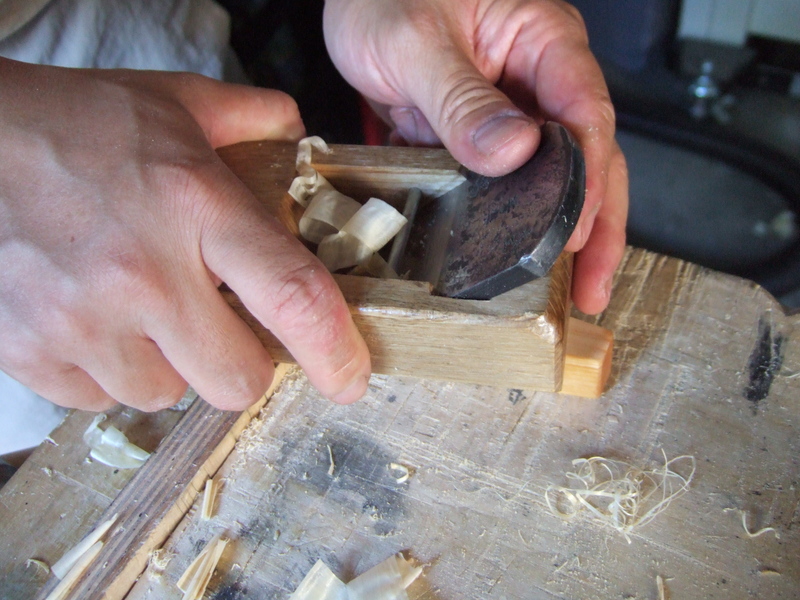
37 - Finish planing. |
|
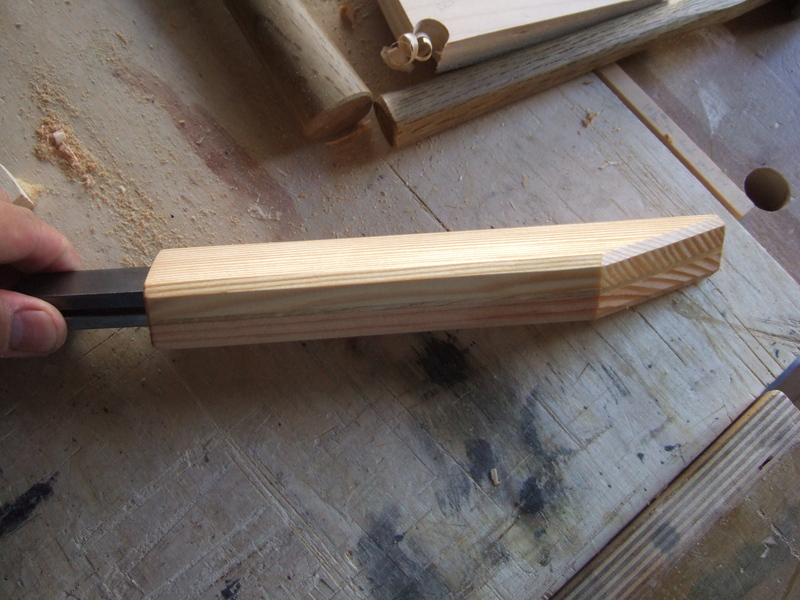
38, 39, 40 - Chamfer all the edges.
|
|
41, 42 - Final shaping.
|
|
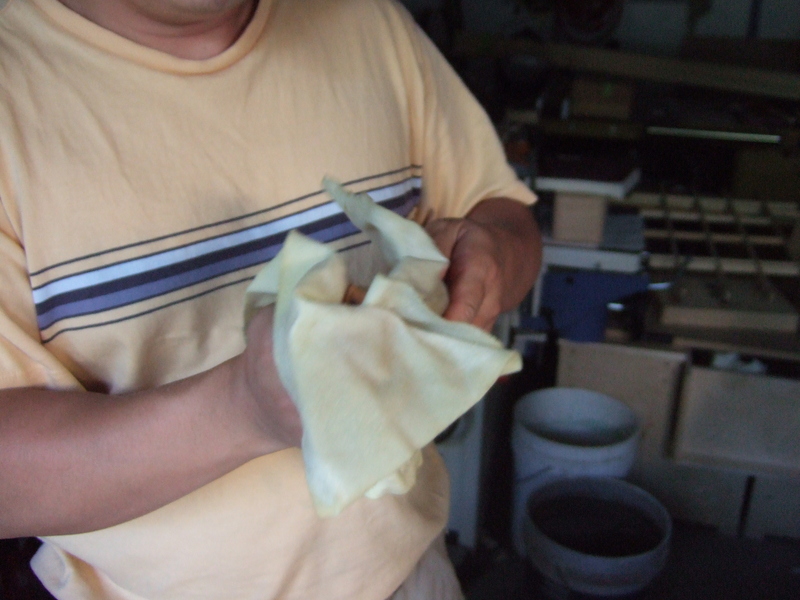
43, 44 - Coating the scabbard with oil (Bioshield #1 Primer used here).
|
|
45, 46
|
|
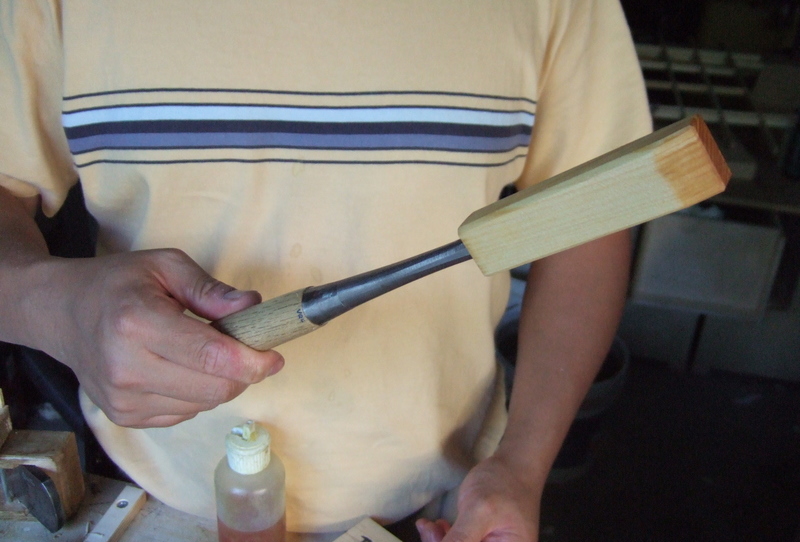
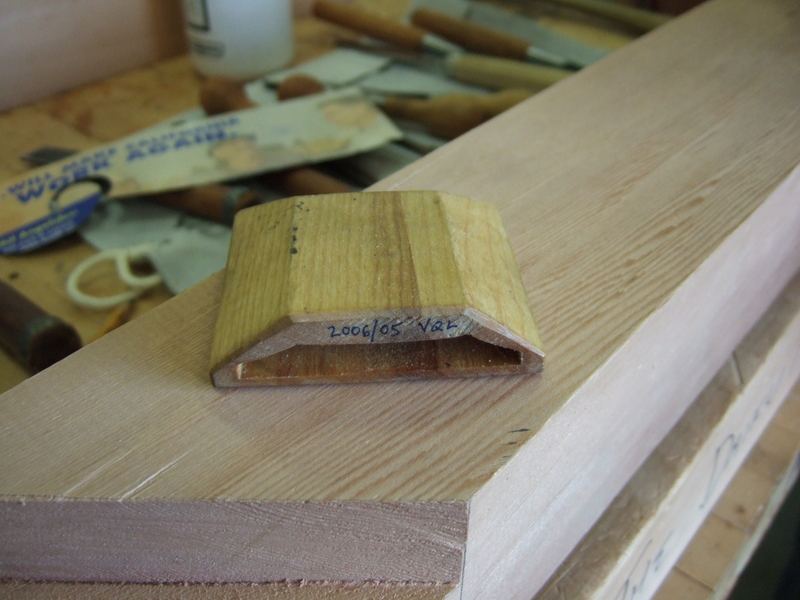
47 - Done! |
|
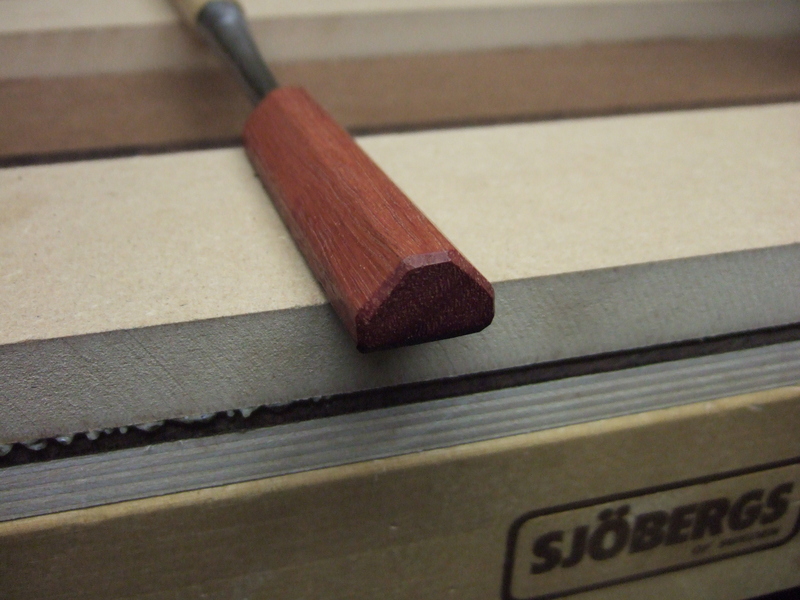
48, 49 - Scabbard made from either bloodwood or redheart. |
|
50 - Knife scabbards by Jay van Arsdale. |
|
51, 52, 53 - Double-knife scabbard made from Douglas fir. |
|
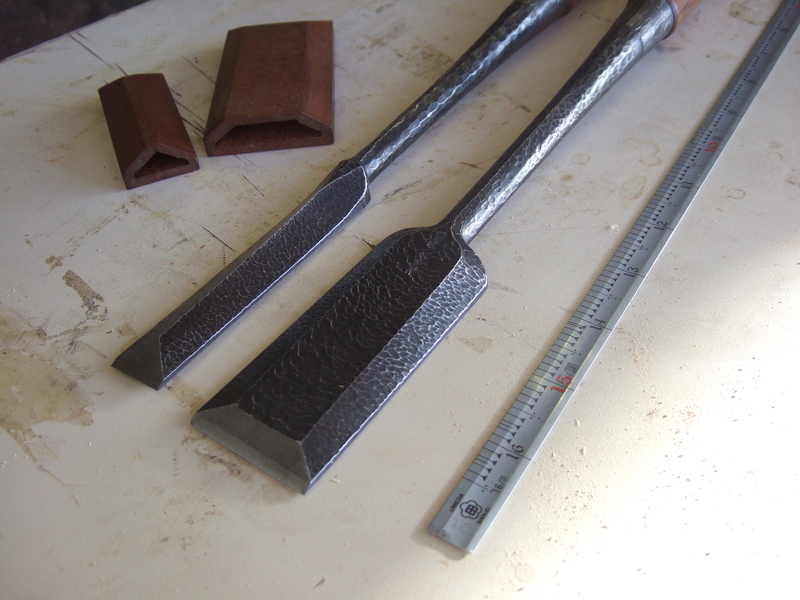
53, 54 - scabbard for extra wide (60mm) chisel. |
|
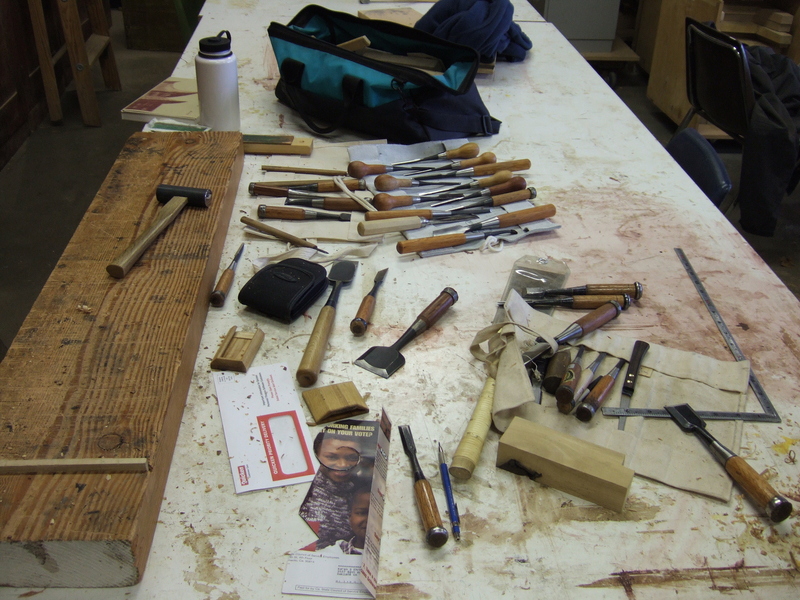
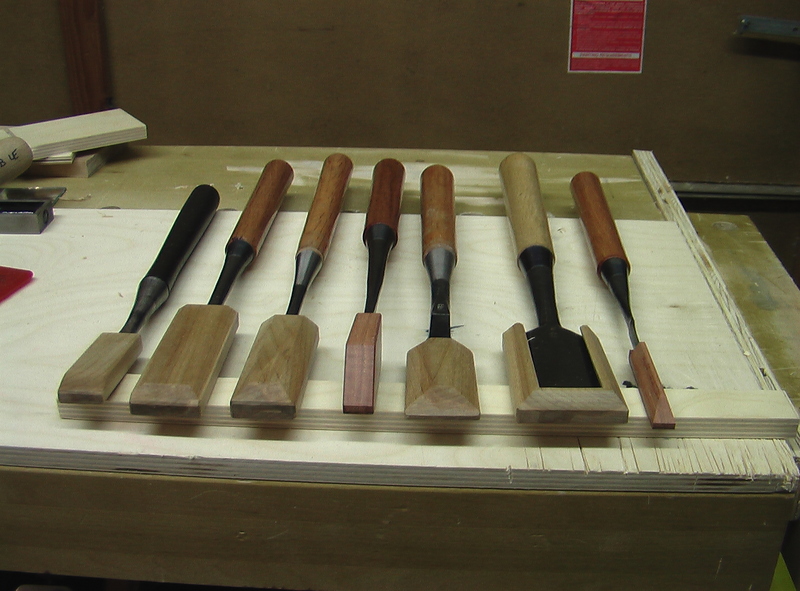
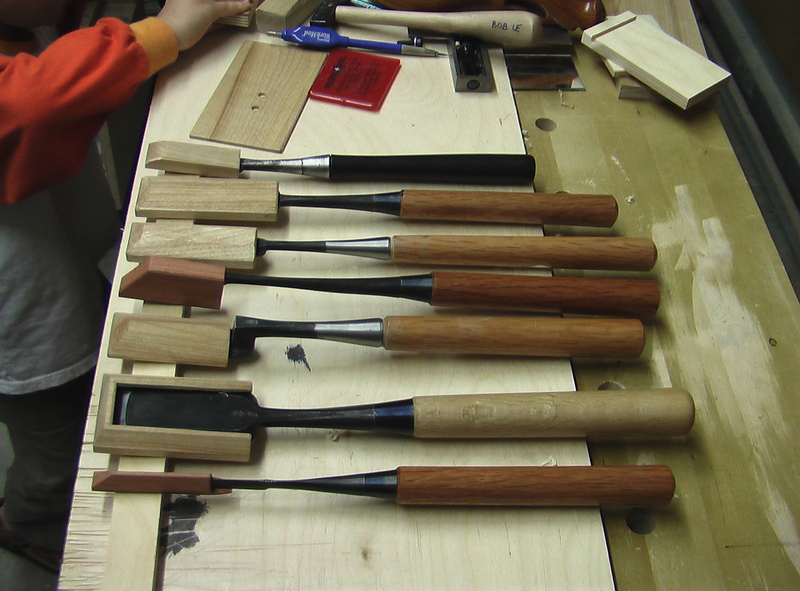
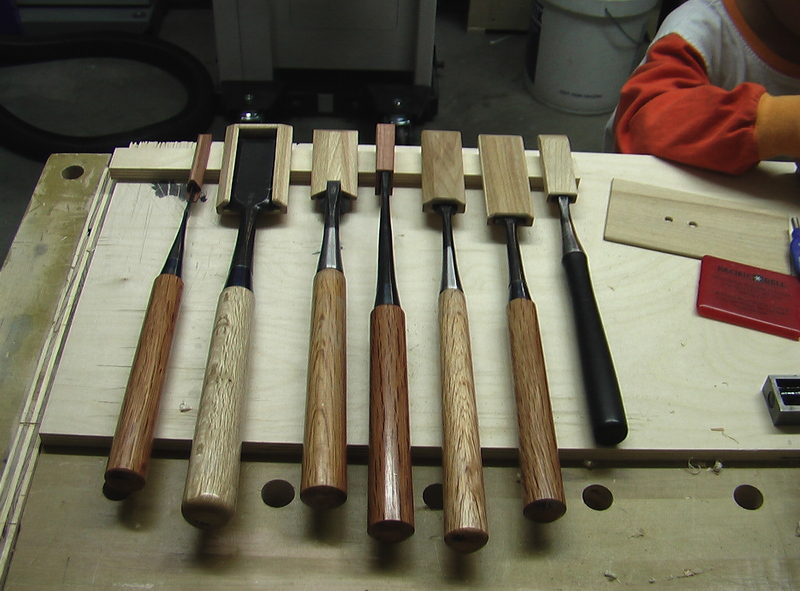
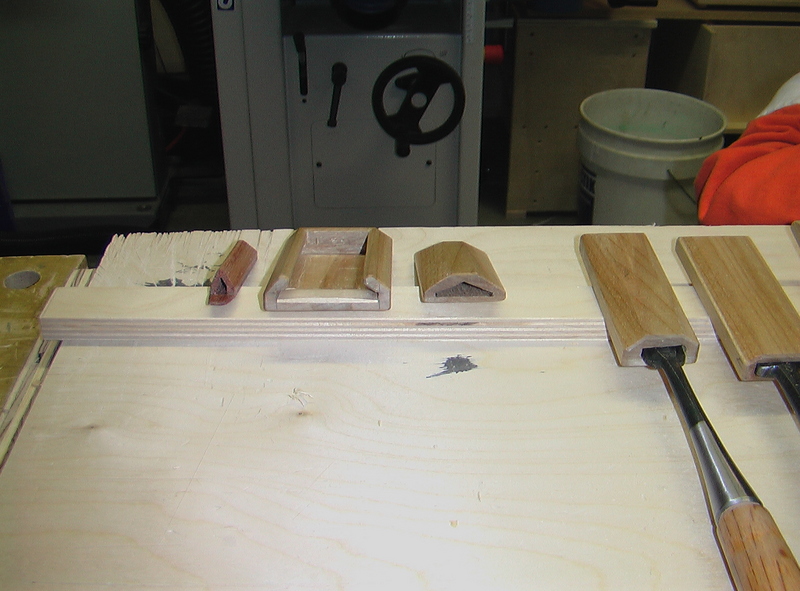
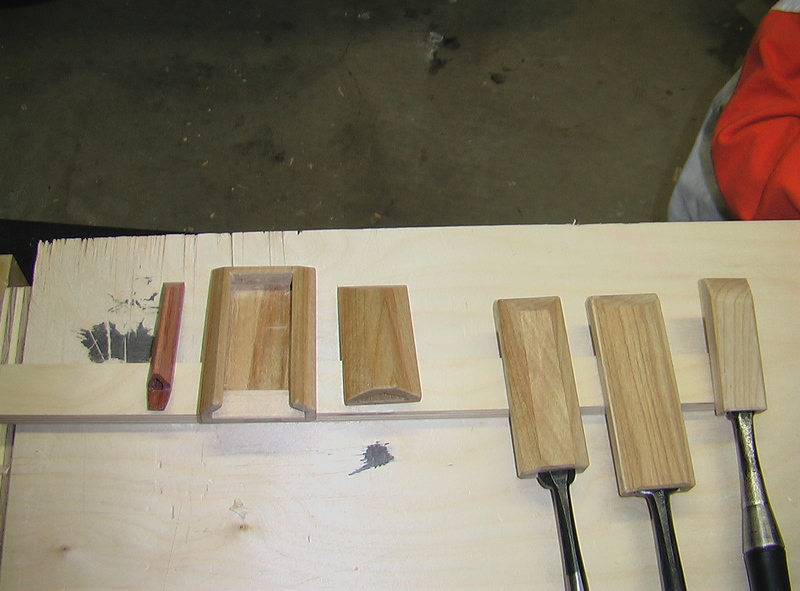
54, 55, 56 - Scabbards for paring chisels. |
|
57, 58 |
|
59, 60 - Jay's Kikuhiromaru (Nagaoke) slicks. |
|
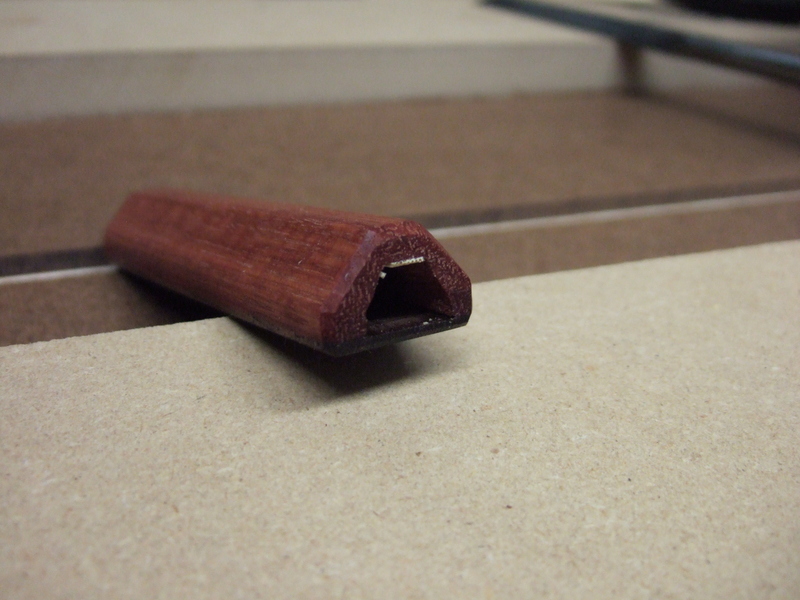
61, 62 - This scabbard seemed like a cool idea with the snap-on fit. It's a bad design though - when the edge wears off, it will not be a tight fit anymore! |